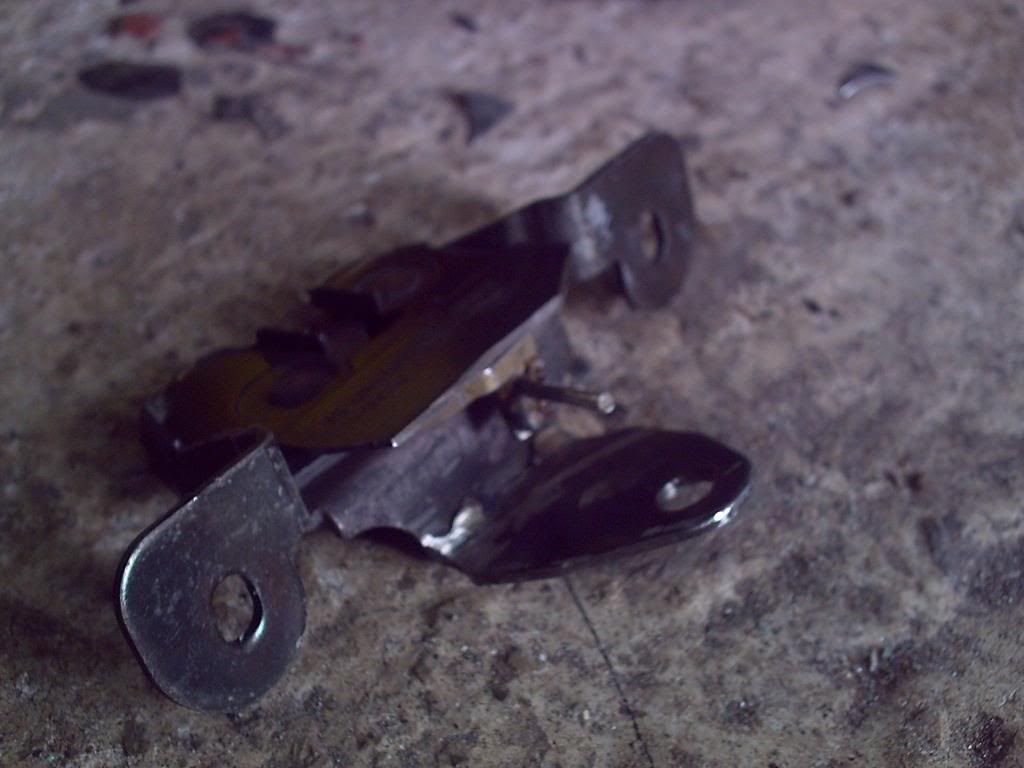
Eventually managed to load up some more pics , took a lot of work to get the rear spoiler fitting tight to boot lid.
Also completely derusted the bumper / removed chrome and sprayed that white to match the car - fitted with new rubber strip as well

<a href="http://s296.photobucket.com/albums/mm196/jon-hpf/rear%20spoiler/?action=view¤t=059-1.jpg" target="_blank"><img src="http://i296.photobucket.com/albums/mm196/jon-hpf/rear%20spoiler/059-1.jpg" border="0" alt="Photobucket"></a>
<a href="http://s296.photobucket.com/albums/mm196/jon-hpf/rear%20spoiler/?action=view¤t=057.jpg" target="_blank"><img src="http://i296.photobucket.com/albums/mm196/jon-hpf/rear%20spoiler/057.jpg" border="0" alt="Photobucket"></a>
<a href="http://s296.photobucket.com/albums/mm196/jon-hpf/rear%20spoiler/?action=view¤t=036-1.jpg" target="_blank"><img src="http://i296.photobucket.com/albums/mm196/jon-hpf/rear%20spoiler/036-1.jpg" border="0" alt="Photobucket"></a>
<a href="http://s296.photobucket.com/albums/mm196/jon-hpf/rear%20spoiler/?action=view¤t=043.jpg" target="_blank"><img src="http://i296.photobucket.com/albums/mm196/jon-hpf/rear%20spoiler/043.jpg" border="0" alt="Photobucket"></a>
<a href="http://s296.photobucket.com/albums/mm196/jon-hpf/rear%20spoiler/?action=view¤t=010.jpg" target="_blank"><img src="http://i296.photobucket.com/albums/mm196/jon-hpf/rear%20spoiler/010.jpg" border="0" alt="Photobucket"></a>
<a href="http://s296.photobucket.com/albums/mm196/jon-hpf/rear%20spoiler/?action=view¤t=009.jpg" target="_blank"><img src="http://i296.photobucket.com/albums/mm196/jon-hpf/rear%20spoiler/009.jpg" border="0" alt="Photobucket"></a>
<a href="http://s296.photobucket.com/albums/mm196/jon-hpf/rear%20spoiler/?action=view¤t=003-1.jpg" target="_blank"><img src="http://i296.photobucket.com/albums/mm196/jon-hpf/rear%20spoiler/003-1.jpg" border="0" alt="Photobucket"></a>
<a href="http://s296.photobucket.com/albums/mm196/jon-hpf/rear%20spoiler/?action=view¤t=006.jpg" target="_blank"><img src="http://i296.photobucket.com/albums/mm196/jon-hpf/rear%20spoiler/006.jpg" border="0" alt="Photobucket"></a>
<a href="http://s296.photobucket.com/albums/mm196/jon-hpf/rear%20spoiler/?action=view¤t=008-2.jpg" target="_blank"><img src="http://i296.photobucket.com/albums/mm196/jon-hpf/rear%20spoiler/008-2.jpg" border="0" alt="Photobucket"></a>
<a href="http://s296.photobucket.com/albums/mm196/jon-hpf/rear%20spoiler/?action=view¤t=008-1.jpg" target="_blank"><img src="http://i296.photobucket.com/albums/mm196/jon-hpf/rear%20spoiler/008-1.jpg" border="0" alt="Photobucket"></a>


 [/Hosted_Picture]
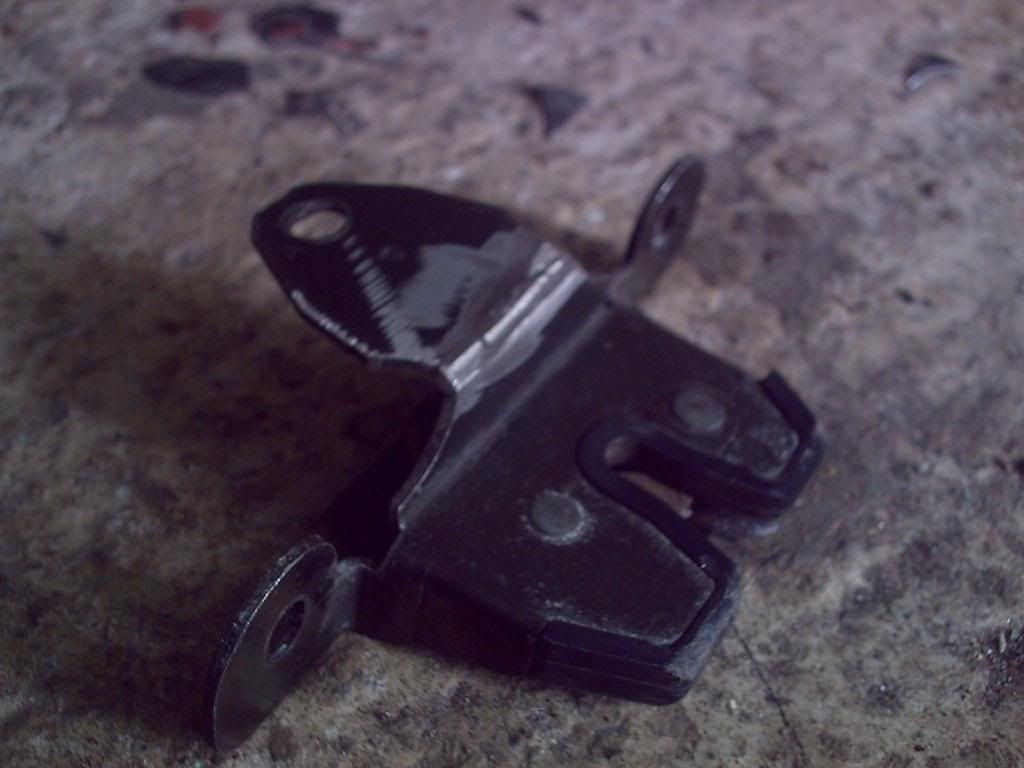 [/Hosted_Picture]
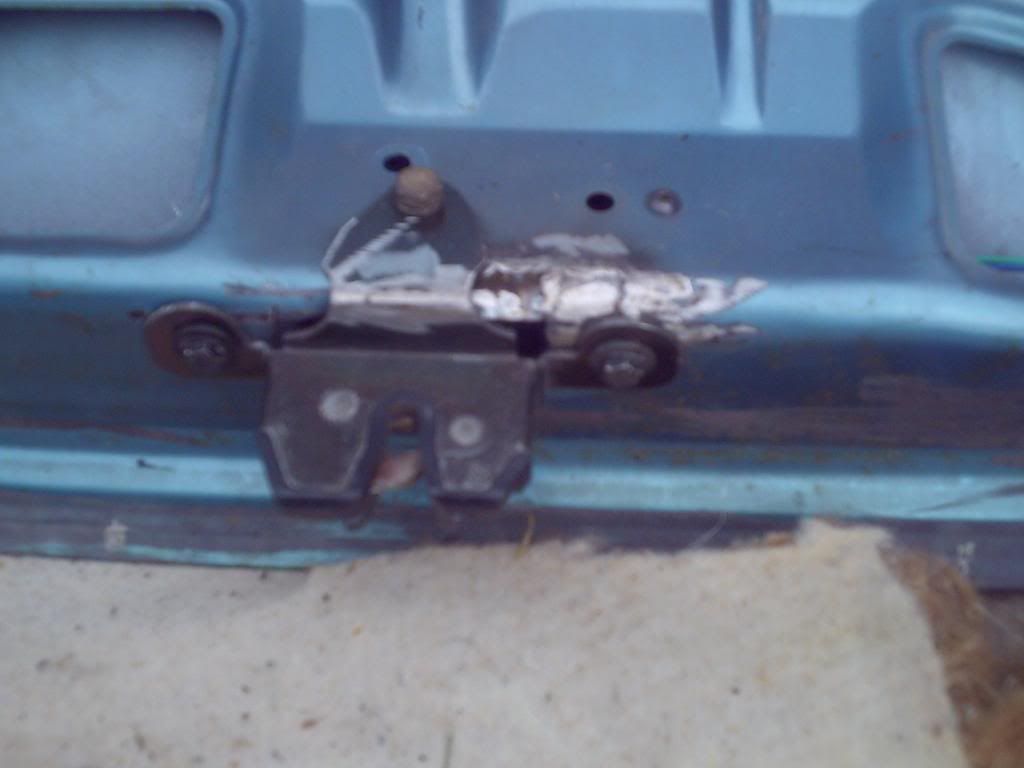 [/Hosted_Picture]
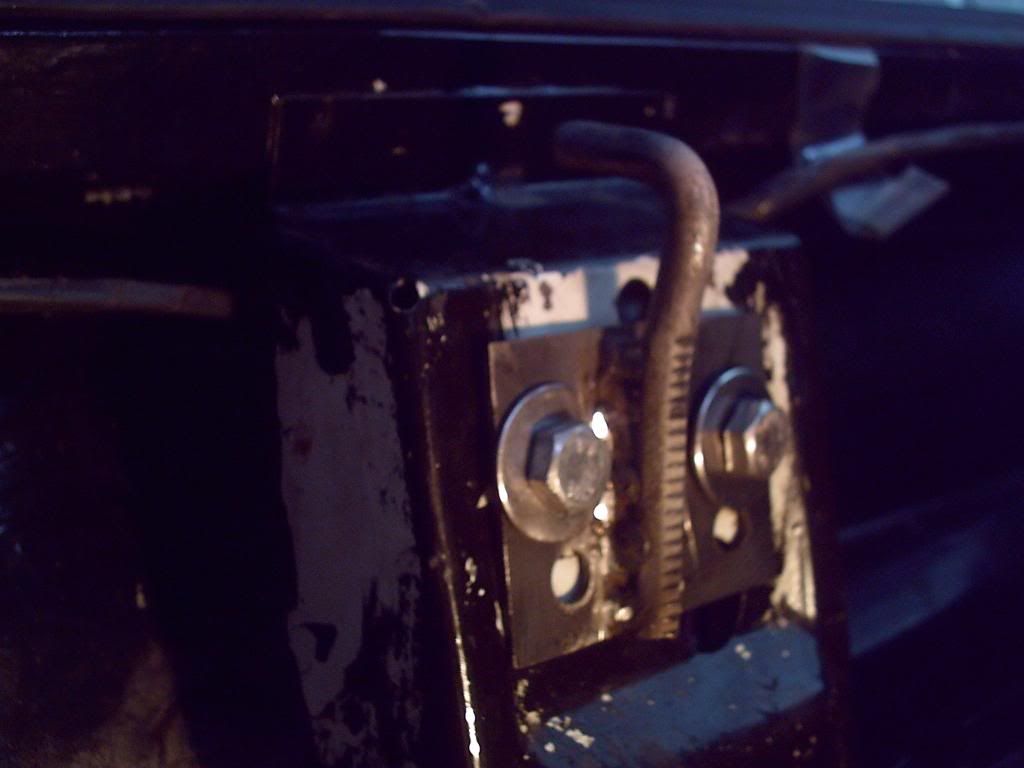 [/Hosted_Picture]
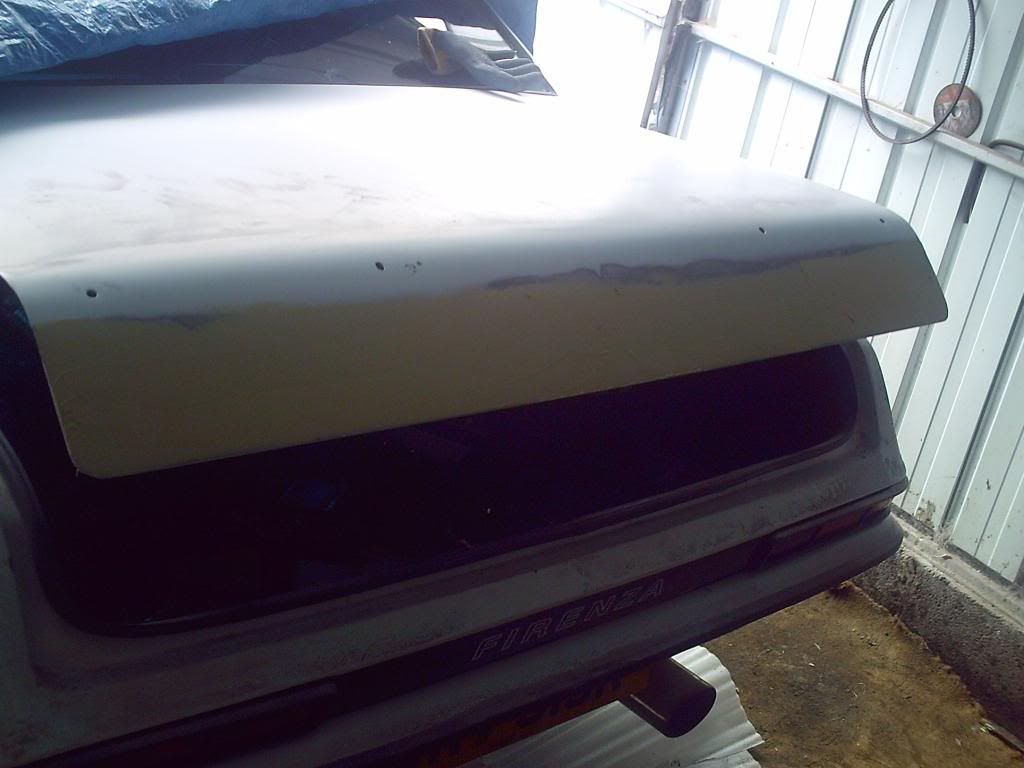 [/Hosted_Picture]
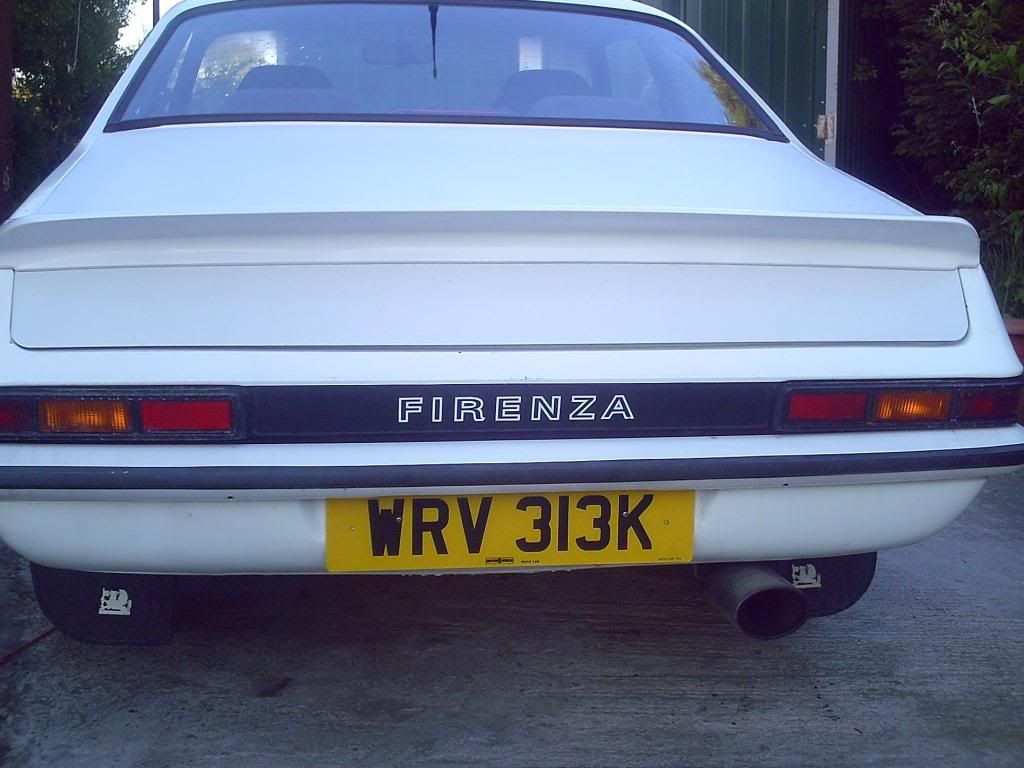 [/Hosted_Picture]
 [/Hosted_Picture]
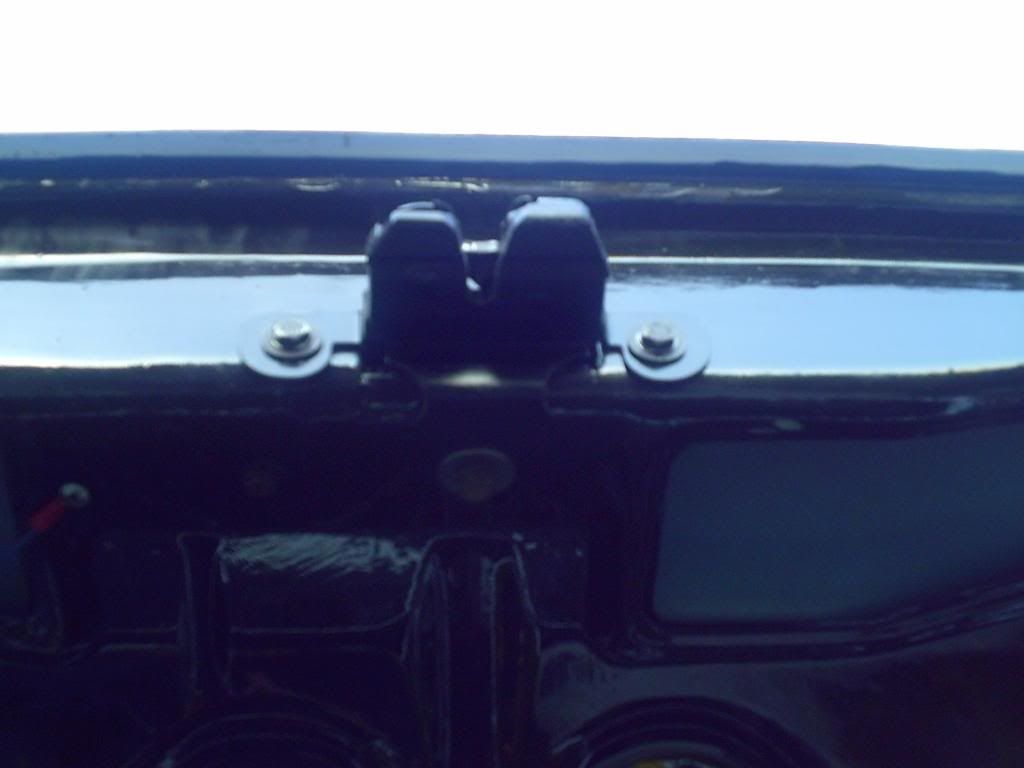 [/Hosted_Picture]