Finally decided to use a decent spare steel bonnet rather than go for a fibreglass one , mind you , with the cost of paint / sandpaper / filler etc - it may have worked out cheaper to go f/g

Existing bonnet didnt look too bad from outside , but underneath the old tinworm had been having a party - area around hinges and leading edge of bonnet are very thin and crusty.
[Hosted_Picture]
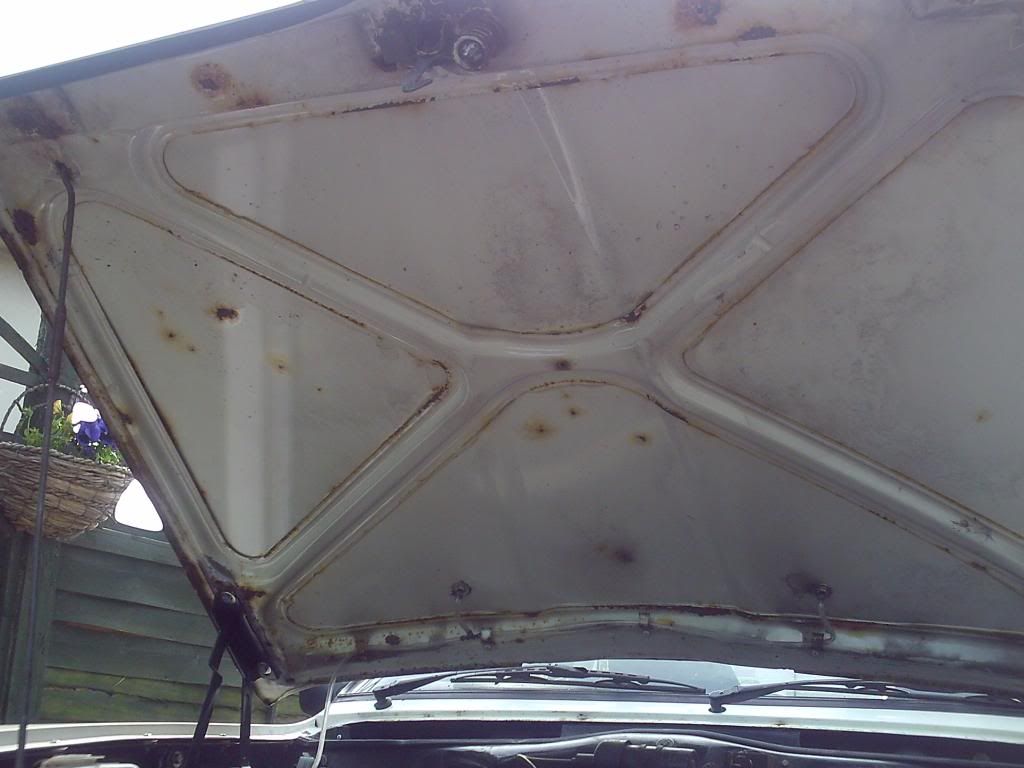
[/Hosted_Picture]
Spare bonnet had some slight surface rust but not holed or thin

Paint stripper then good old 60 / 80 grit paper soon put paid to the underside , area around the vents used wire wheel etc , then usual anticorrosion treatments etc then zinc primer - will be painted with rustoleom black smooth to finish.
[Hosted_Picture]
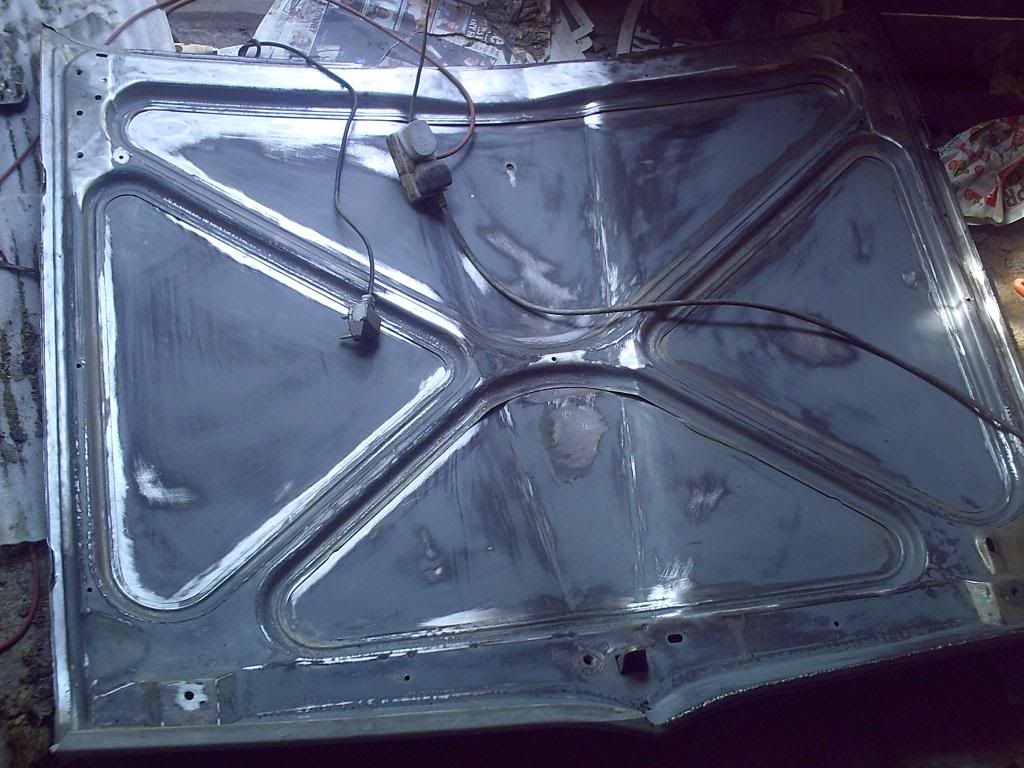
[/Hosted_Picture]
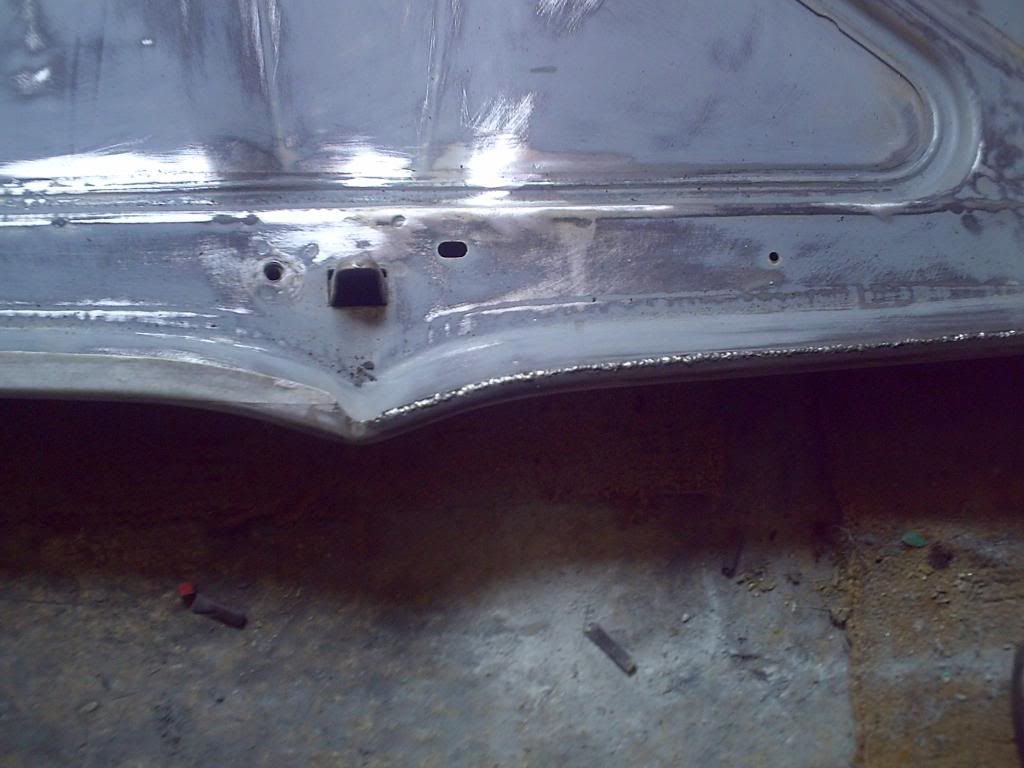
Paint stripper the topside - lots of it , the bonnet had been oversprayed at some point

lots of 60/80 grit sorted out some small dings , also seam welded the edges by cutting off about 5mm of outer skin (where it folds down into wing gap) to make it easier to seam weld from front to back.
[Hosted_Picture]
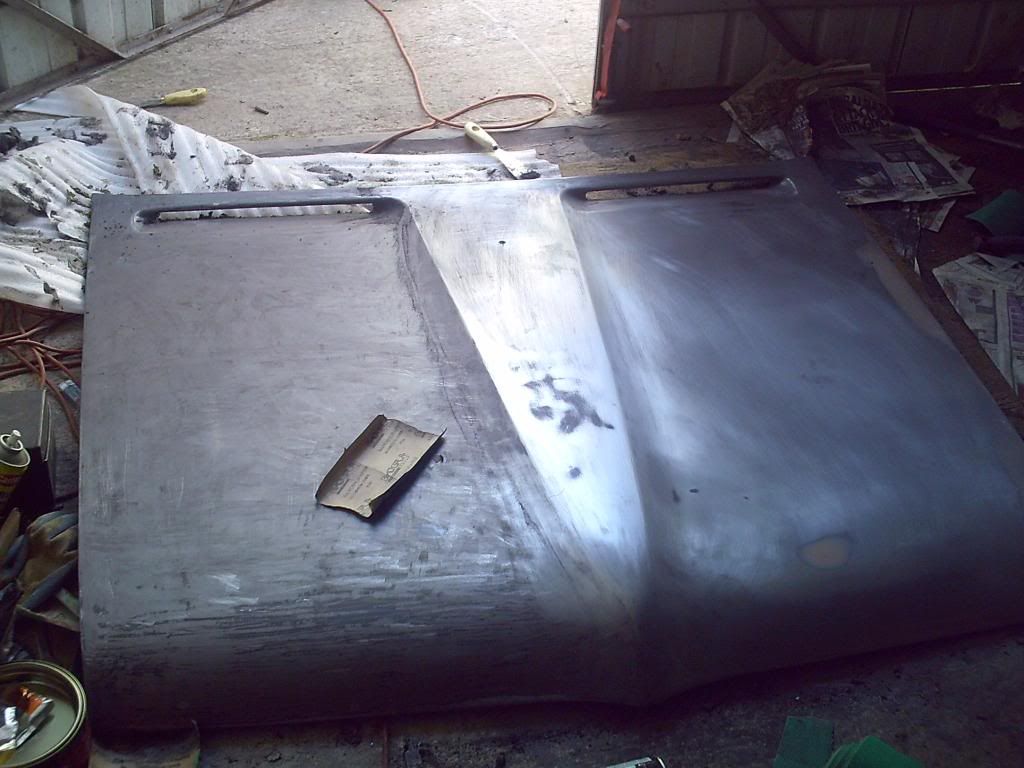
[/Hosted_Picture]
Seam welded the front underlip - after cutting off 10mm so this lip is now the same size as the side ones . With the snoot nose , this should make opening the bonnet that bit easier with only a small underlip , also it shouldnt foul any of the nosecone bolts now.
[Hosted_Picture]
[/Hosted_Picture]
Used red oxide primer then 4 coats of white high build then 4 coats of gloss white - not perfect but at least watertight until its full different colour respray
[Hosted_Picture]

[/Hosted_Picture]
Next step is to hand paint the underside black , before fitment.
Jon