HC Resto

This is an area for discussion about Restoration issues.

Postby bodyworx » Sun Feb 24, 2008 11:51 am

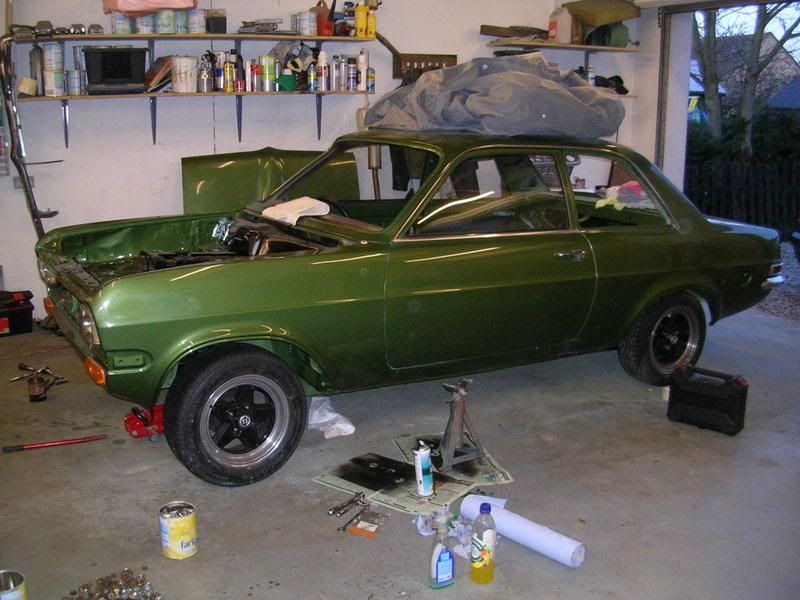
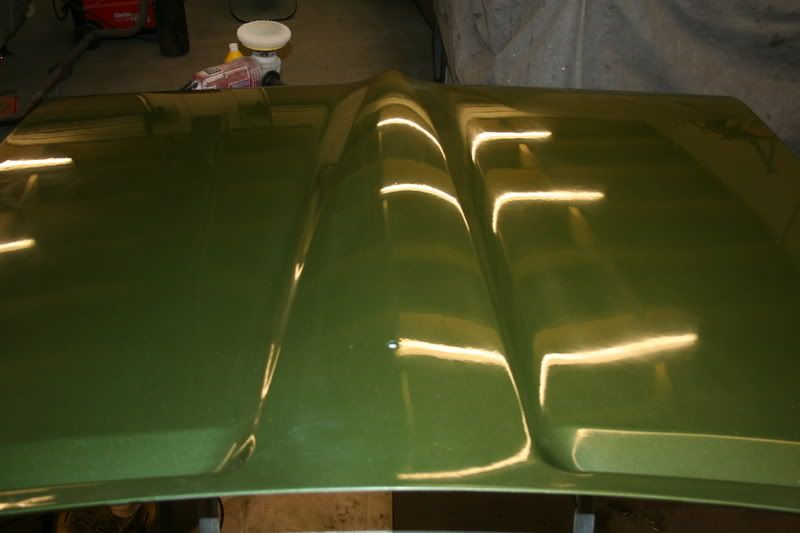
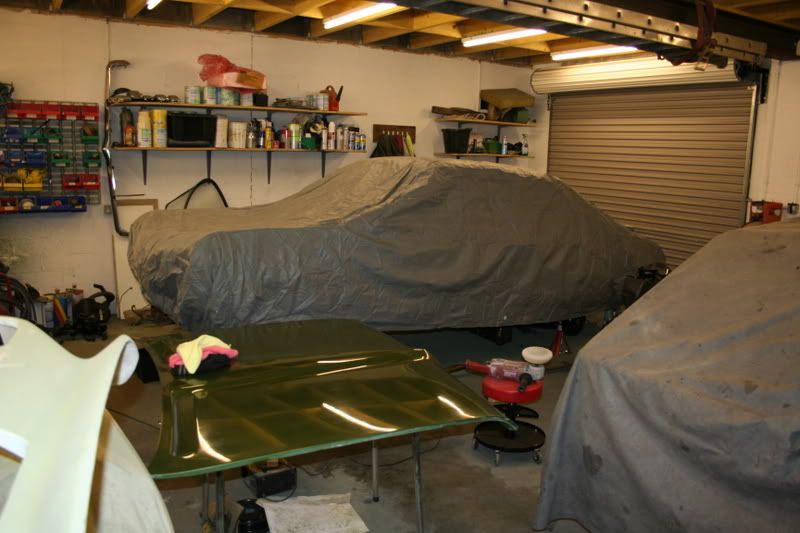
opelscott22 wrote:time for a wee update, I got the polisher out last night, attacked the bonnet with 1200 wet and dry, then polished it with some G3, it came up well.
I got a bottle of G10 to try from a mate who said it makes a difference, I didnt believe him as I get good results with the G3. But, I gave it a go and what a differance!! I need to go over it again with the paper I think just to smooth it out more, ( there was alot of dust in it...) then polish again, but Im well impressed with the G10, its just a finer grade of polish than the G3, its easy to use and get a shine with!!

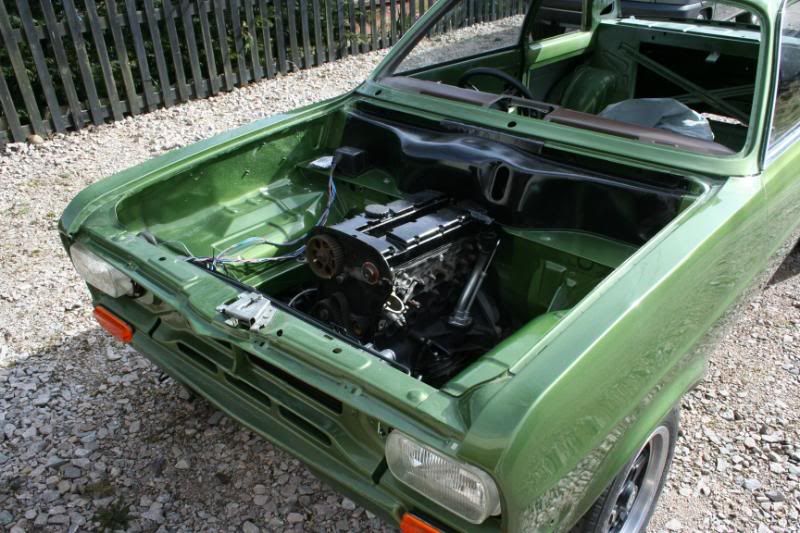
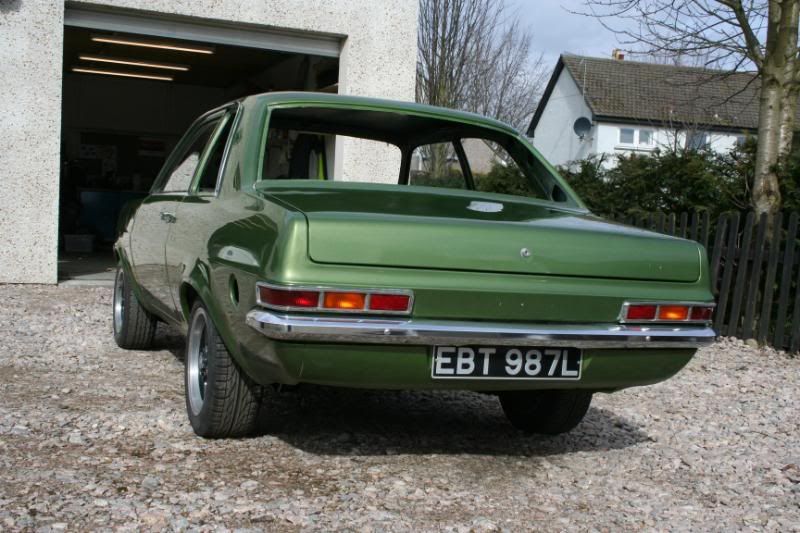
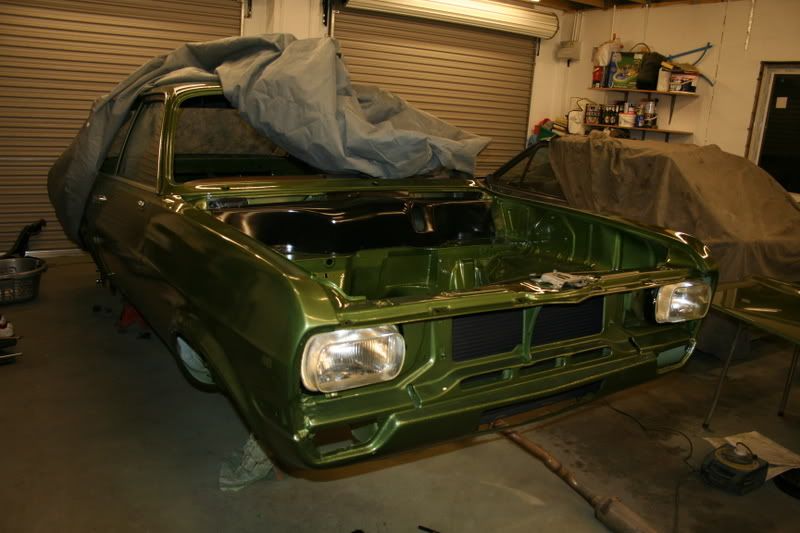
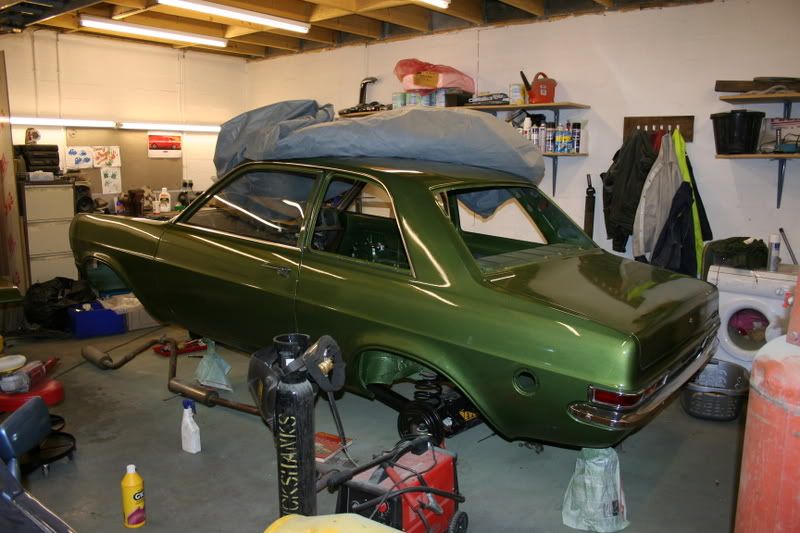
Ive also started putting more things back on the car, the looms in, lights in, rear bumper fitted,( no scratches yet!! :D )
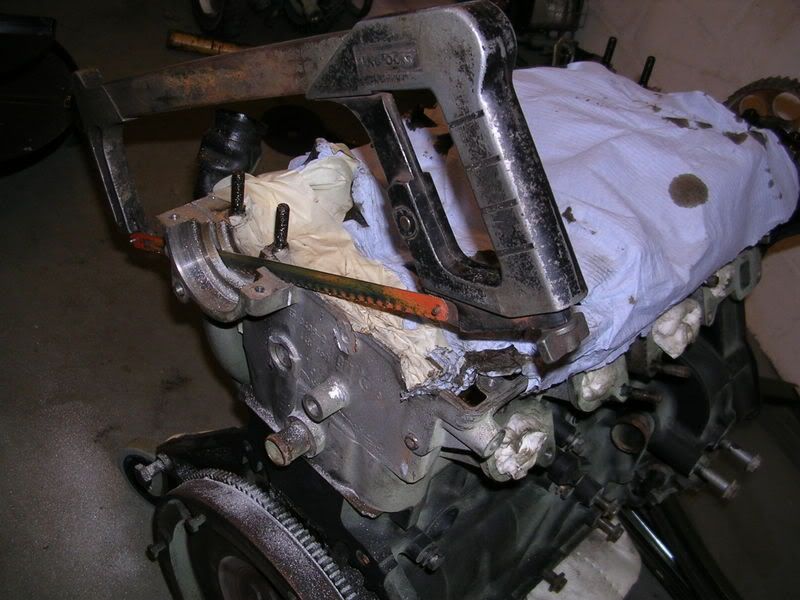
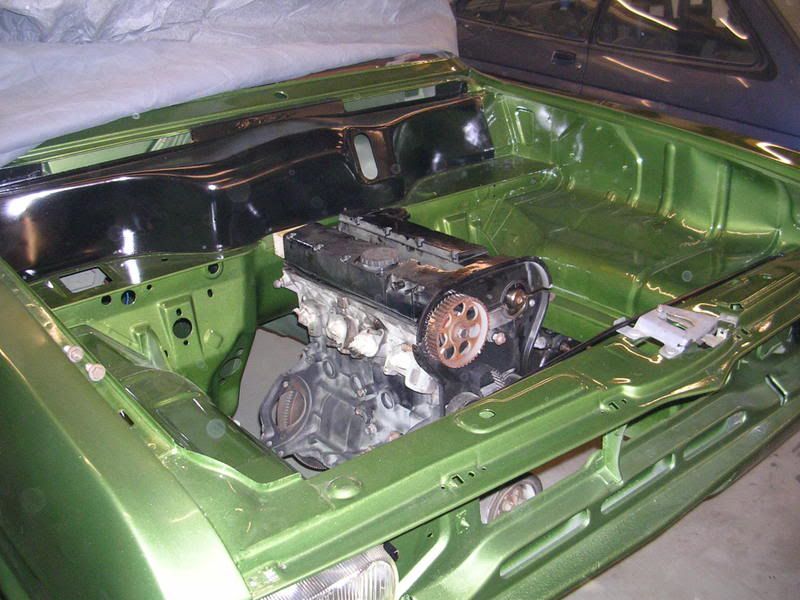
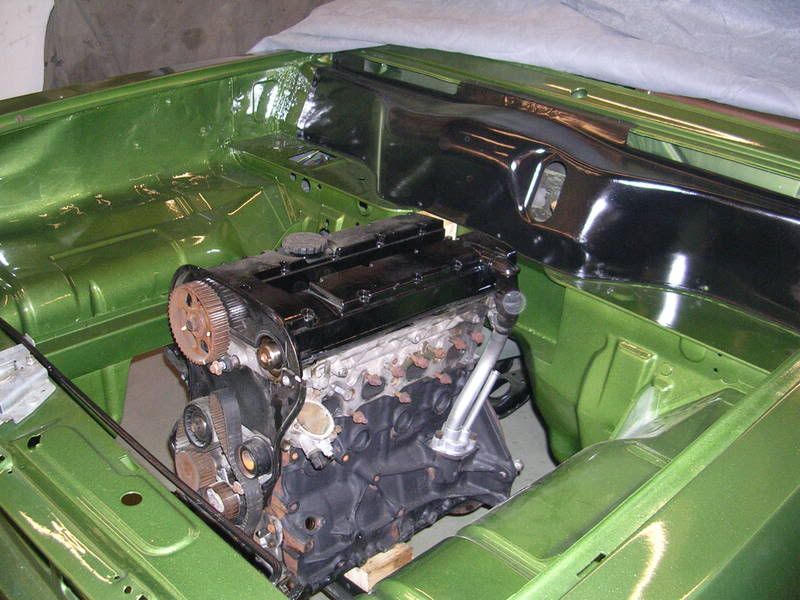
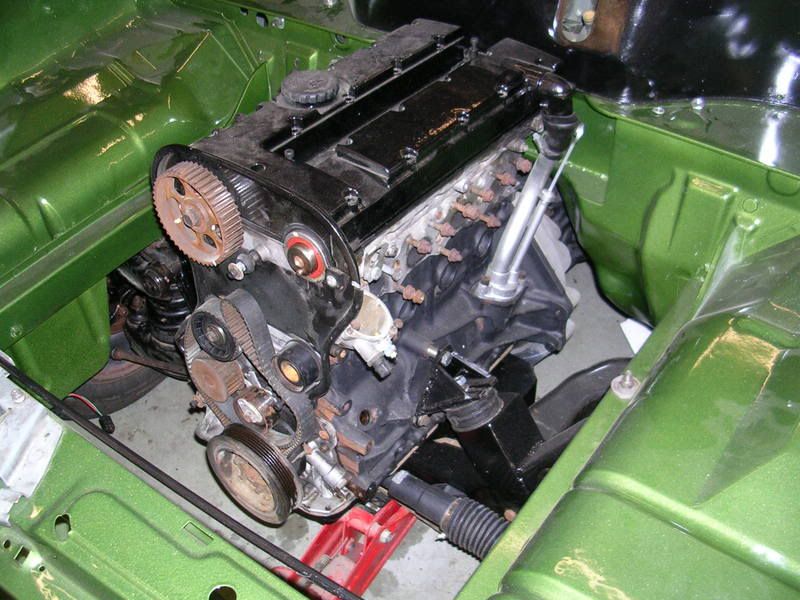
Ive got to dismantle my engine crane to get it to the garage later, might put the engine in. Im getting bored of waiting for my bellhousing...bloddy ebay!

Image

Image

Image

Image

scott


|Scott,
heres a "TOP TIP" for you,
DONT 1200 it again, its far too course to get a good finish, ,,,,,, you think its ok now ??????
TRY THIS !!!!!!!!!!!!!!!
Youve already got most of the imperfections out with your first run of 1200 grit, now go over it with 2000 wet'n dry.
Dont be under the illusion though that because its so fine it wont cut, it will so be careful.
I use a putty rubber as a block when polishing with 2000, it lets you follow contours etc and still be 'flat'.
Use your G3 (normally twice) although I prefer Farecla DRY USE (no mess like G3 and definately is better), then a couple of runs with the G10 with a soft polishing head (the black one).
To finish I prefer Fareclas Gold top or Black top sealer, uses the same soft head as G10, and ***BLING***.
This stuff is great for your finish and no need for wax!, although you can if you want, I prefer no wax as it eventually dulls the paint, you can Goldtop/blacktop by hand anytime anyway and its miles better than wax.
If you DO want to use wax, buy Meguiers(spelling)3 stage, cleaner/wax and carnaubua, it is magical,

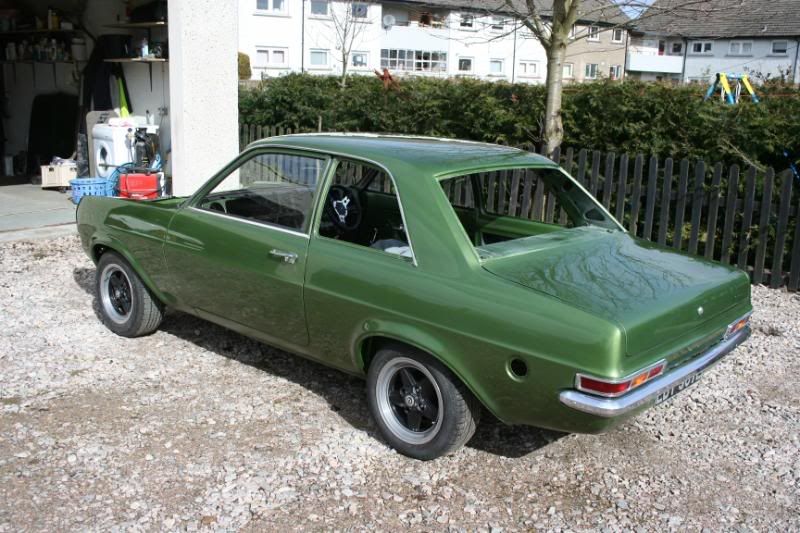
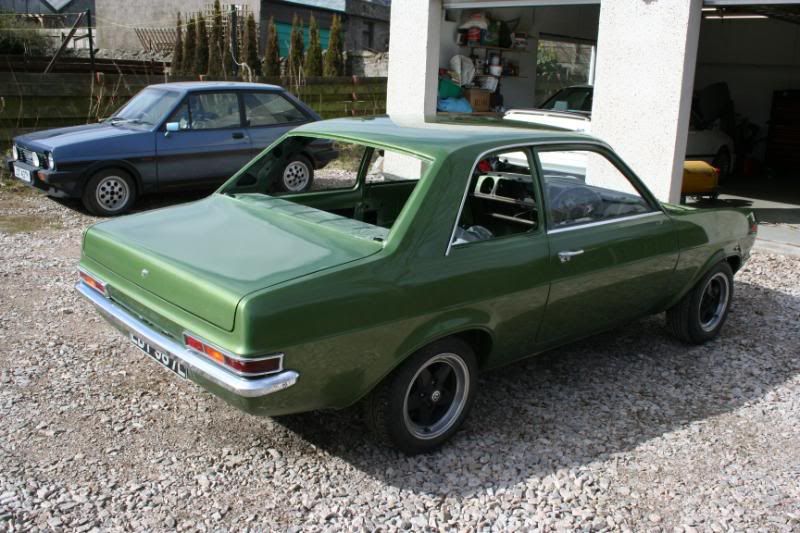
Car looks great, your putting me to shame :oops:

Andy.
User avatar
bodyworx
GT Viva
GT Viva
 
Posts: 351
Joined: Sat Oct 29, 2005 9:08 am
Location: paisley,scotland

Postby opelscott22 » Sun Feb 24, 2008 8:20 pm

putting you to shame?? no chance Andy!! :D

there are all kinds of imperfections in it, dust, dirt and even the odd watermark.( 2 water traps and I still got fish eye marks!!)

thanks for your tips on polishing, I thought wet and dry only went to 1500?? Ill have a hunt about and get some 2000, sounds the business. I wouldnt like to do it for a living though, it takes ages and its so easy to mess up. Took me all day to do the bonnet! :shock:

scott
User avatar
opelscott22
GT Viva
GT Viva
 
Posts: 333
Joined: Thu Sep 06, 2007 6:16 pm
Location: Aberdeen

Postby opelscott22 » Sun Feb 24, 2008 8:46 pm

been playing with the engine today, had a trial fit with the cam sensor fitted just to be sure...I thought so. No chance!!! not without major bulkhead and crossmember mods!

So, it was off with the cam sensor...took about 3 hours with the hacksaw. Must remember to get a new blade!!

Image

then I had to modify the cam, out with the mr noisey and lop the end off. I then tapped the end and put a bolt in to block the oilway.

Then it was a case of sling it in the hole again to check for clearance. It looks good now, its got to sit a wee bit higher but it definitly will go in there!!
Ive got to make some mounts for the crossmember then its in!

Image

Image

Image

scott
User avatar
opelscott22
GT Viva
GT Viva
 
Posts: 333
Joined: Thu Sep 06, 2007 6:16 pm
Location: Aberdeen

Postby bodyworx » Sun Feb 24, 2008 9:14 pm

opelscott22 wrote:putting you to shame?? no chance Andy!! :D

there are all kinds of imperfections in it, dust, dirt and even the odd watermark.( 2 water traps and I still got fish eye marks!!)

thanks for your tips on polishing, I thought wet and dry only went to 1500?? Ill have a hunt about and get some 2000, sounds the business. I wouldnt like to do it for a living though, it takes ages and its so easy to mess up. Took me all day to do the bonnet! :shock:

scott


Your 'water marks' may be a bit of silicon if they look like fisheyes, WD40 and the likes are a major culprit by the way if youd been doing any engine work etc in the area your painting in!.
Finishing paper goes up to 4000 :shock: , lightest ive used is 3000, its like rubbing down with the wet edition of the DailyRecord though lol, but it definately worksand gives you totally scratch free finish!.
When it comes down to flat/polish, I 'allow' myself 3 days, then trim and glass back in etc, and then a final polish (8 - 10 hours or so) when its almost ready to go out.
Just remembered as well theres a brill polish by 3M called 'Polish Rosa', actually does smell like roses and is a pinky colour, it is very good and long lasting,great for a quick rub over for shows etc, but long term, use a good carnoba once a month and it will be minted and as smooth as a babies b u m ! :wink:
User avatar
bodyworx
GT Viva
GT Viva
 
Posts: 351
Joined: Sat Oct 29, 2005 9:08 am
Location: paisley,scotland

Postby opelscott22 » Sat Mar 15, 2008 10:43 pm

I had a great day down at the spares day!! thanks to all involved! :D
I was like a kid in a sweet shop, spent nearly a months wages!! :shock:
I got most of the stuff I needed and a few handy spares, ball joints, bearings and the like. Took a few pics of the various Vivas that were parked outside.

Have to say though, I was sorely tempted to buy the white HB GT that was for sale outside..... :?

I havent updated this much lately, theres been lots going on, lots of measuring and head scratching...

made some engine mounts,Had to make the drivers side one twice as I forgot that the mount sits lower on that side...DOH!!!
More head scratching was required to clear the steering joint.Ill probably be bald by the time I finish this!! :(

Image

Image

Then I made a gearbox mount using the original viva crossmember and the type 9 rubber bit welded to it, worked out well and seems strong enough, Time will tell!!

Image


Then it was sump time...I made a plate from 3mm steel and made the pan from regular body repair stuff. It can hold 4.5 ltrs so should be ok ( its got an oil cooler.).I forgot to take pics of it when it was made but heres a pic of it fitted, you get the idea...

Image

Heres a pic of the back end and the engine fitted, just because pics are good...

Image

Image

And the momentus occasion arrived!!!!! back on its wheels!!!!

:D :D

Image
User avatar
opelscott22
GT Viva
GT Viva
 
Posts: 333
Joined: Thu Sep 06, 2007 6:16 pm
Location: Aberdeen

Postby Poletrader » Sat Mar 15, 2008 11:46 pm

This is an incredible build story, I've just read through the whole thing and it's made me so itchy to buy a sorry-looking scrapper and get it back on the road. Well done, this is inspiring!
Poletrader
De Luxe Viva
De Luxe Viva
 
Posts: 7
Joined: Thu Mar 13, 2008 10:01 pm
Location: Warsaw, Poland

Postby opelscott22 » Sun Mar 16, 2008 10:10 am

Go on man!!!! get it done!!! :D Theres nothing more satisfying than driving a car you built....well, nearly nothing. :wink:

Though, mine wasnt too bad when I started, its alot better than it was!! I cant wait to get it finished, fire up the screamer of an engine and go for a blast down the road!!
User avatar
opelscott22
GT Viva
GT Viva
 
Posts: 333
Joined: Thu Sep 06, 2007 6:16 pm
Location: Aberdeen

Postby phil dawson » Sun Mar 16, 2008 10:26 am

Scott, Your car is really looking good, well done. You will be well pleased once you have it back out on the road.
What goodies did you manage to buy at the spares day?

Phil.
phil dawson
GT Viva
GT Viva
 
Posts: 419
Joined: Sun Sep 23, 2007 10:34 pm
Location: Aberdeenshire

Postby opelscott22 » Sun Mar 30, 2008 6:27 pm

Hi Phil, I got loads at the spares day!! got a good dash top, new indicators, full set of bushes and ball joints, new shocks that turned out to be spax,(result!!) Magnum clocks and a load of stuff Ive forgotten about!!

It was well worth the trip down...I wasnt even planning to go down, just decided at the last minute!

Heres a few pics of the car as it is now, spent ages flatting the paint and polishing! well worth it though... :D

Image

Image

Image

Image

Image
User avatar
opelscott22
GT Viva
GT Viva
 
Posts: 333
Joined: Thu Sep 06, 2007 6:16 pm
Location: Aberdeen

Postby hbpeter » Sun Mar 30, 2008 9:35 pm

It just keeps on getting better. :P
Peter
Reading between the lines, dangerous if your waiting for a train.
User avatar
hbpeter
Register Rep
 
Posts: 10920
Joined: Sat Oct 29, 2005 12:11 pm
Location: Thornaby, Cleveland

PreviousNext

Return to Restoration

Who is online

Users browsing this forum: No registered users and 17 guests

cron