Yep the front end is top notch! well done. At some point it looks like one end was sitting in water as on one of the track rod ends one of the rubber bushes has disintegrated, along with some rust building up on the caliper and the shock on that side, so I think it will have to either be replaced or have a new coat of "bright yellow" paint on it. Apart from that it looks much better than the one I've taken off where most of the rubber bits have cracked or broken off completely! Ive given it a wash down and its in great condition minus that side, the steering rack looked so pristine that it looked like plastic in the middle! not a scratch! Hopefully that will go on pretty soon. You are welcome to come by any time to look at the car. And no the engine still needs turning over
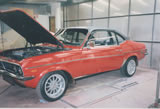
Magnum Coupe 2300 Restoration
Re: Magnum Coupe 2300 Restoration
![]() by terencegurry » Thu Jun 30, 2011 11:29 pm
by terencegurry » Thu Jun 30, 2011 11:29 pm
Hey paul!
Yep the front end is top notch! well done. At some point it looks like one end was sitting in water as on one of the track rod ends one of the rubber bushes has disintegrated, along with some rust building up on the caliper and the shock on that side, so I think it will have to either be replaced or have a new coat of "bright yellow" paint on it. Apart from that it looks much better than the one I've taken off where most of the rubber bits have cracked or broken off completely! Ive given it a wash down and its in great condition minus that side, the steering rack looked so pristine that it looked like plastic in the middle! not a scratch! Hopefully that will go on pretty soon. You are welcome to come by any time to look at the car. And no the engine still needs turning over
Yep the front end is top notch! well done. At some point it looks like one end was sitting in water as on one of the track rod ends one of the rubber bushes has disintegrated, along with some rust building up on the caliper and the shock on that side, so I think it will have to either be replaced or have a new coat of "bright yellow" paint on it. Apart from that it looks much better than the one I've taken off where most of the rubber bits have cracked or broken off completely! Ive given it a wash down and its in great condition minus that side, the steering rack looked so pristine that it looked like plastic in the middle! not a scratch! Hopefully that will go on pretty soon. You are welcome to come by any time to look at the car. And no the engine still needs turning over
15 years of dust to remove, ohh joy!
1974 Magnum 2300 Coupe
1983 Cavalier CD
1974 Magnum 2300 Coupe
1983 Cavalier CD
-
terencegurry - SL Viva

- Posts: 69
- Joined: Mon Dec 22, 2008 1:05 pm
- Location: Barnet, London
Re: Magnum Coupe 2300 Restoration
![]() by terencegurry » Sun Jul 10, 2011 9:56 pm
by terencegurry » Sun Jul 10, 2011 9:56 pm
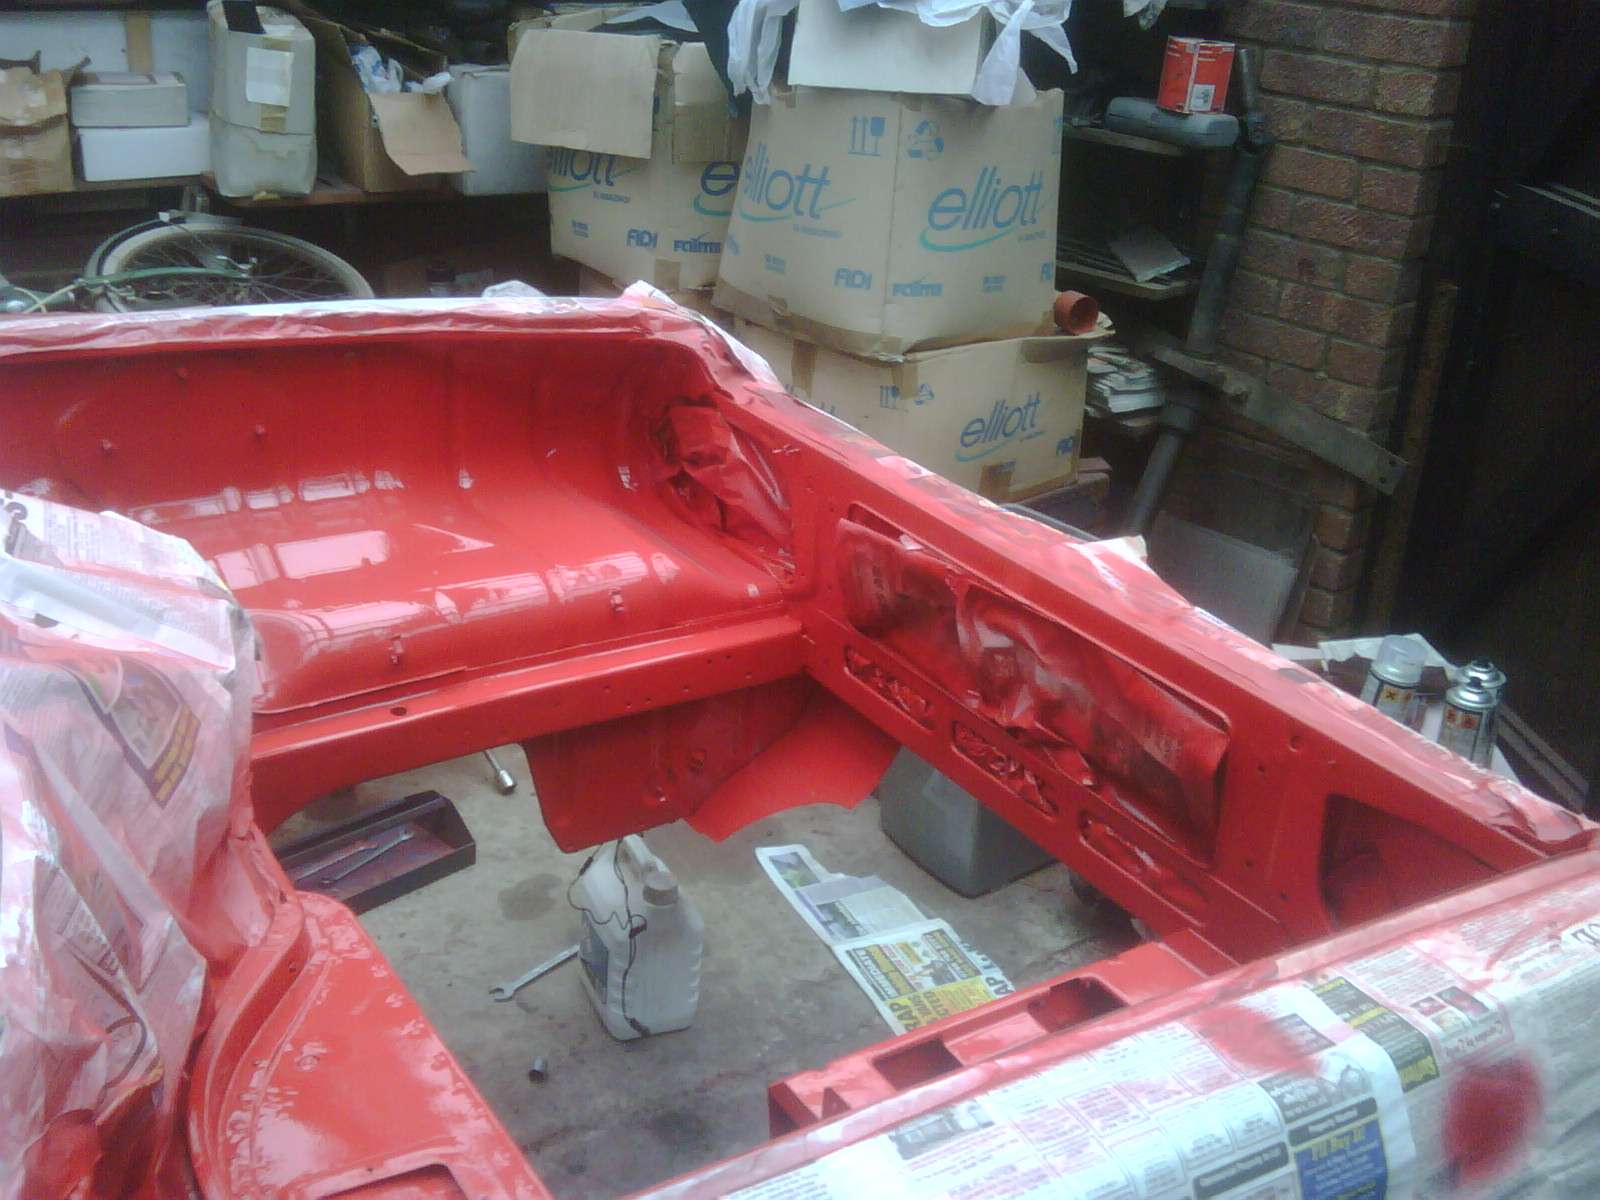
An update to the work side of things, Got a lot done, under the car is done (99%), engine bay is going to be wetsand tommorow then topcoat that then wetsand and laquer. Have also been fixing up the front end, also found a new steering coupling balljoints ect, but they shouldnt have to be replaced as they are allready new 
Last edited by terencegurry on Tue Jul 09, 2013 2:00 am, edited 1 time in total.
15 years of dust to remove, ohh joy!
1974 Magnum 2300 Coupe
1983 Cavalier CD
1974 Magnum 2300 Coupe
1983 Cavalier CD
-
terencegurry - SL Viva
- Posts: 69
- Joined: Mon Dec 22, 2008 1:05 pm
- Location: Barnet, London
Re: Magnum Coupe 2300 Restoration
![]() by terencegurry » Sun Jul 17, 2011 6:38 pm
by terencegurry » Sun Jul 17, 2011 6:38 pm
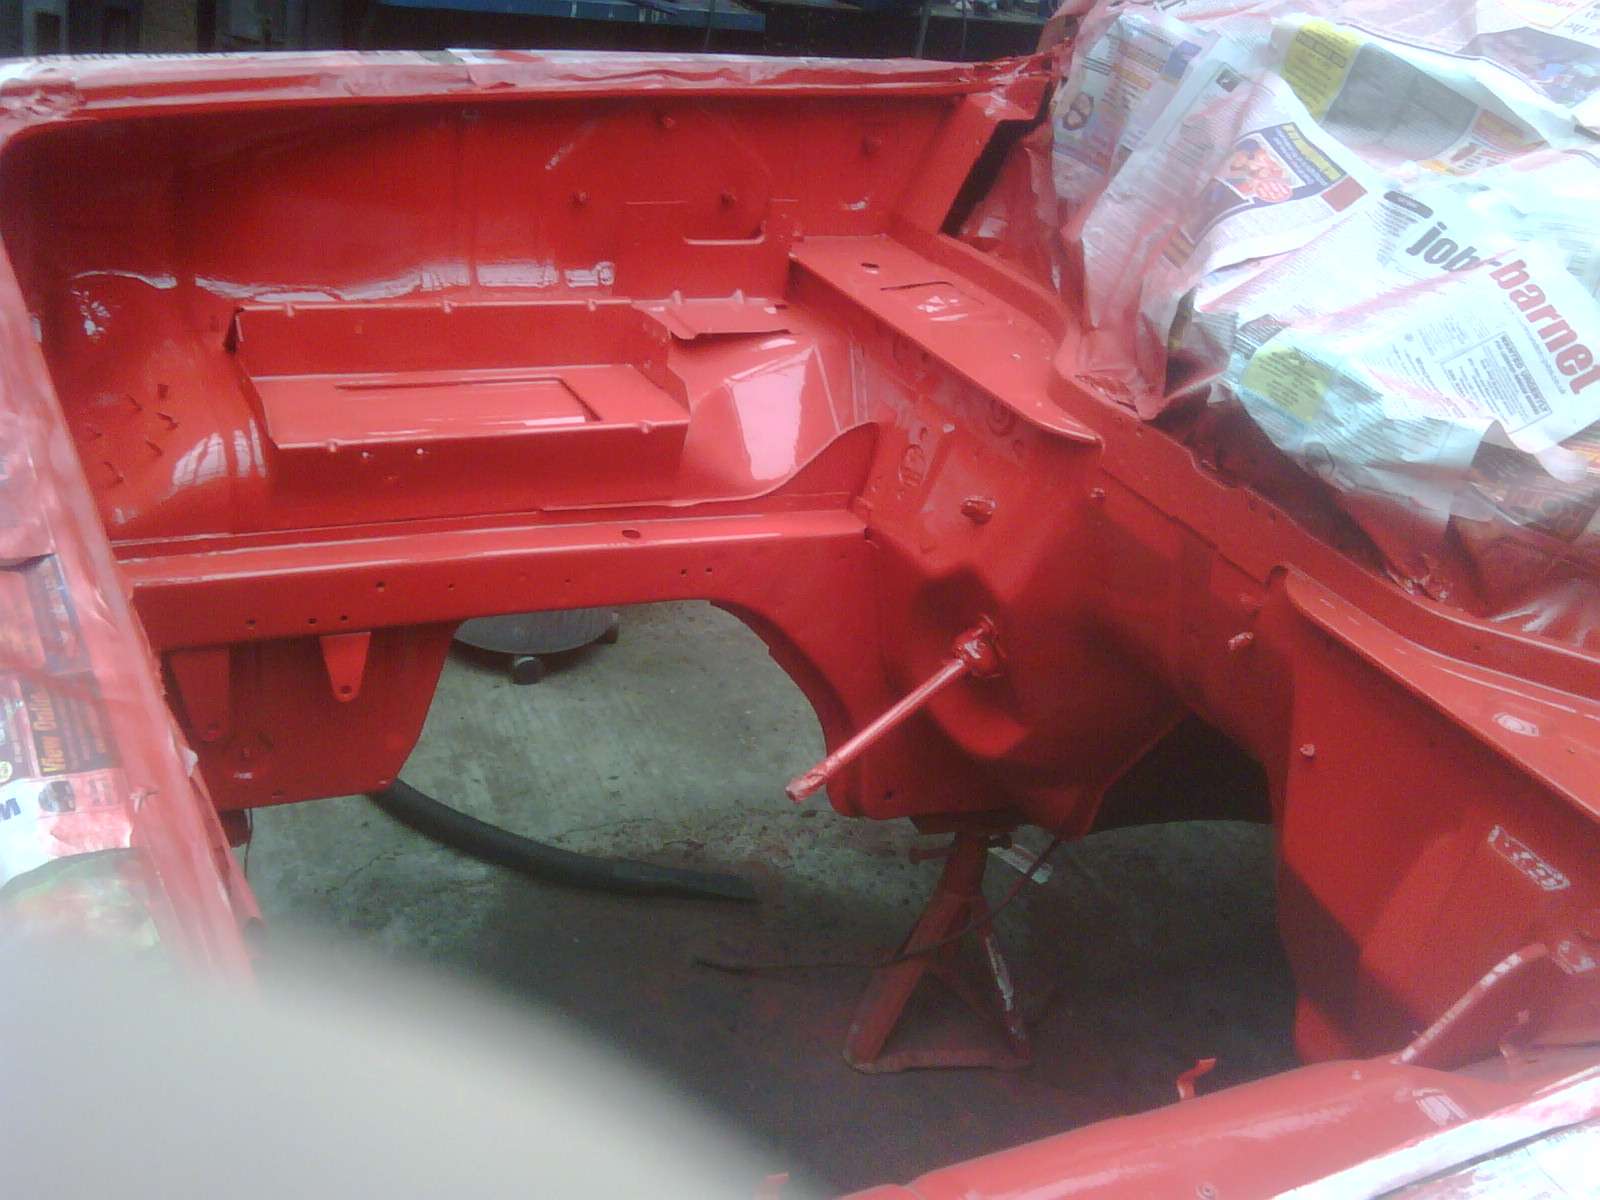
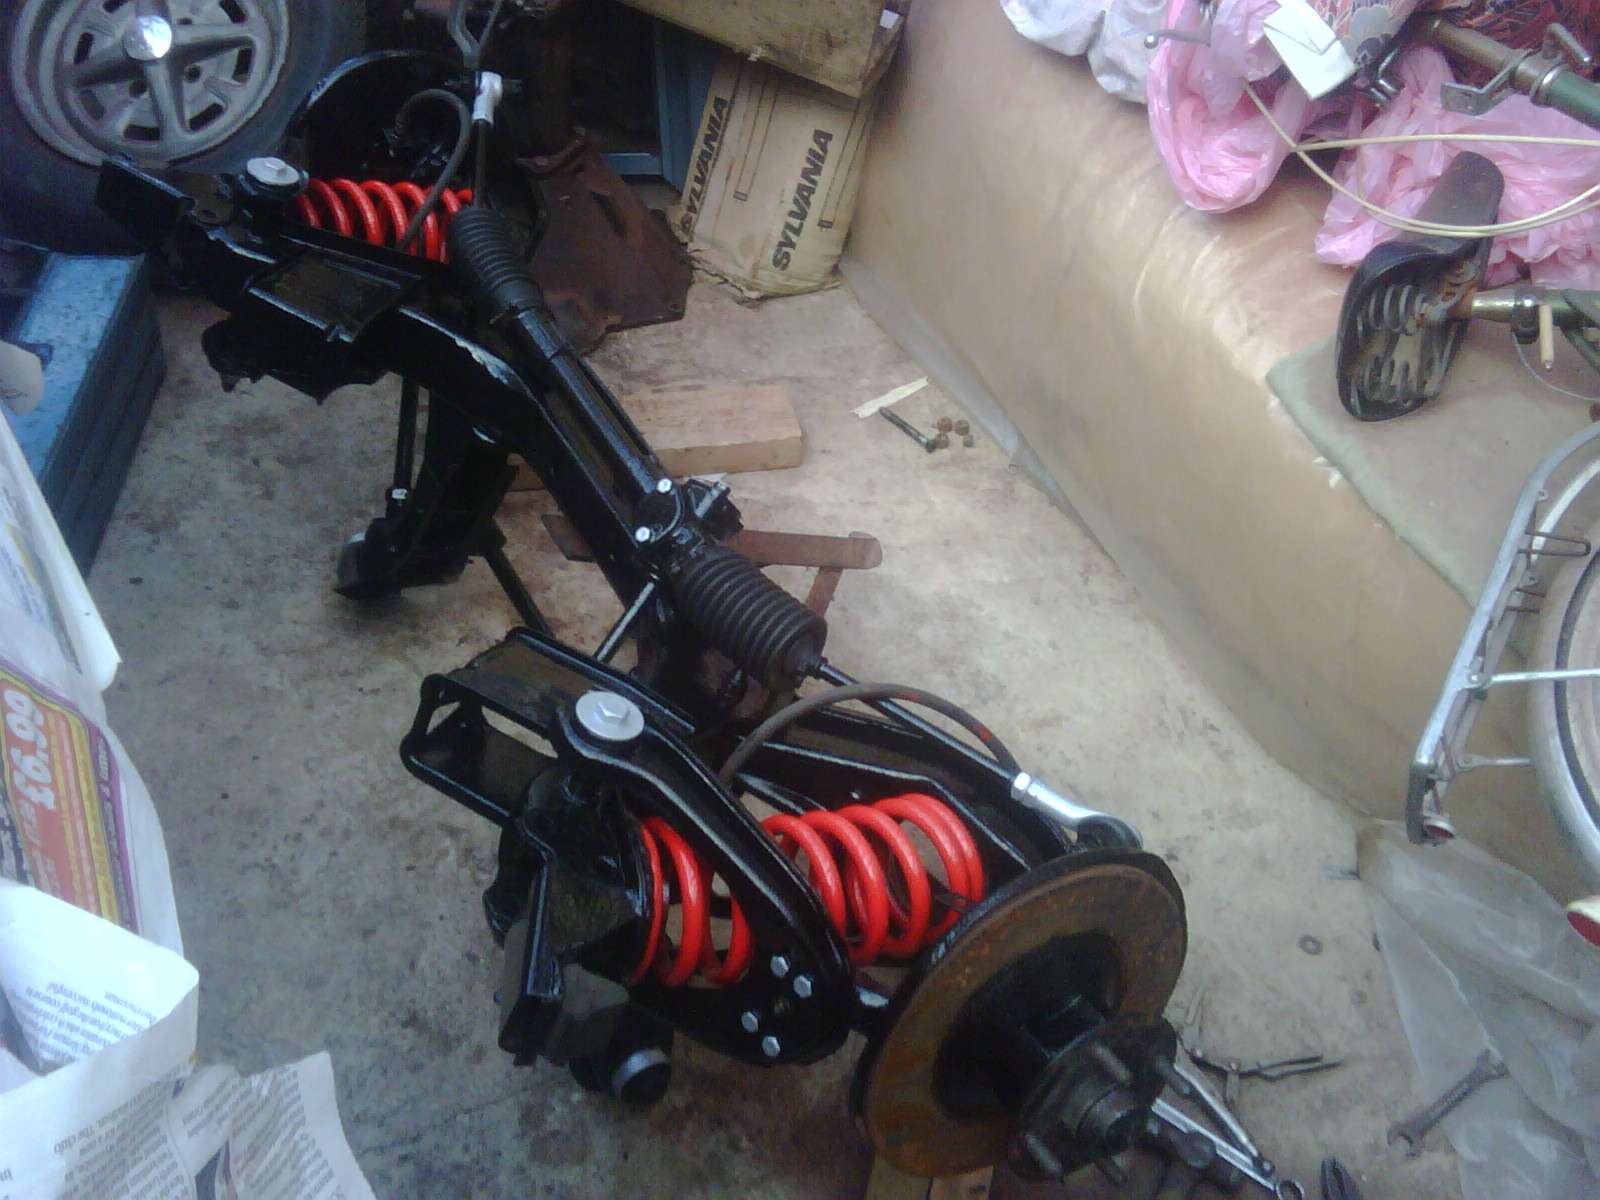
Slow progress. Engine bay done, Rear shoes changed, self adjuster is a right sod. Have new drums to go on and will probably paint them soon. Will start on front end, already got calipers stripped and down to bare metal, with new pistons, seals nipples to go on.
http://img94.imageshack.us/img94/6660/i ... 171819.jpg
http://img836.imageshack.us/img836/3923 ... 171819.jpg
http://img823.imageshack.us/img823/9615 ... 171820.jpg
Spax probably won't go on. Have some other new ones which will though. The car isn't going to be raced....

http://img717.imageshack.us/img717/3142 ... 171821.jpg
http://img94.imageshack.us/img94/6660/i ... 171819.jpg
http://img836.imageshack.us/img836/3923 ... 171819.jpg
http://img823.imageshack.us/img823/9615 ... 171820.jpg
Spax probably won't go on. Have some other new ones which will though. The car isn't going to be raced....
http://img717.imageshack.us/img717/3142 ... 171821.jpg
Last edited by terencegurry on Fri Nov 27, 2015 4:19 am, edited 2 times in total.
15 years of dust to remove, ohh joy!
1974 Magnum 2300 Coupe
1983 Cavalier CD
1974 Magnum 2300 Coupe
1983 Cavalier CD
-
terencegurry - SL Viva
- Posts: 69
- Joined: Mon Dec 22, 2008 1:05 pm
- Location: Barnet, London
Re: Magnum Coupe 2300 Restoration
![]() by terencegurry » Mon Jul 25, 2011 7:38 pm
by terencegurry » Mon Jul 25, 2011 7:38 pm
Font end is nearly done.
Last edited by terencegurry on Mon Aug 01, 2011 12:08 am, edited 2 times in total.
15 years of dust to remove, ohh joy!
1974 Magnum 2300 Coupe
1983 Cavalier CD
1974 Magnum 2300 Coupe
1983 Cavalier CD
-
terencegurry - SL Viva
- Posts: 69
- Joined: Mon Dec 22, 2008 1:05 pm
- Location: Barnet, London
Re: Magnum Coupe 2300 Restoration
![]() by viva2300 » Tue Jul 26, 2011 12:37 am
by viva2300 » Tue Jul 26, 2011 12:37 am
Looks a nice machine Terrence....wish i had that garage to sort mine out.
paul
paul
S. EAST AREA REP
1972 Viva 2300 SL 4DR
1973 Viva 2300 SL 4DR + one on paper.
1973 Viva 2300 SL EState
1973 Viva 1800 SL 4DR not for long
1971 Viva 1600 SL 4DR AUTO
1974 HP Firenza Droopsnoot
TOO MANY CARS NOT ENOUGH MONEY OR TIME
1972 Viva 2300 SL 4DR
1973 Viva 2300 SL 4DR + one on paper.
1973 Viva 2300 SL EState
1973 Viva 1800 SL 4DR not for long
1971 Viva 1600 SL 4DR AUTO
1974 HP Firenza Droopsnoot
TOO MANY CARS NOT ENOUGH MONEY OR TIME
-

viva2300 - Brabham Viva

- Posts: 932
- Joined: Mon Jul 31, 2006 7:03 pm
- Location: West Sussex
Re: Magnum Coupe 2300 Restoration
![]() by terencegurry » Tue Jul 26, 2011 10:40 am
by terencegurry » Tue Jul 26, 2011 10:40 am
Believe it or not it was clean when I started Now the odd car bits and covers have built up pretty much where ever you can see and there is hardly any room to move any more 
15 years of dust to remove, ohh joy!
1974 Magnum 2300 Coupe
1983 Cavalier CD
1974 Magnum 2300 Coupe
1983 Cavalier CD
-
terencegurry - SL Viva
- Posts: 69
- Joined: Mon Dec 22, 2008 1:05 pm
- Location: Barnet, London
Re: Magnum Coupe 2300 Restoration
![]() by terencegurry » Mon Aug 22, 2011 7:37 pm
by terencegurry » Mon Aug 22, 2011 7:37 pm
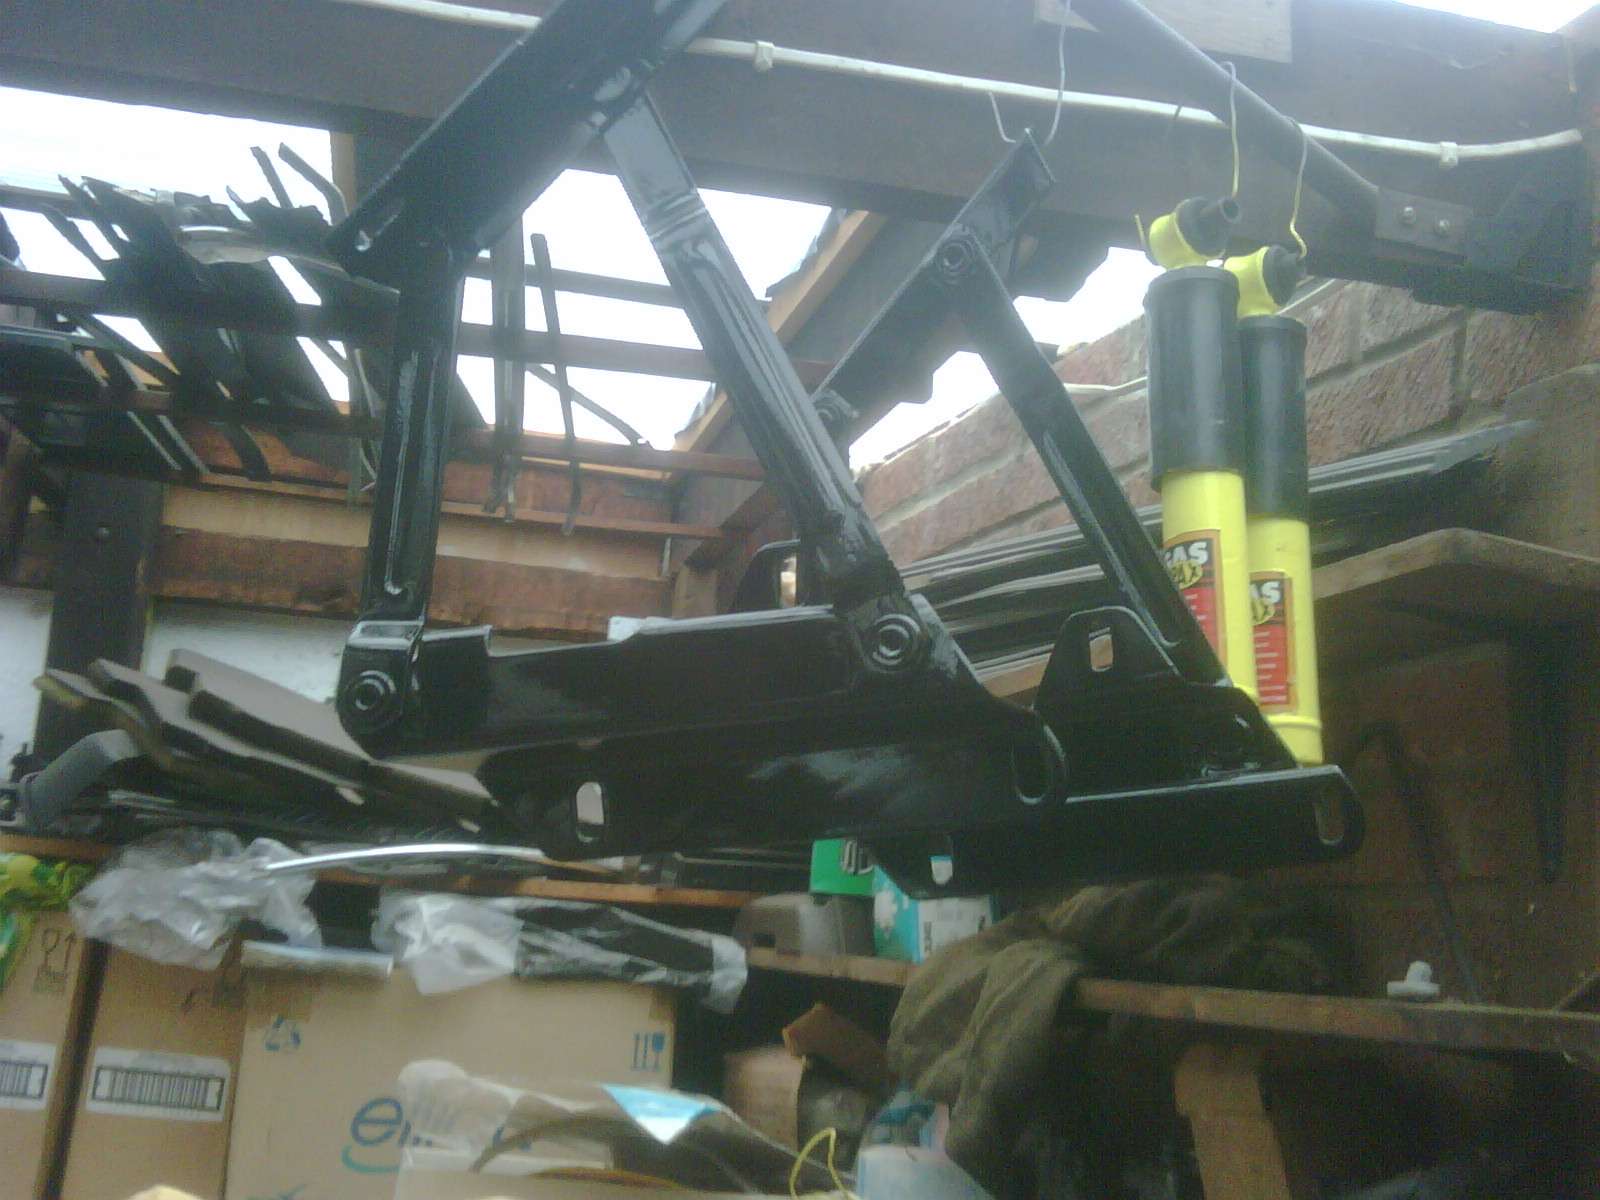
Lot's of odd bits done, finished this axle just having a bit of a problem lining up the rear mounting bolts, so i'm leaving it tonight only half on.
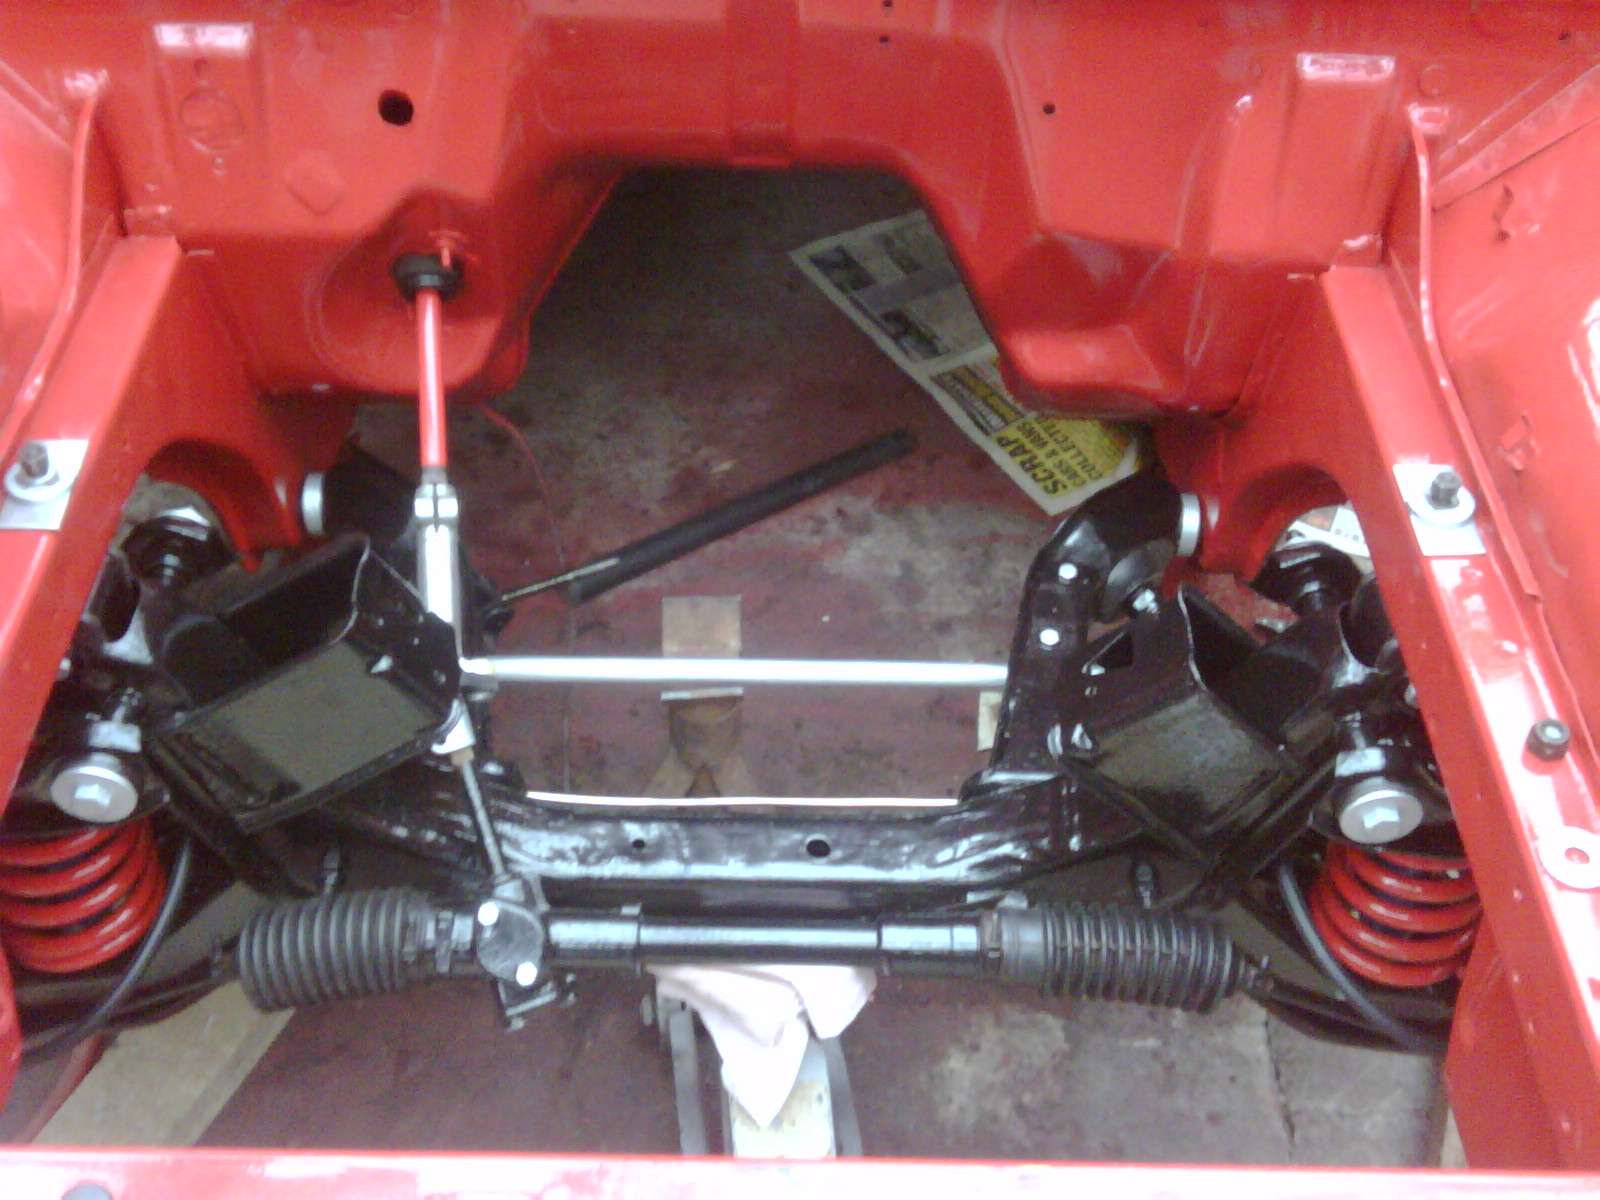
Rear brake lines, fuel lines and sender, handbrake then will drop car back on wheels.
Rear brake lines, fuel lines and sender, handbrake then will drop car back on wheels.
15 years of dust to remove, ohh joy!
1974 Magnum 2300 Coupe
1983 Cavalier CD
1974 Magnum 2300 Coupe
1983 Cavalier CD
-
terencegurry - SL Viva
- Posts: 69
- Joined: Mon Dec 22, 2008 1:05 pm
- Location: Barnet, London
Re: Magnum Coupe 2300 Restoration
![]() by hbpeter » Mon Aug 22, 2011 7:59 pm
by hbpeter » Mon Aug 22, 2011 7:59 pm
Wow thats clean!!! 
Peter
Peter
Reading between the lines, dangerous if your waiting for a train.
-

hbpeter - Register Rep
- Posts: 10918
- Joined: Sat Oct 29, 2005 12:11 pm
- Location: Thornaby, Cleveland
Re: Magnum Coupe 2300 Restoration
![]() by terencegurry » Sun Sep 04, 2011 5:46 pm
by terencegurry » Sun Sep 04, 2011 5:46 pm
Ok so the front axle still won't line up, and now I know why.
Back in the 70s my father slid on ice with the car and one wheel clipped the curb. This put the steering out of alignment and he had to get it fixed. Well the car was fine after that, the steering worked well ect. Now that it has come to putting on a new front axle things just don't line up. The chassis rail on the nearside was buckled and so was the actual axle, both being about 2-3mm out on the hole on that side. This has amounted to the new axle being about 5mm out on the hole, this might not sound a lot but when you try and bend an axle or chassis rail back into position it doesn't matter if it's 2mm or 50mm, you wont be able to get it to budge.
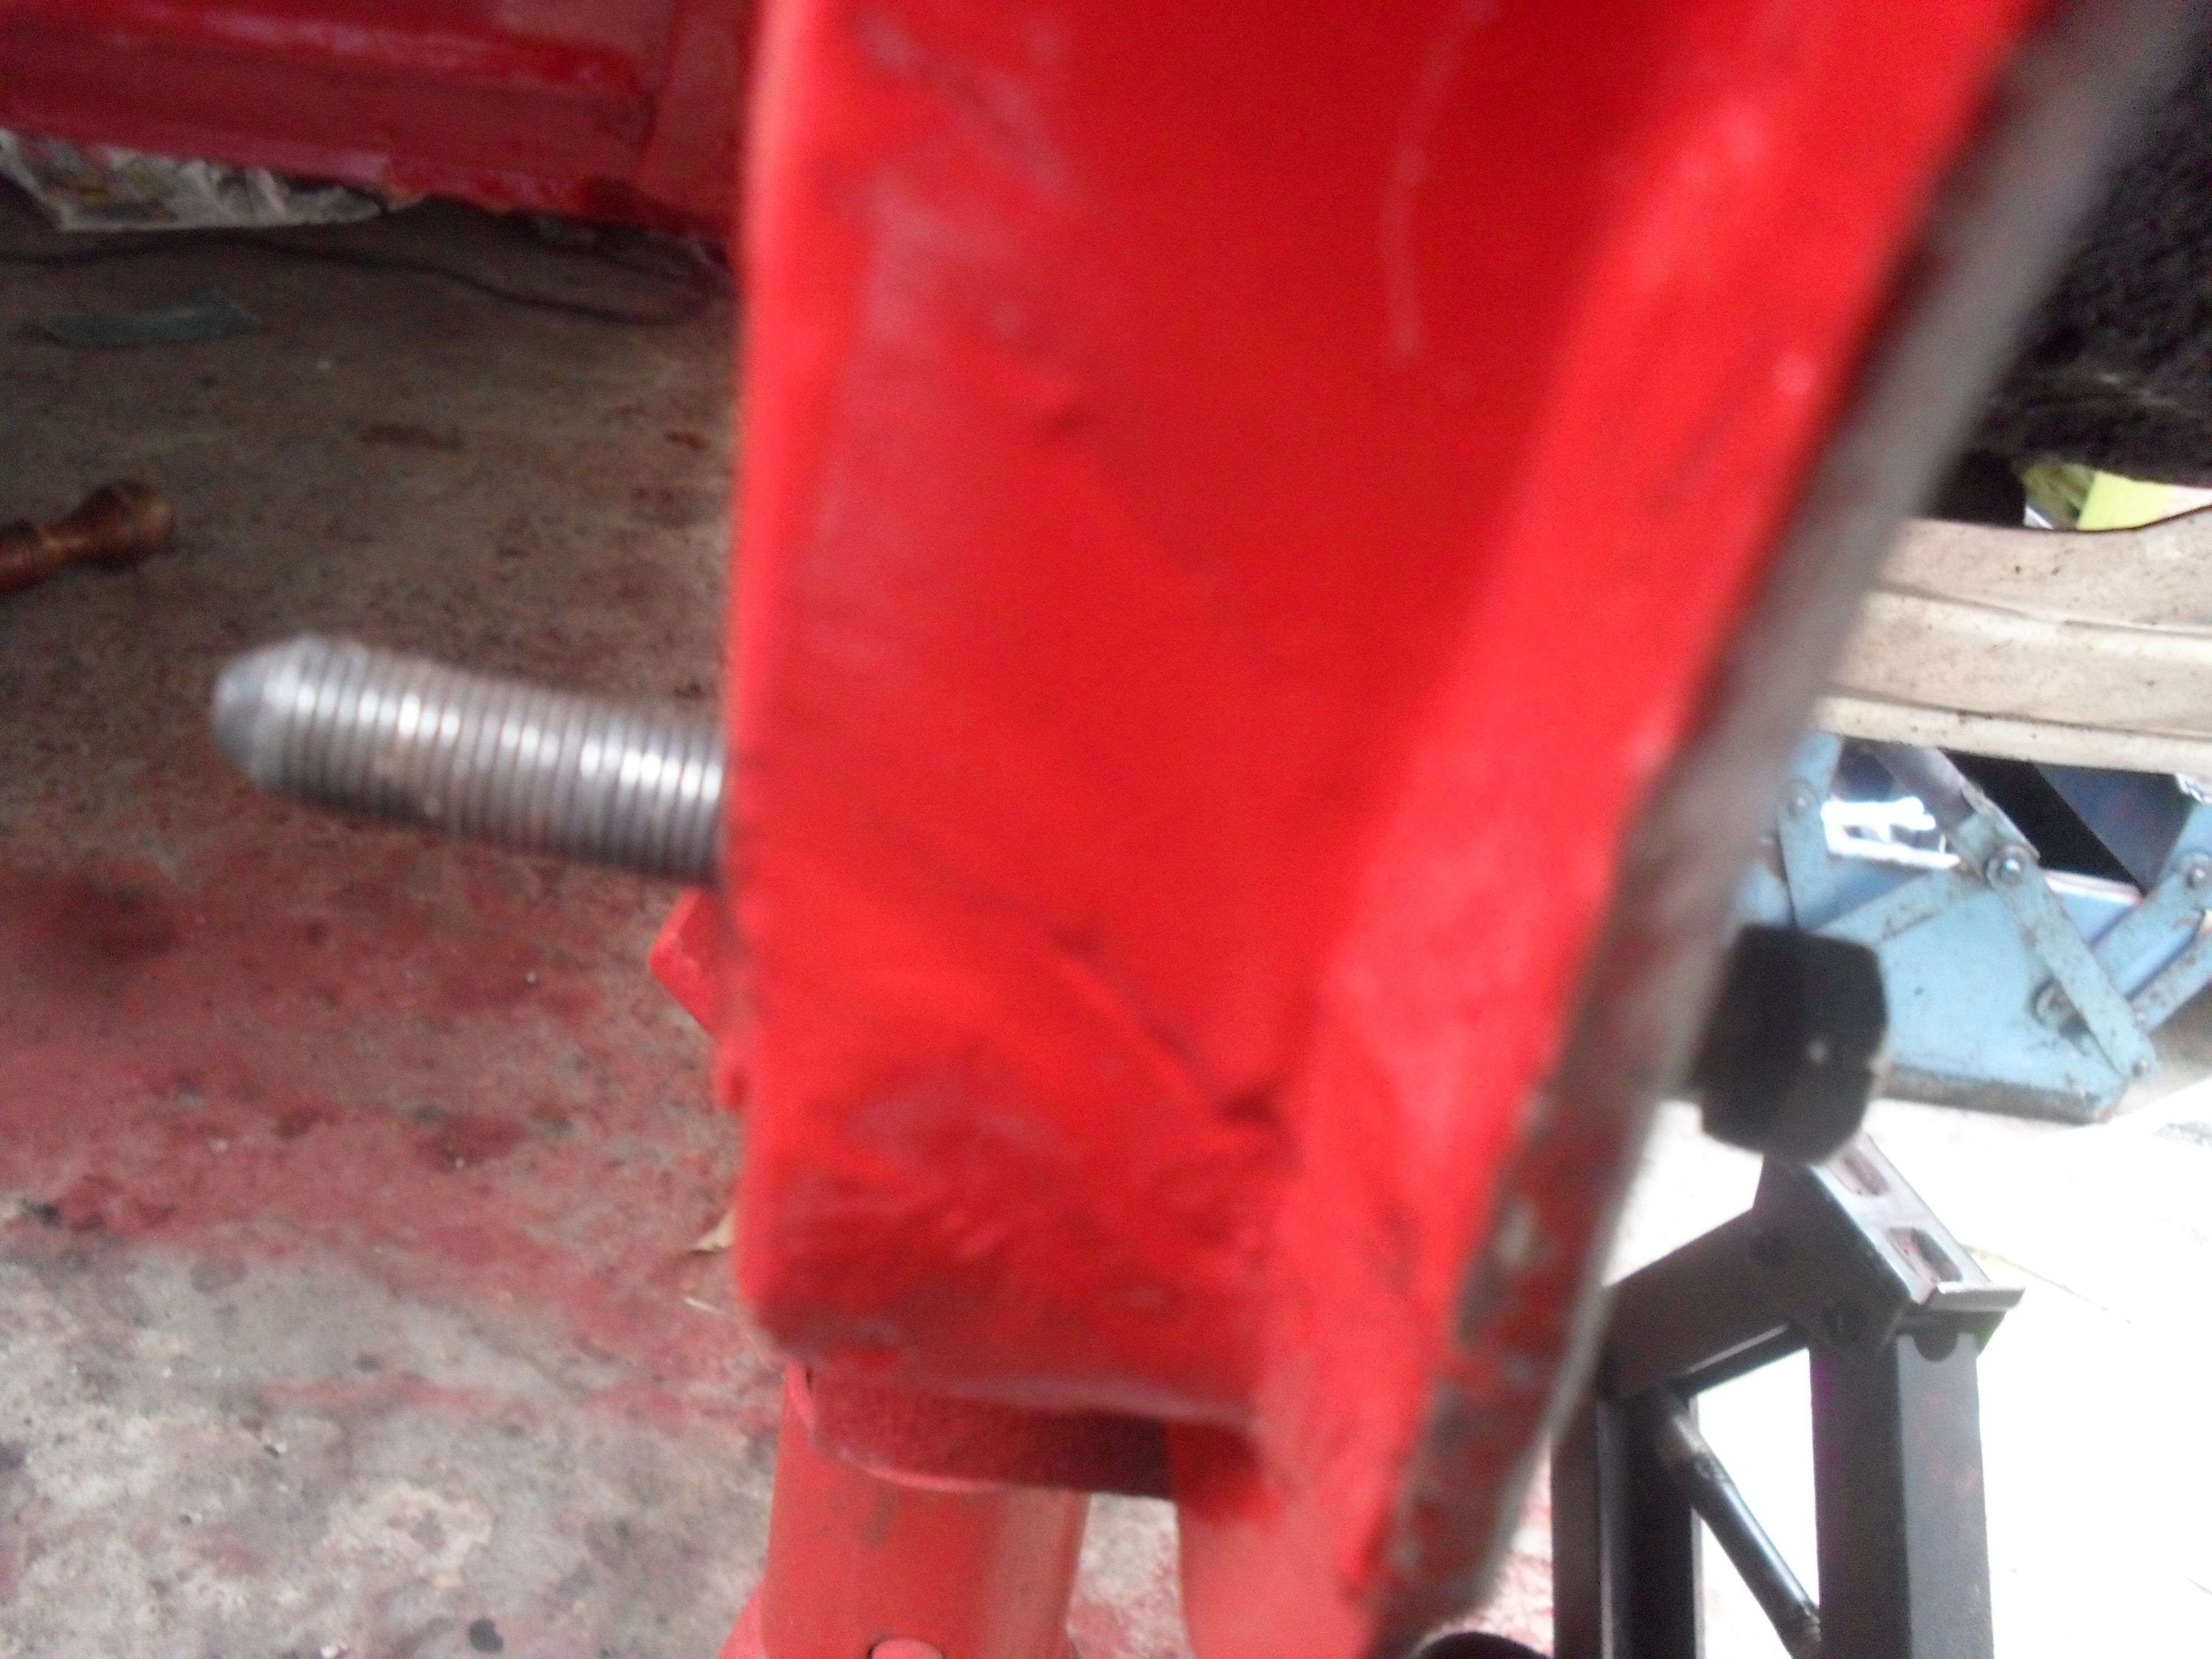
There is filler all around this hole and, the hole itself seems to also be wrong, with the sleeving inside being diagonal so that the bolt doesnt run straight through but at an angle. This might be hard to visualize so I have taken some pictures. You will also be able to see some "rippling" from the hole up the chassis rail.
How it should be
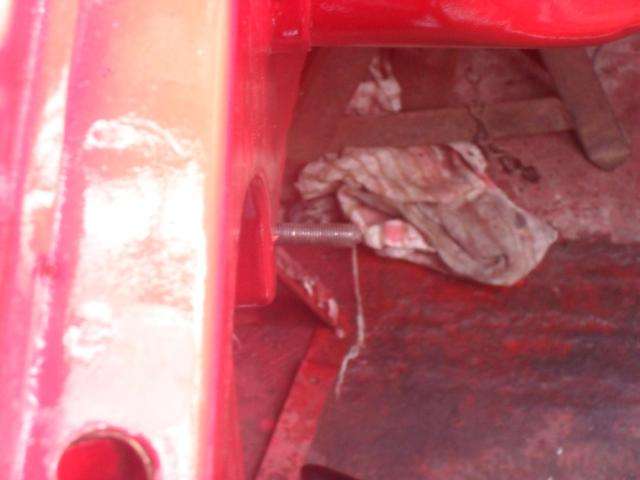
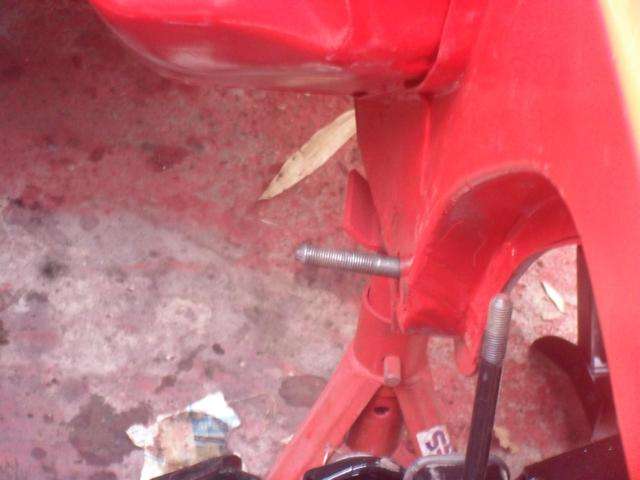
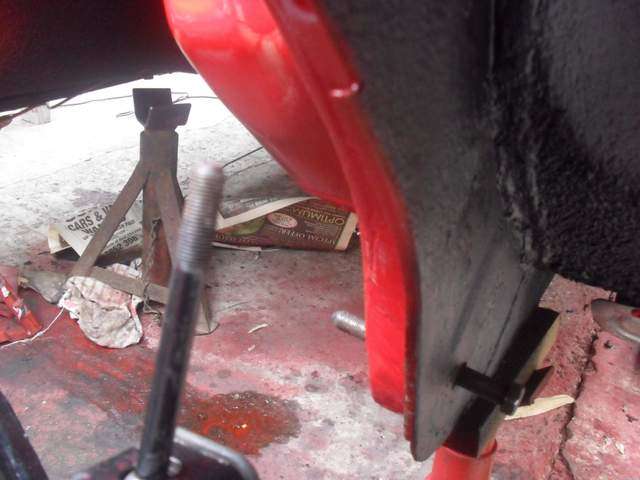
Bolt quite clearly going up at an angle
So as you see, I have quite a dilemma here, I cant afford for the chassis to be straightened, and don't have the facilities to rebuild the old chassis, plus I'm not sure that it would even fit (or if it would be right to put back a slightly bent axle).
So I need ideas, ways or someone to help! Please how do I do this, i've tried brute force to get the new axle to line up, ive put the top mounts in first, but the back dont line up, ive put the back first but the top dont line up, ive taken the top out to try and bring the axle up to the mounts but nothing....
The only thing we've thought of is to move the position of the hole on the buckled side by welding a new hole and sleeve in. or to maybe even do the top mounts in a new position (GOODBYE PAINT...)
Back in the 70s my father slid on ice with the car and one wheel clipped the curb. This put the steering out of alignment and he had to get it fixed. Well the car was fine after that, the steering worked well ect. Now that it has come to putting on a new front axle things just don't line up. The chassis rail on the nearside was buckled and so was the actual axle, both being about 2-3mm out on the hole on that side. This has amounted to the new axle being about 5mm out on the hole, this might not sound a lot but when you try and bend an axle or chassis rail back into position it doesn't matter if it's 2mm or 50mm, you wont be able to get it to budge.
There is filler all around this hole and, the hole itself seems to also be wrong, with the sleeving inside being diagonal so that the bolt doesnt run straight through but at an angle. This might be hard to visualize so I have taken some pictures. You will also be able to see some "rippling" from the hole up the chassis rail.
How it should be
Bolt quite clearly going up at an angle
So as you see, I have quite a dilemma here, I cant afford for the chassis to be straightened, and don't have the facilities to rebuild the old chassis, plus I'm not sure that it would even fit (or if it would be right to put back a slightly bent axle).
So I need ideas, ways or someone to help! Please how do I do this, i've tried brute force to get the new axle to line up, ive put the top mounts in first, but the back dont line up, ive put the back first but the top dont line up, ive taken the top out to try and bring the axle up to the mounts but nothing....
The only thing we've thought of is to move the position of the hole on the buckled side by welding a new hole and sleeve in. or to maybe even do the top mounts in a new position (GOODBYE PAINT...)
Last edited by terencegurry on Tue Jul 09, 2013 2:02 am, edited 2 times in total.
15 years of dust to remove, ohh joy!
1974 Magnum 2300 Coupe
1983 Cavalier CD
1974 Magnum 2300 Coupe
1983 Cavalier CD
-
terencegurry - SL Viva
- Posts: 69
- Joined: Mon Dec 22, 2008 1:05 pm
- Location: Barnet, London
Re: Magnum Coupe 2300 Restoration
![]() by Paul » Sun Sep 04, 2011 7:59 pm
by Paul » Sun Sep 04, 2011 7:59 pm
Hello Terry, what a struggle eh! So near, yet so far, only about 5mm out but there is no way the axle will line up. It appears that the chassis, and original axle are both bent slightly.
I think the easiest way to sort out the problem is to call in a decent mobile welder/fabricator and get him to make a new bit of chassis rail including the inner sleeve. Moving the crossmember top holes is not a good idea as it's a bodge to make the axle fit to the damaged mount - It's best to fix the original problem! Also you might find that moving the axle top mount hole will cause serious problem with the tracking, the car will never drive straight! To keep the costs down you need to do as much preparation work as possible, so by the time the welder arrives, all he is doing is making up a new bit of chassis rail and sleeve to your specification.
Remove all the underseal and filler right down to the bare metal on both sides so see exactly whats underneath.
Make up a cardboard template that matches the shape of the inside of the chassis rail, and stick it to the inside of the chassis rail. Position the good axle in place so that both top mounts are bolted up and you have a bolt through the drivers side chassis mount. This way the axle will be sitting in it's correct position. Then use a marker pen through the passenger side mount to mark the template with the required position of the hole. Drop the axle down and then you will be able see where the new hole needs to be. Show this to the welder and he should then have an idea of what needs doing.
As to the repair itself triangular plates could be welded over the existing chassis rail on both sides but then you are going to have problems getting a hole through the chassis rail and fitting the inner sleeve, plus the chassis rail might then be too wide for the axle mount to slot in so this method is a no-no. I think the only way to do it properly is to cut away the lower part of the chassis rail and have a new bit fabricated with the hole and sleeve in the right position
If you do as much preparation as possible before hand (get all your tools sorted out, get the template thing done, have a set of jacks ready ) may be the actual repair wont take that long (a couple of hours??) therefore shouldn't be that expensive, compared to getting the car taken to a body shop / chassis jig.
I think the easiest way to sort out the problem is to call in a decent mobile welder/fabricator and get him to make a new bit of chassis rail including the inner sleeve. Moving the crossmember top holes is not a good idea as it's a bodge to make the axle fit to the damaged mount - It's best to fix the original problem! Also you might find that moving the axle top mount hole will cause serious problem with the tracking, the car will never drive straight! To keep the costs down you need to do as much preparation work as possible, so by the time the welder arrives, all he is doing is making up a new bit of chassis rail and sleeve to your specification.
Remove all the underseal and filler right down to the bare metal on both sides so see exactly whats underneath.
Make up a cardboard template that matches the shape of the inside of the chassis rail, and stick it to the inside of the chassis rail. Position the good axle in place so that both top mounts are bolted up and you have a bolt through the drivers side chassis mount. This way the axle will be sitting in it's correct position. Then use a marker pen through the passenger side mount to mark the template with the required position of the hole. Drop the axle down and then you will be able see where the new hole needs to be. Show this to the welder and he should then have an idea of what needs doing.
As to the repair itself triangular plates could be welded over the existing chassis rail on both sides but then you are going to have problems getting a hole through the chassis rail and fitting the inner sleeve, plus the chassis rail might then be too wide for the axle mount to slot in so this method is a no-no. I think the only way to do it properly is to cut away the lower part of the chassis rail and have a new bit fabricated with the hole and sleeve in the right position
If you do as much preparation as possible before hand (get all your tools sorted out, get the template thing done, have a set of jacks ready
- Paul
- De Luxe Viva

- Posts: 5
- Joined: Mon Mar 29, 2010 8:57 pm
- Location: uk
Who is online
Users browsing this forum: No registered users and 23 guests