Page 3 of 3

Re: my second ha saloon

PostPosted: Mon Oct 01, 2012 8:15 pm
by carmad
pbottomley wrote:Long time no speak, great to see your still doing the foolish thing and repairing rotten old cars (nice ones at that) :D


good to hear from you 2 paul

bedfordbad wrote:PM sent!


replied

Re: my second ha saloon

PostPosted: Sun Oct 07, 2012 5:10 pm
by carmad
still stripping it at the min

got all the wiring and rear lights ect stripped out

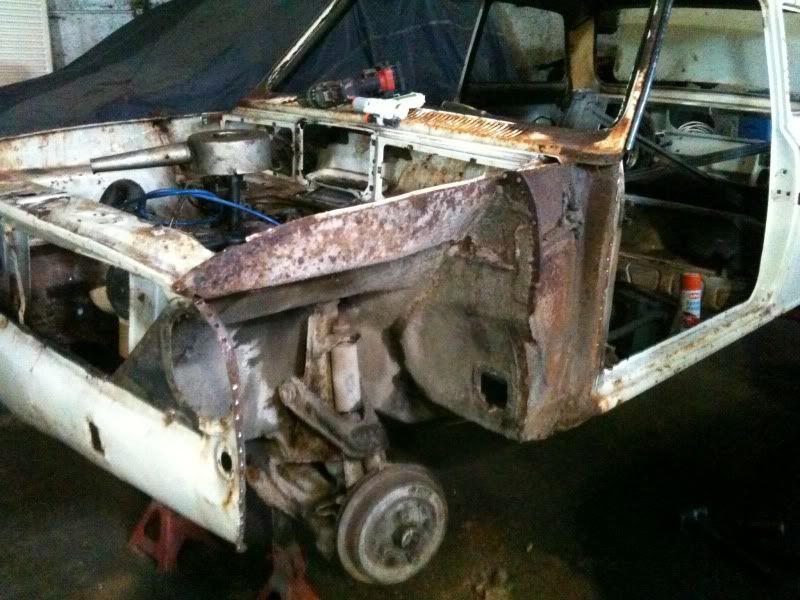
so first this was get the other welded on front wing off and see the damage that lay behind it

Image

Image

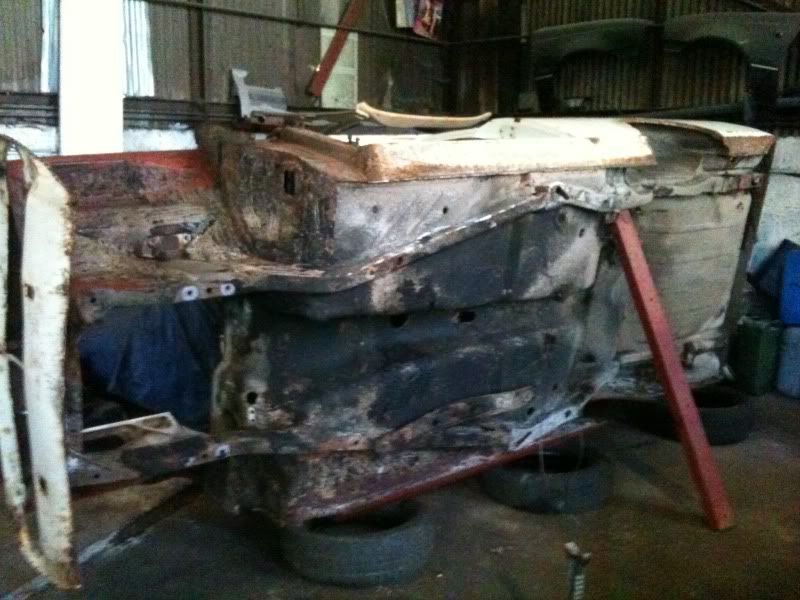
so then i had to get the rest off the front end out and the engine ect to get her up on her side to get all the under seal off and find any rotten metal

to behonest theres a few small patches but its still extreamly soild and definatiltly worth saving

Image

Image

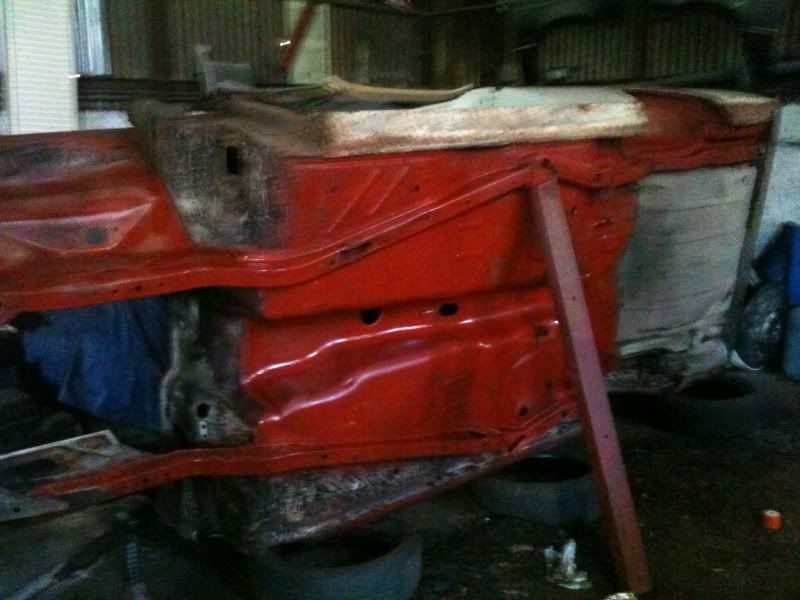
put red oxide primer on the bits that we had cleaned to stop them getting any worse

Image

Re: my second ha saloon

PostPosted: Sun Oct 07, 2012 5:14 pm
by hbpeter
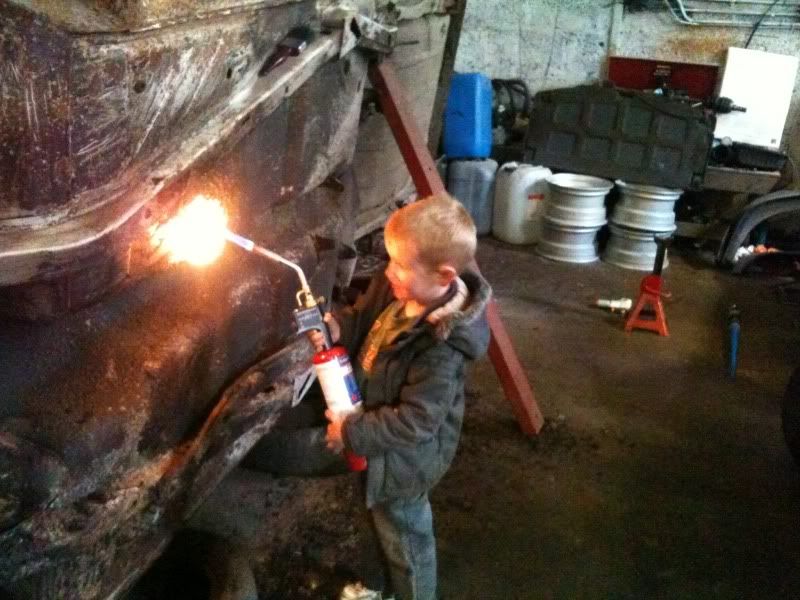
Whose the budding arsonist?

Car looks very solid.

Peter

Re: my second ha saloon

PostPosted: Fri Dec 28, 2012 8:03 pm
by carmad
the car is very solid peter

the wee fire bug is my 5 year old we lad

well as you can see in the back off the previous pics i obtained some 7 " weller steel deep offset wheels tho un fortunitally they are 4x100

we stuck some 155 tyres on them and they are very streched i am hoping the saloon will clear 175/185

so i tryed an old trick off mine today by taking out a pair off chevette half shafts that i had in a hb axel making it a hb 4x100 and tryed them in the ha axel

unfortunatly hb and chevette half shafts are around an inch and a half longer so even tho the splines in the planet gears are the same they are just too long

so i am going to have to run wobble nuts so any hub centric advice will be taken on board

any how i stuck them on my ha van to see how they would sit


Image


Image

the van is very high in them pics on the car i am gonna have it sitting lower

c+c / advice welcome

Re: my second ha saloon

PostPosted: Fri Dec 28, 2012 8:28 pm
by bluevivagt
hi carmad,where did you get your wobble nuts from ???? many thanks mike

Re: my second ha saloon

PostPosted: Sun Dec 30, 2012 8:13 pm
by carmad
I don't have any there are STD wheel nuts

i am gonna get the shell shot blasted and treated but i cant do that till i fit the engine and box first (incase i need ) to mod anything

Paul I have had a bit off a rethink on the engine things

this is the diff i pulled out off it

Image

so its been strip and painted ect you get the idea

Image

Re: my second ha saloon

PostPosted: Wed Jan 02, 2013 5:47 pm
by carmad
I got all the new brake pipes made up today using all the old fittings so loads off cleaning and messing about

But at least I remembered to take a decent pic ;)

Waiting on new parts coming in the post

Image

Also what paint do you guys use for leaf springs ??

Re: my second ha saloon

PostPosted: Sat Jan 05, 2013 7:59 pm
by carmad
still working on the back end at the min its quite rusty to be honest

Image

Image

Image

so i stripped it down and spent ages with a wire wheel to get em to this stage

Image

Image

then stuck em in the sand blaster

Image

quick lick off black gloss

Image

and stuck em back together

Image

Image

and my new rear wheel cylinders came today so hopefully that will be the rear end completely sorted tomorrow

Re: my second ha saloon

PostPosted: Fri Jan 18, 2013 6:11 pm
by carmad
rear end is sorted accept i smashed a drum tring to get it off after i fitted it wrong

todays nightmare

1 leaf spring for 2 front wheels ( i hate hb /hc owners lol )

Image

after it all went boinngggggg my heart rate stablised (how do i put this back together lol?)

Re: my second ha saloon

PostPosted: Thu Jan 31, 2013 9:39 pm
by carmad
so after a lot off waiting my panels came thanks fred and les + £70 quids worth off super in the zafira to go pick em up lol


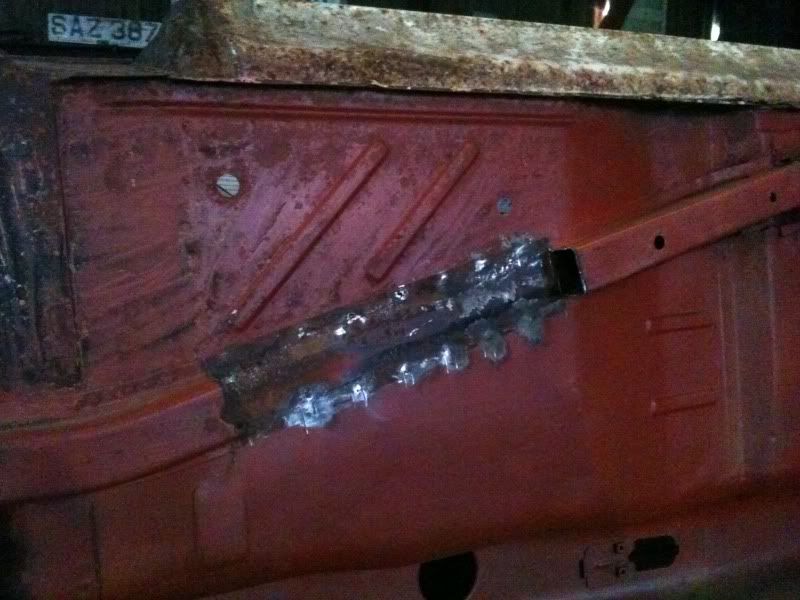
i decided that i wasnt gonna use one full chassis leg on one side but rather to use it as repair sections

so i started on the passanger side

Image

doesnt look to bad untill i started cutting

Image

Image

the floor is really solid which was weird considering the chassis leg was rotten

Image

repair section in and drilled for spot welding (slave labour is the cheapest)

Image

welded

Image

and buffed

Image

few wee bits to tidy but more to come

ohh and the slave labour

http://www.youtube.com/watch?v=iecvtwz4 ... KfwFkBcQLA

he is 5 and drilling the holes for the spot welds in the chassis repair section