Re: 1972 Nail Project
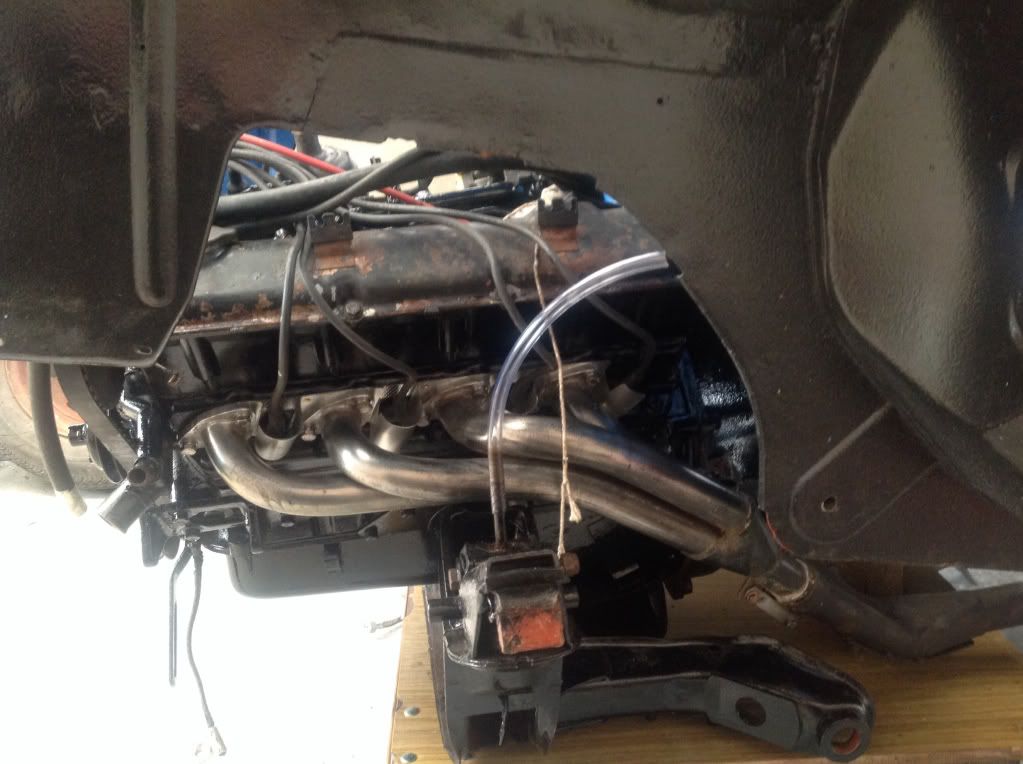
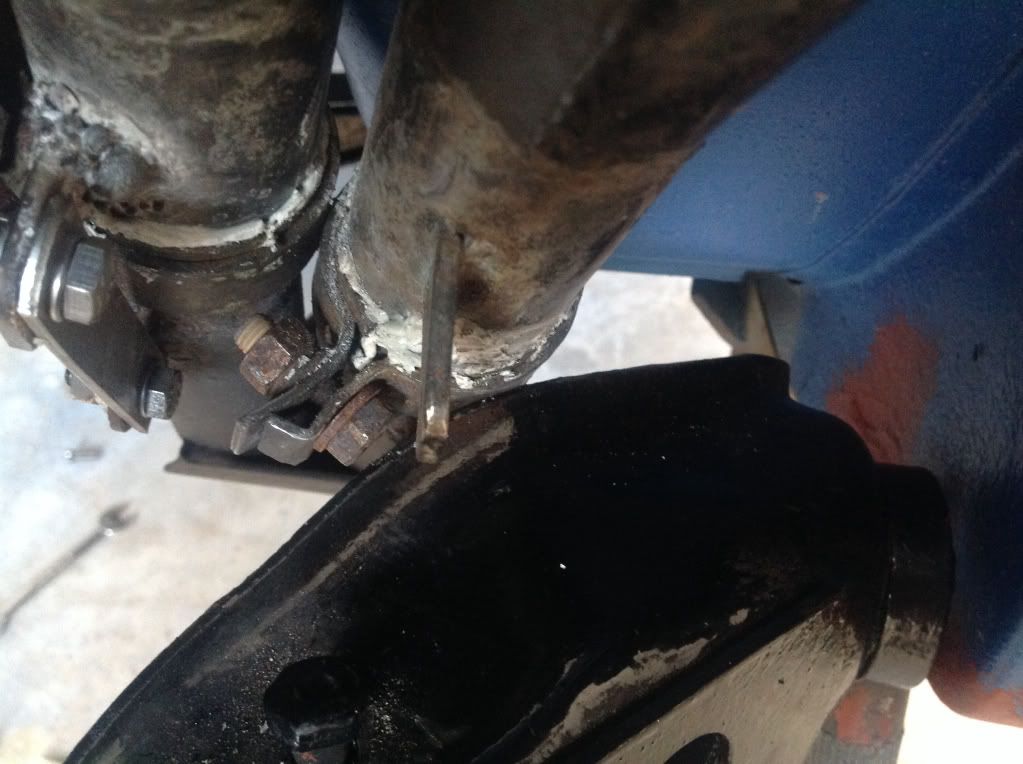
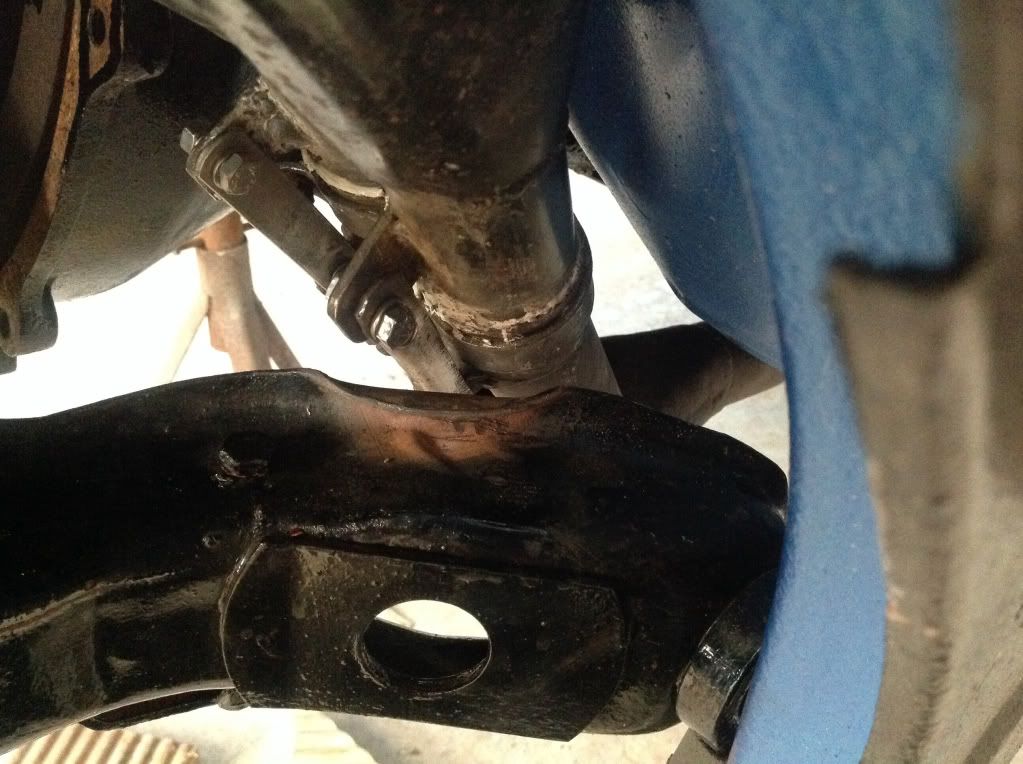
Off next week on holidays so started fitting up the engine and front subframe today ready for installation. Fitted the alternator, new engine mounts and my prized S/S copy of the DTV road 4 branch with nice shiny new gasket and stainless bolts. 
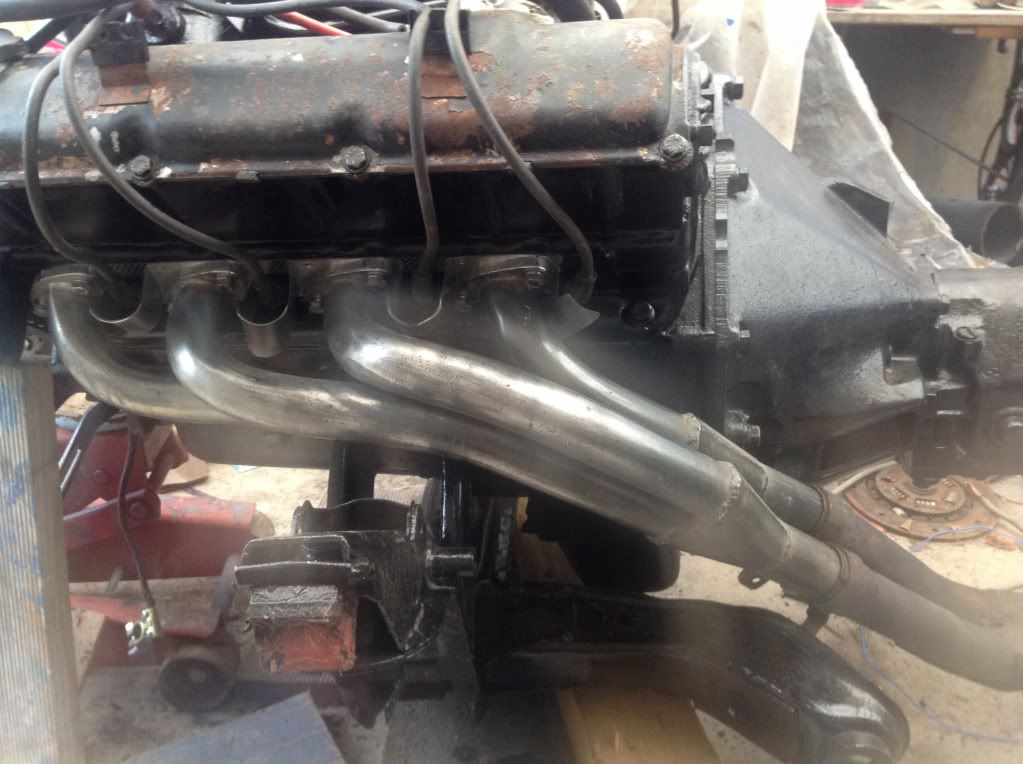
This is the design that was copied for the Snoot.

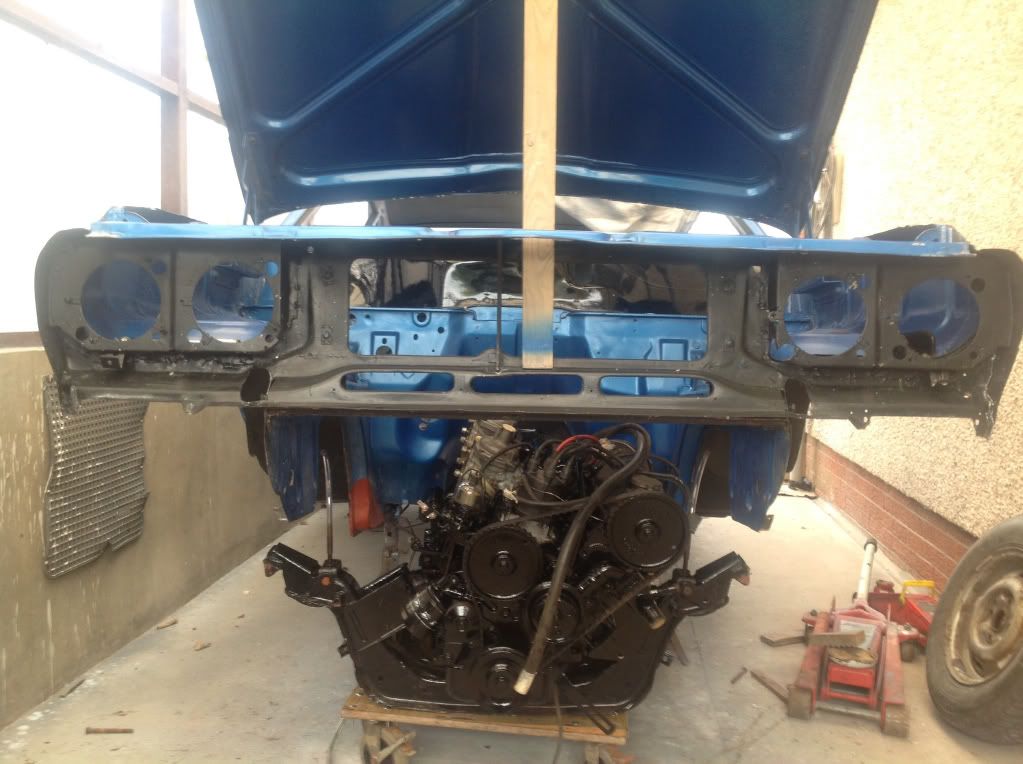
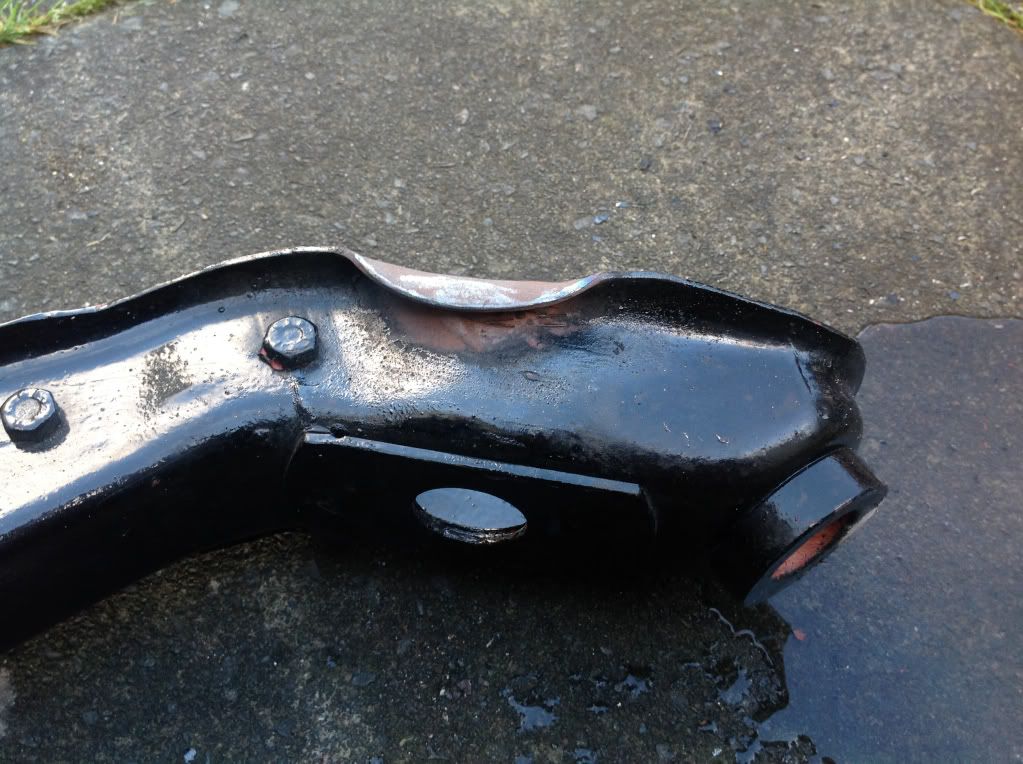
The whole subframe and engine will be mounted on a wheeled trolley and rolled below the shell.
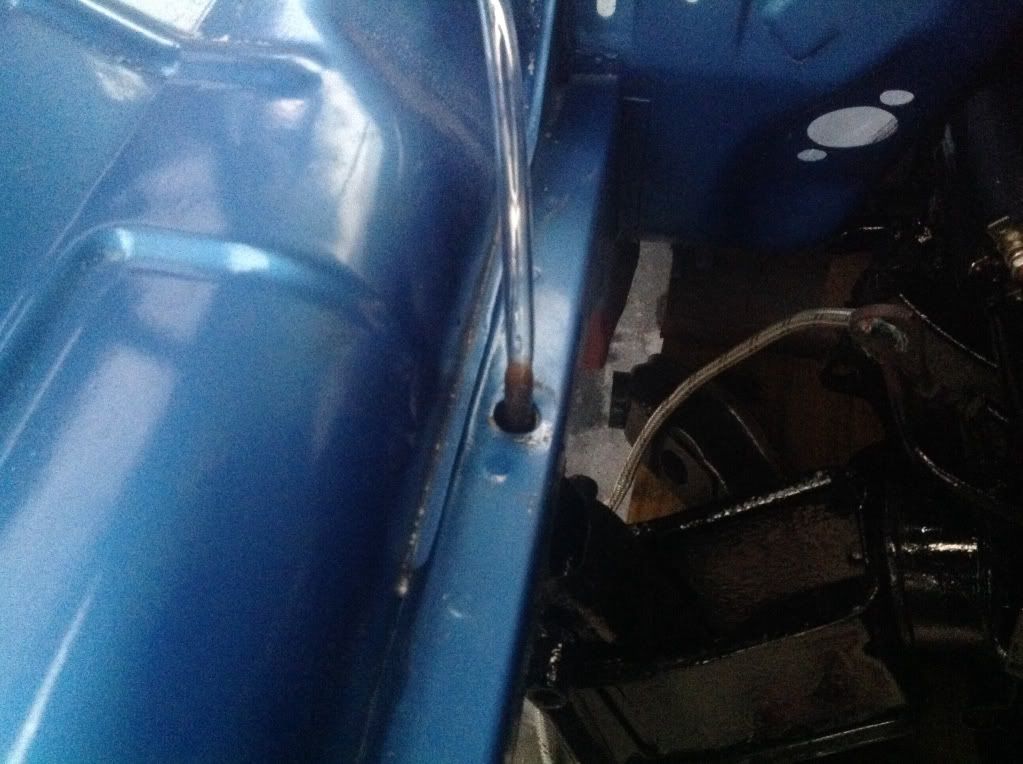
From previous experience the upper subframe mounting bolts, the ones that go vertically through the chassis rail, will be fitted with 8 inch long soft plastic tubes to assist guiding them through the hole in the chassis.
This is the design that was copied for the Snoot.
The whole subframe and engine will be mounted on a wheeled trolley and rolled below the shell.
From previous experience the upper subframe mounting bolts, the ones that go vertically through the chassis rail, will be fitted with 8 inch long soft plastic tubes to assist guiding them through the hole in the chassis.

 .
.