Joe's 1972 Firenza Project

This is an area for discussion about Restoration issues.

Re: Joe's 1972 Firenza Project

Postby chrismc » Sun May 22, 2016 7:40 pm

So on to another job I had been dreading. The headlining :shock:

I ordered the headlining from East Kent Trim. Whilst I waited for it to arrive I did a bit of reading in how to fit if. Paul Bottomleys s GT restoration blog was helpful and I copied his methods....

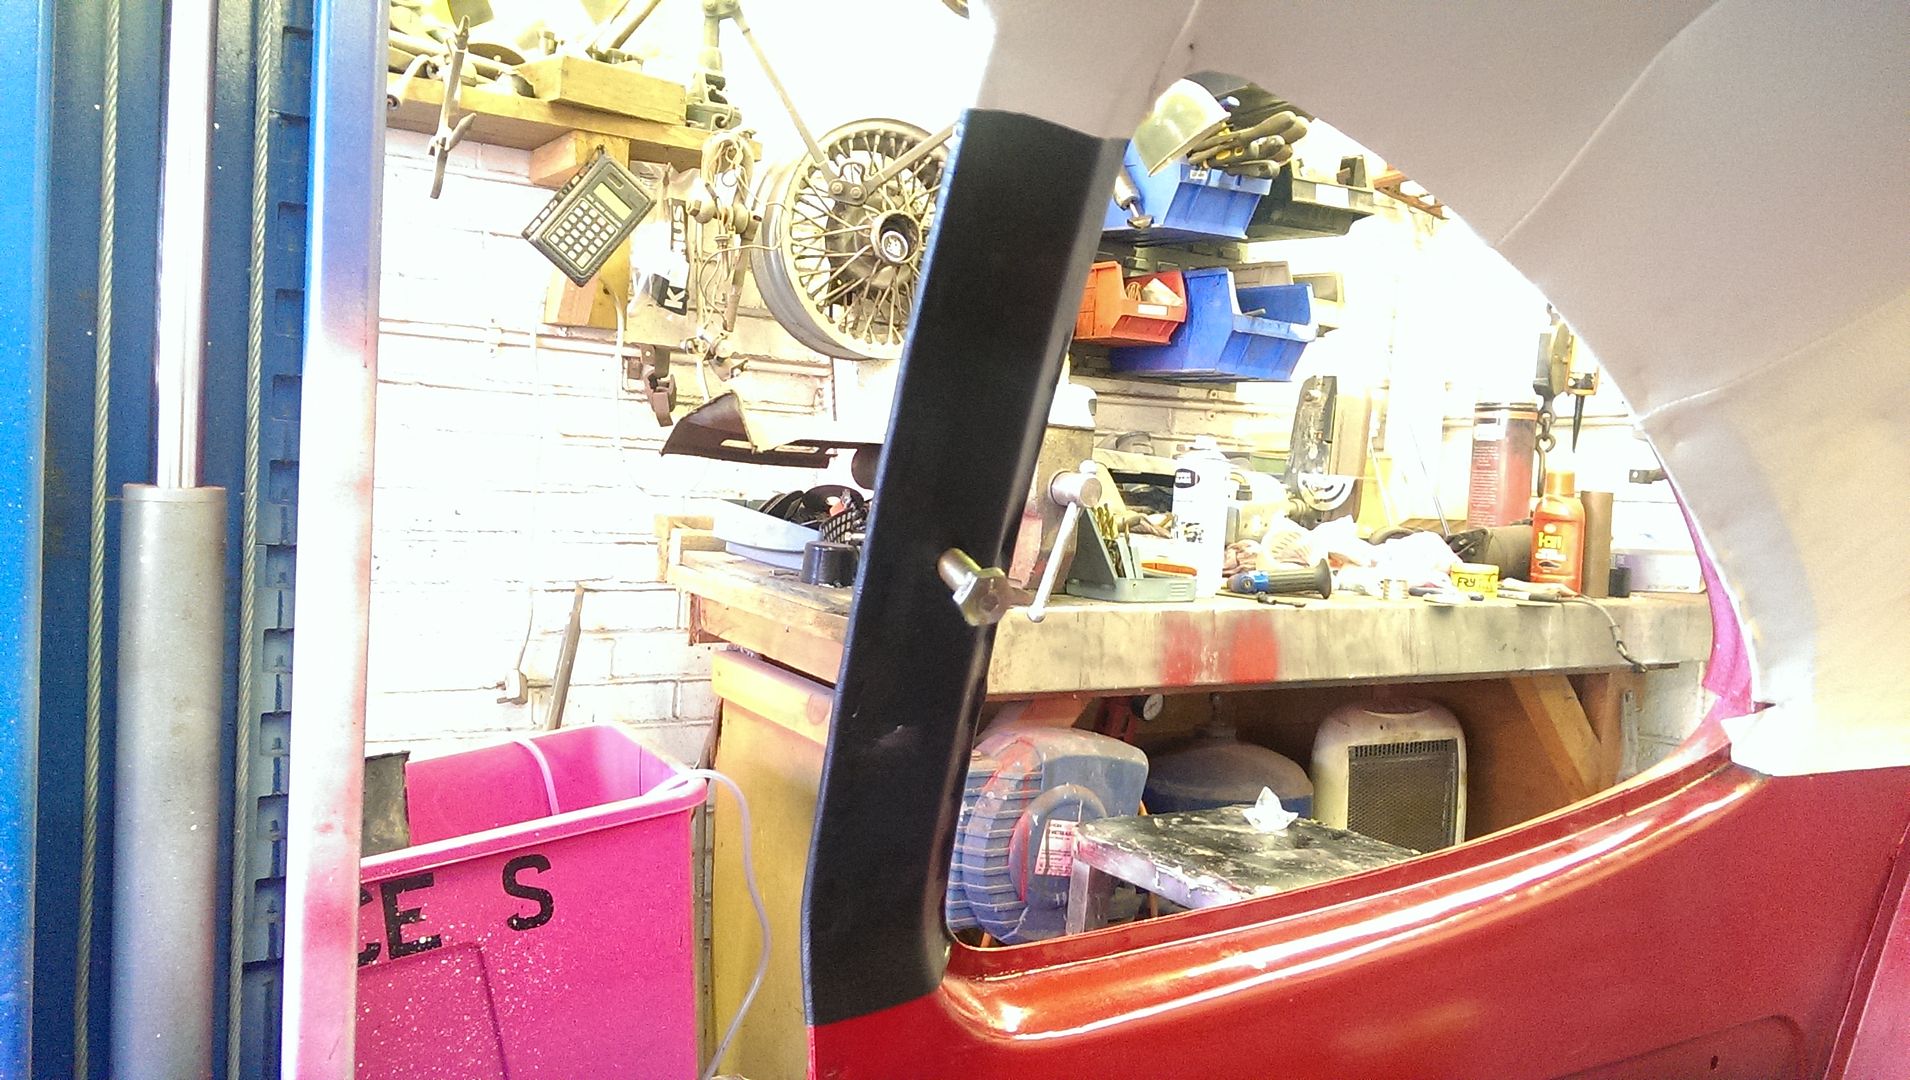
First off I placed the headlining on the top of the cleaned roof. The metal rods were then fed through the loops in the material. It took me a while to get the rods in the correct order as they had no markings on them and where off a selection of Vivas not necessarily Coupes. I had to adapt a couple to fit the coupe roof.

Image

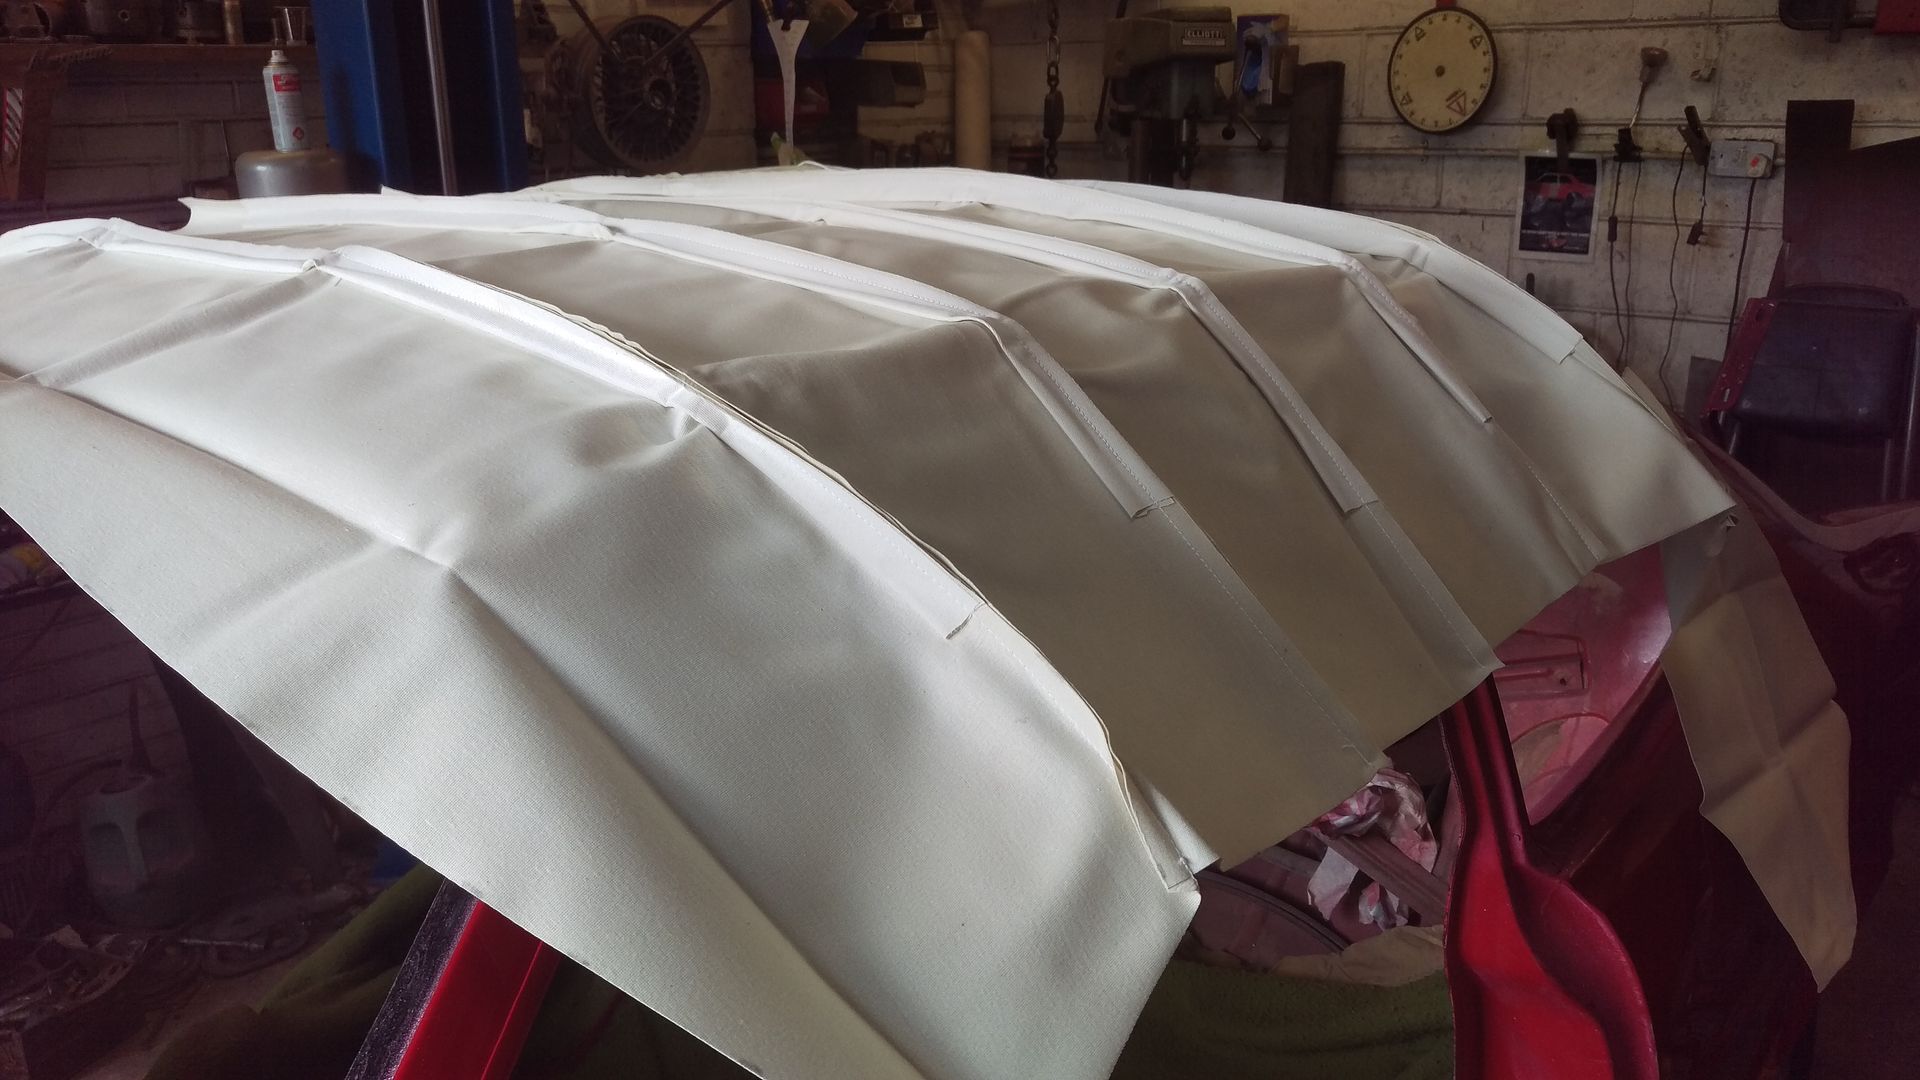
With help from Joe, the rods were fitted in place.

Image

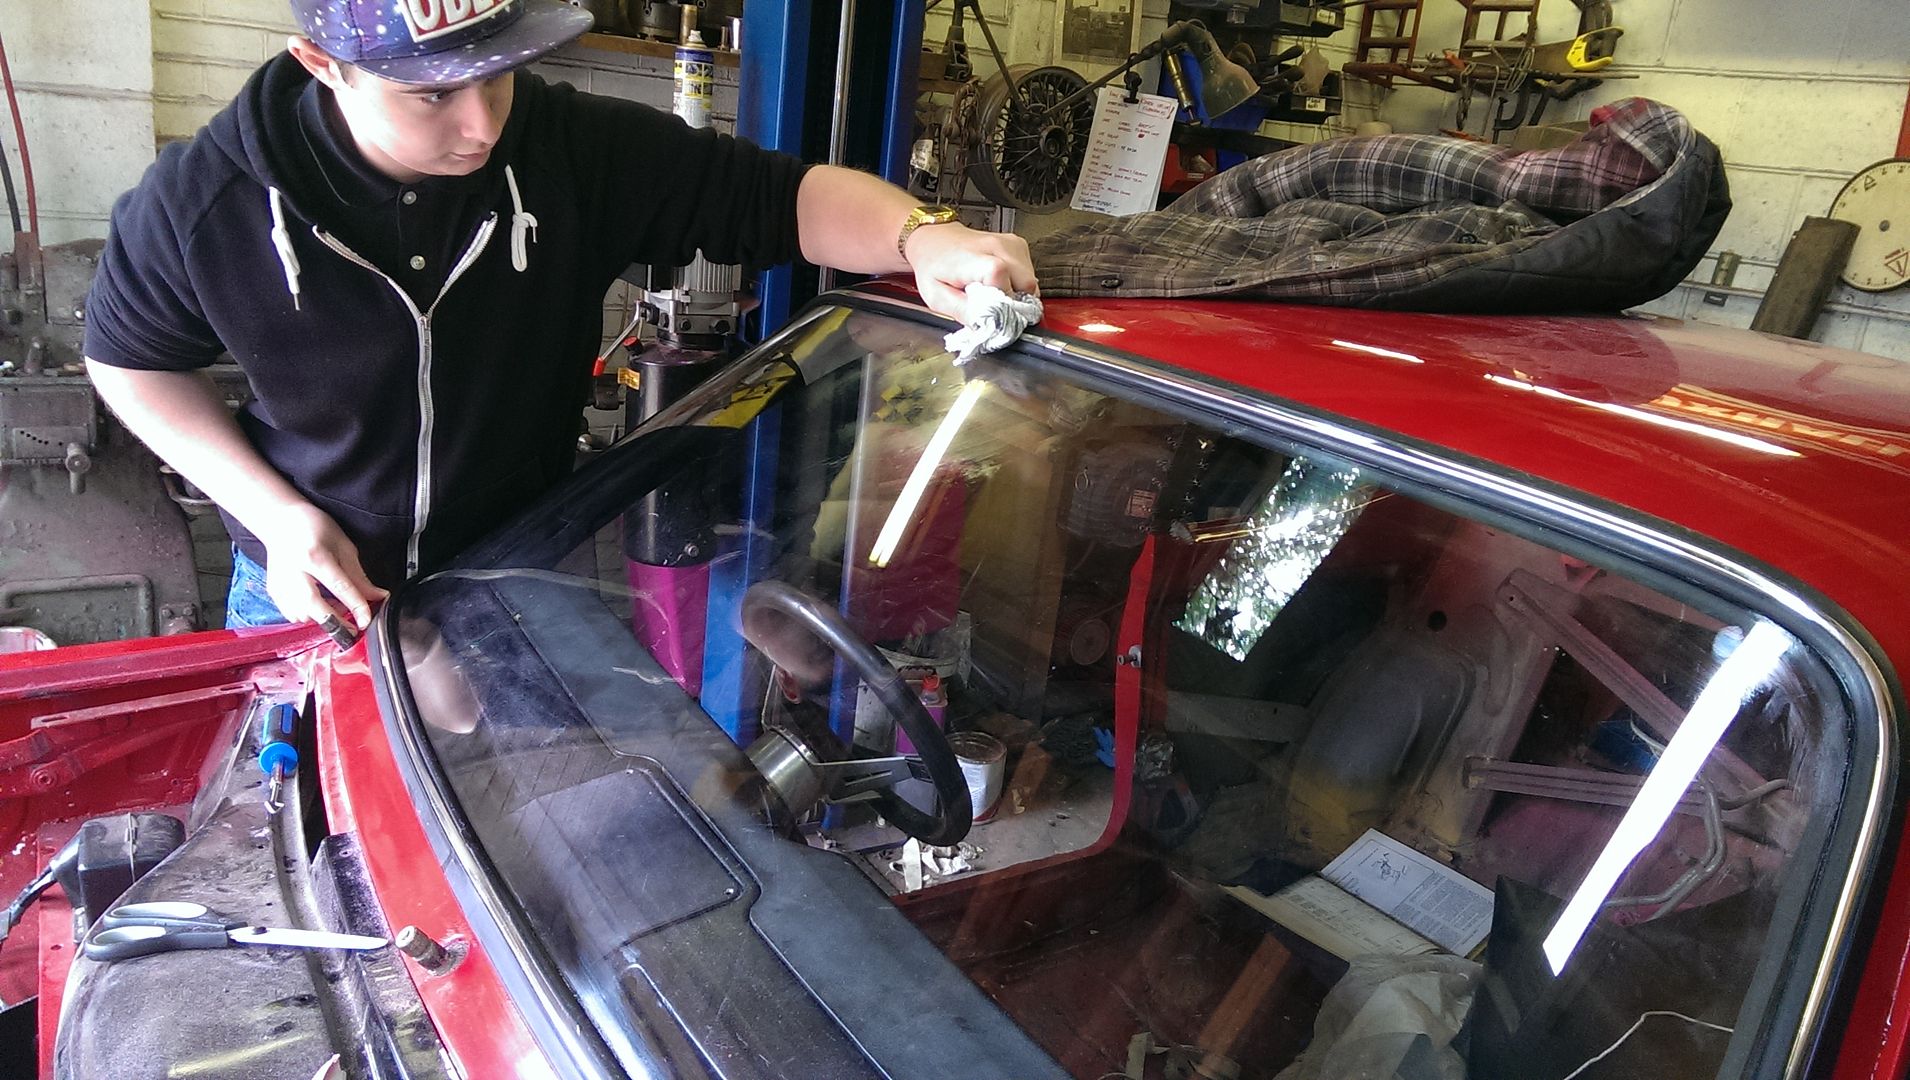
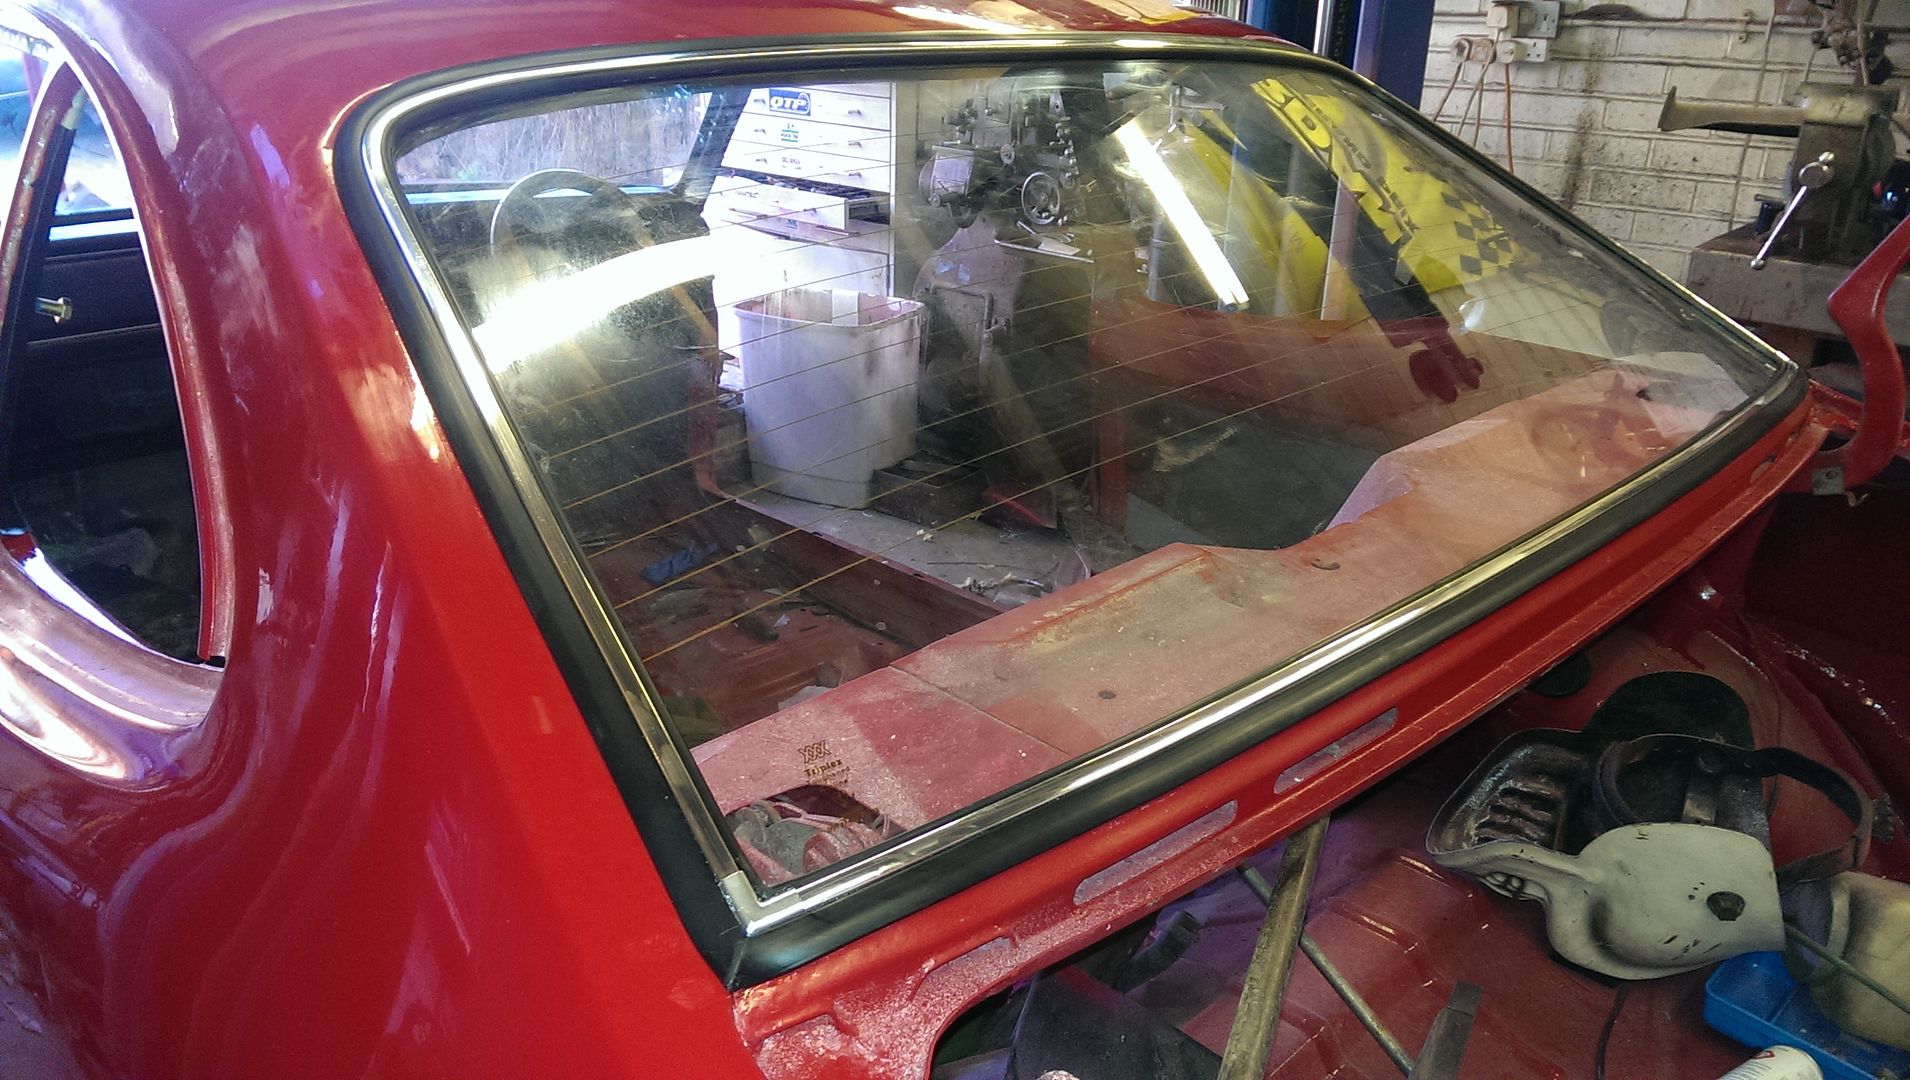
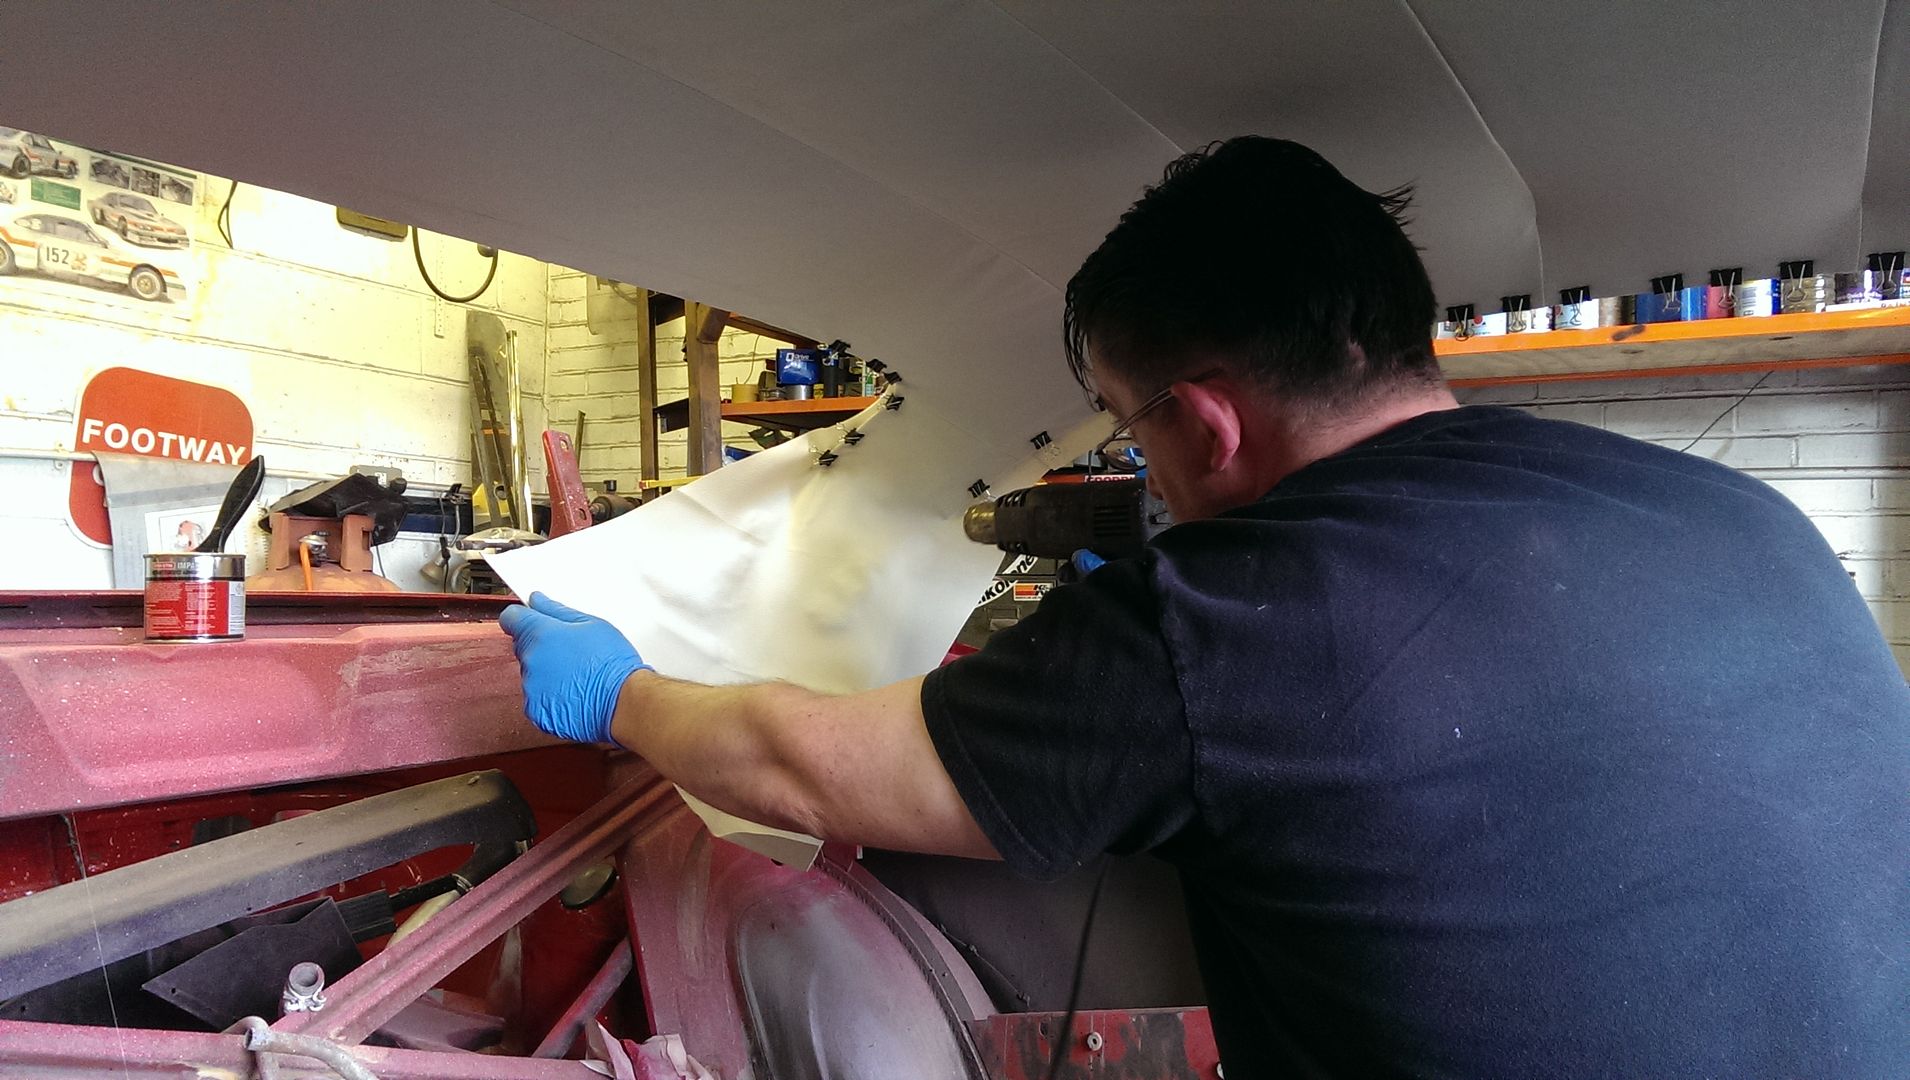
The lining was then stretched and glued at the front and back screens. Bulldog clips hold the contact adhesive whilst it fully cures.

Image

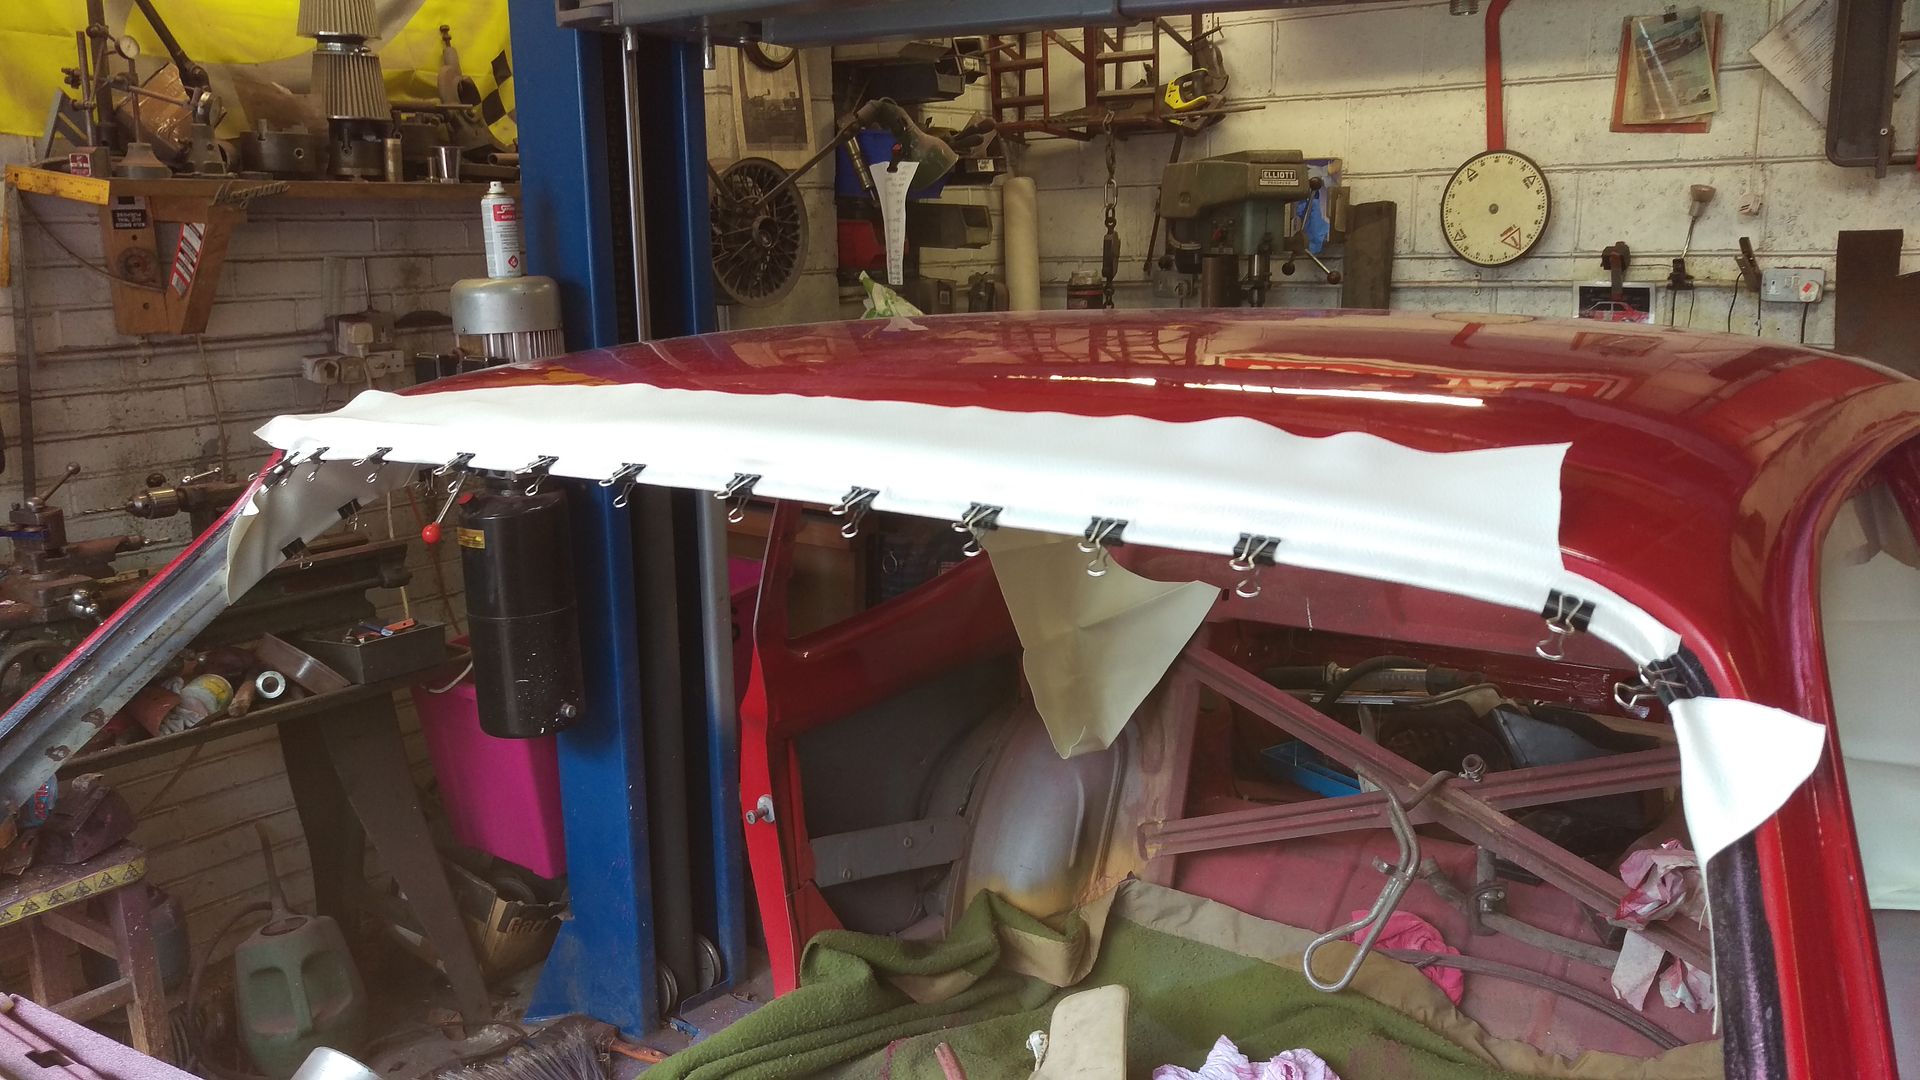
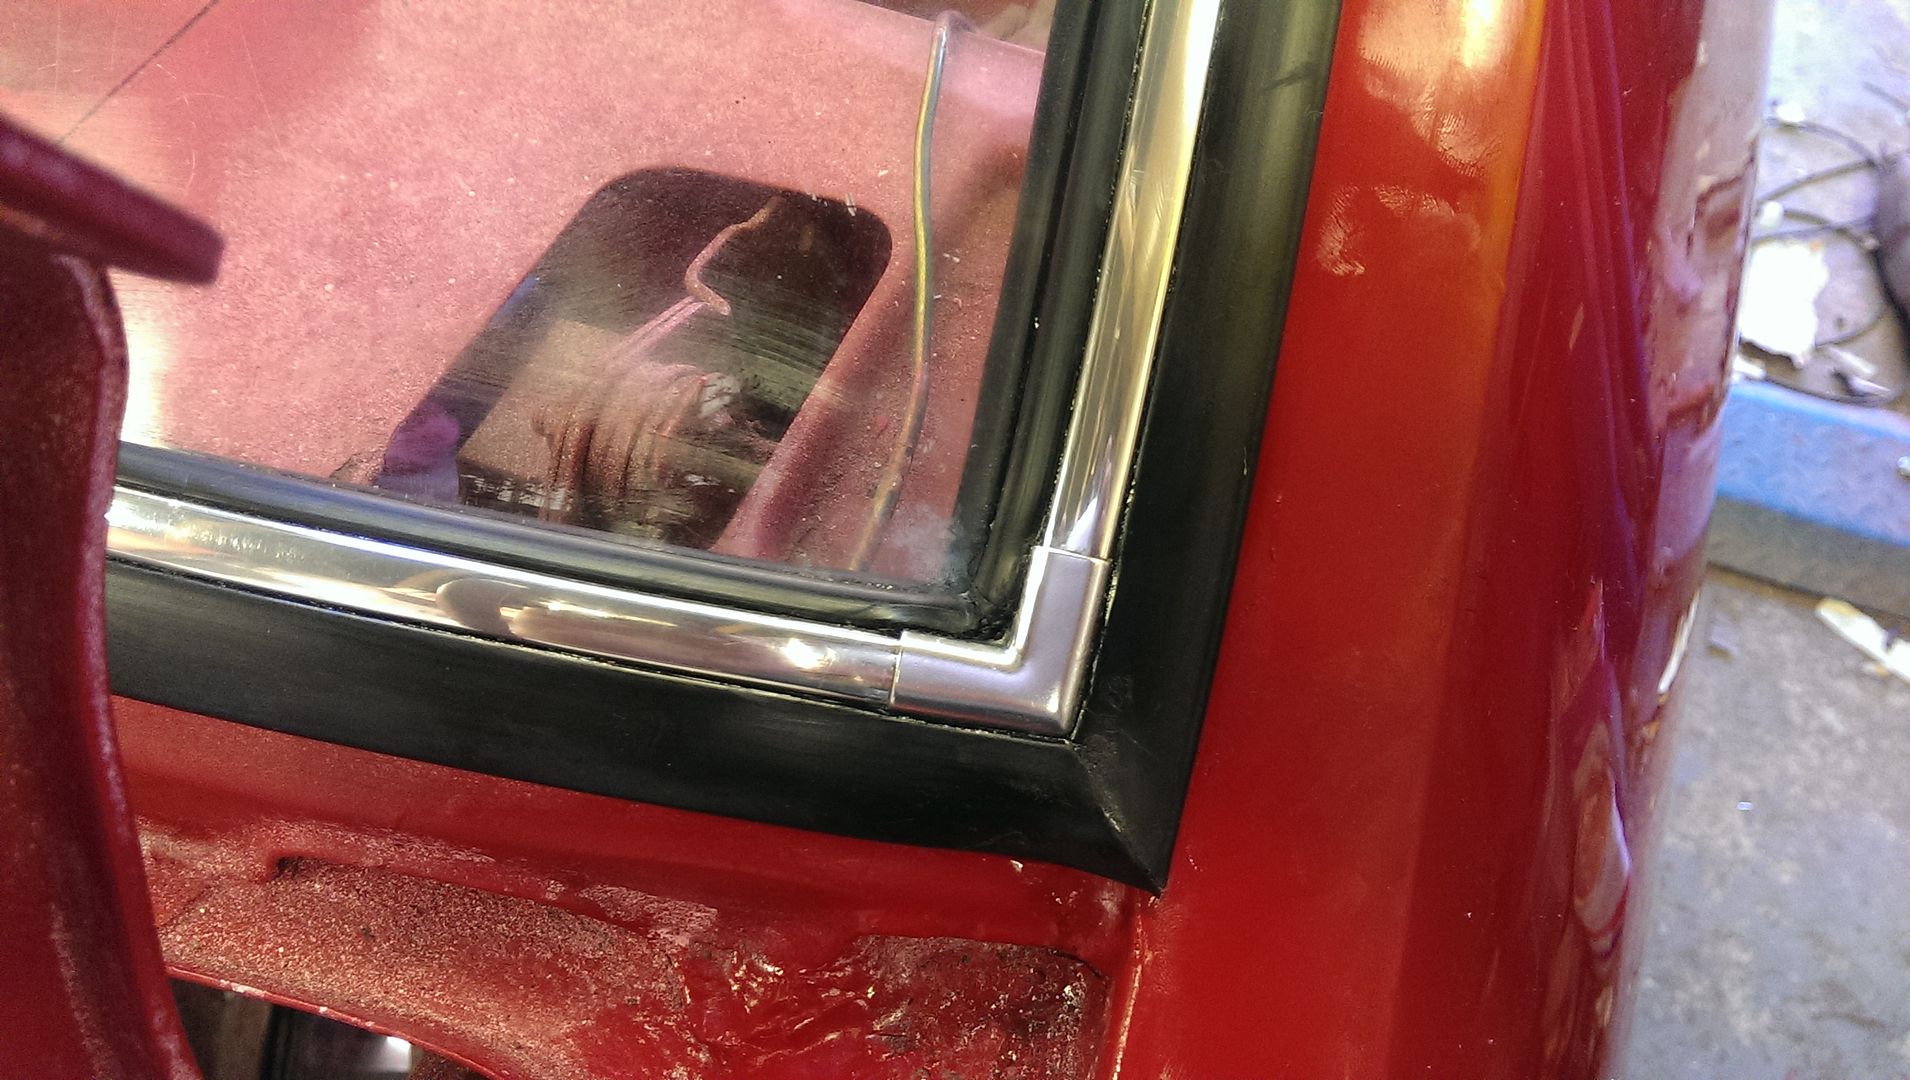
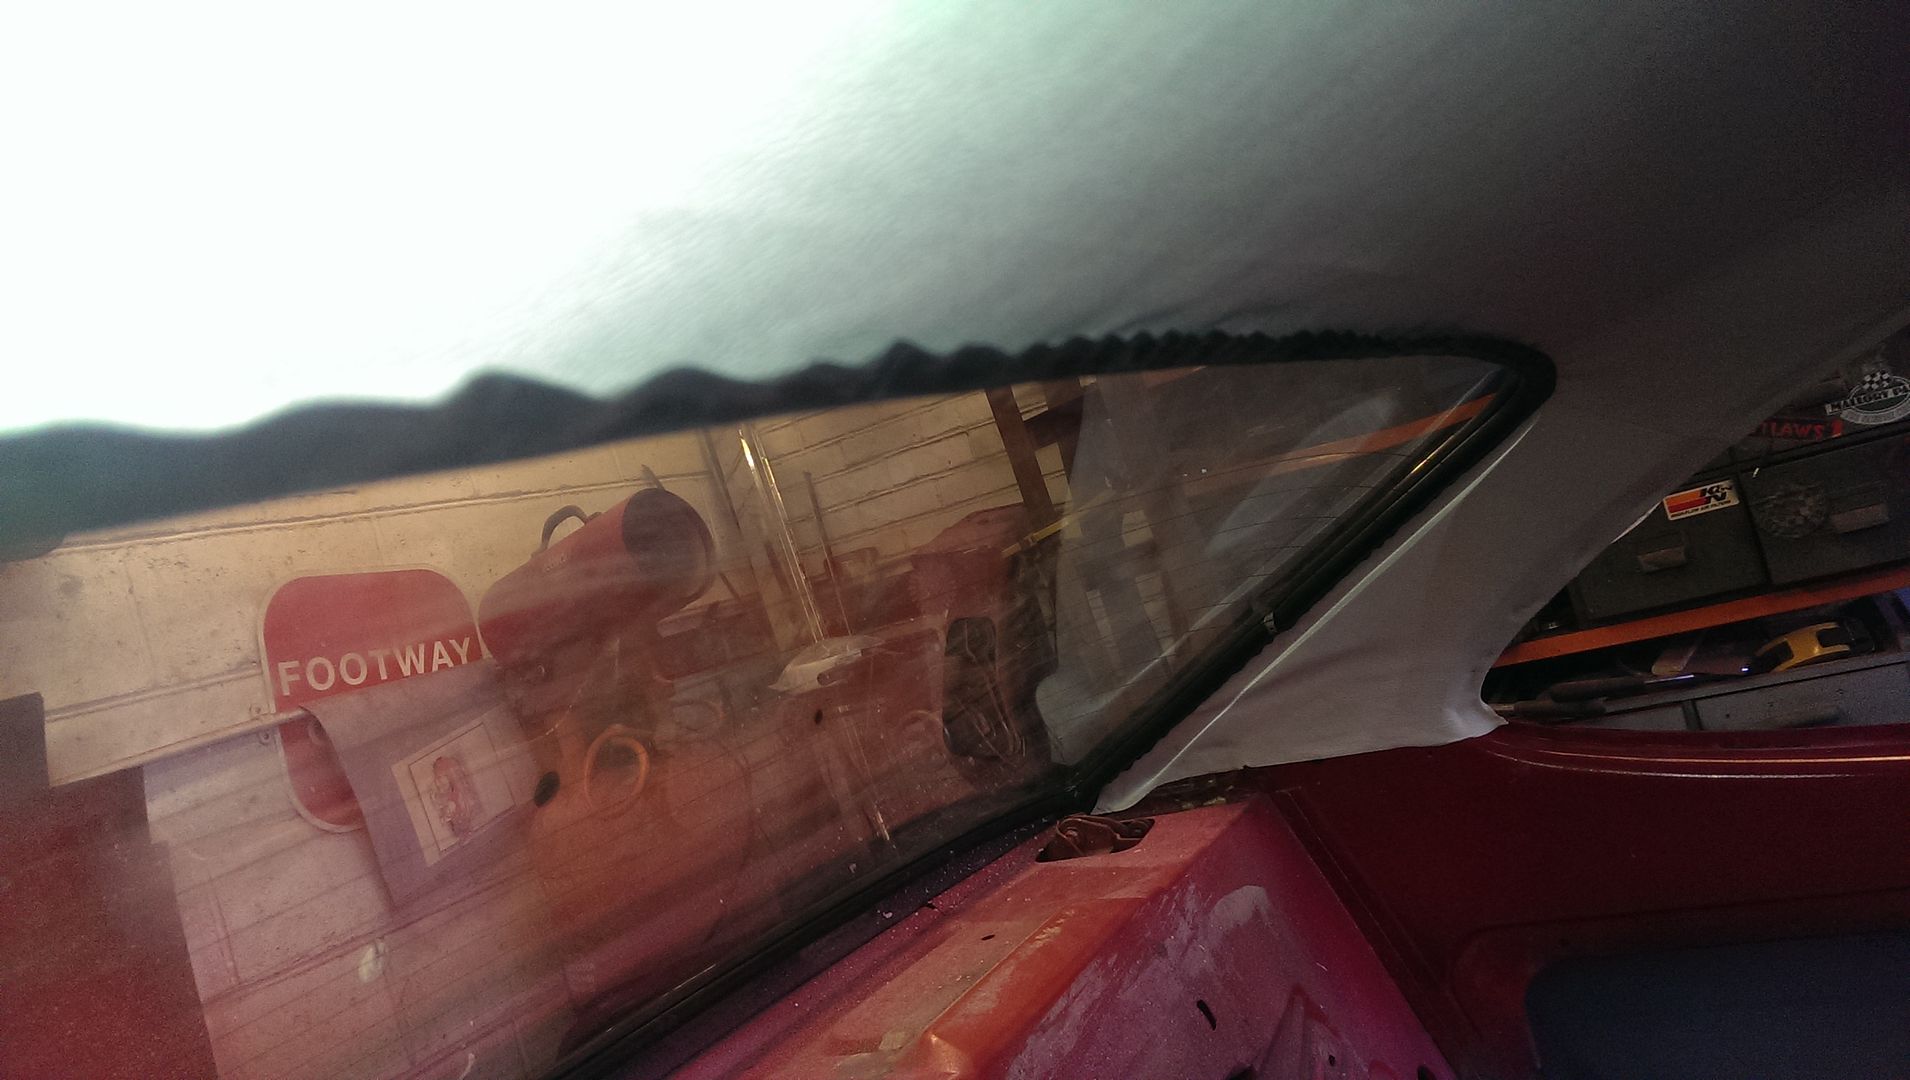
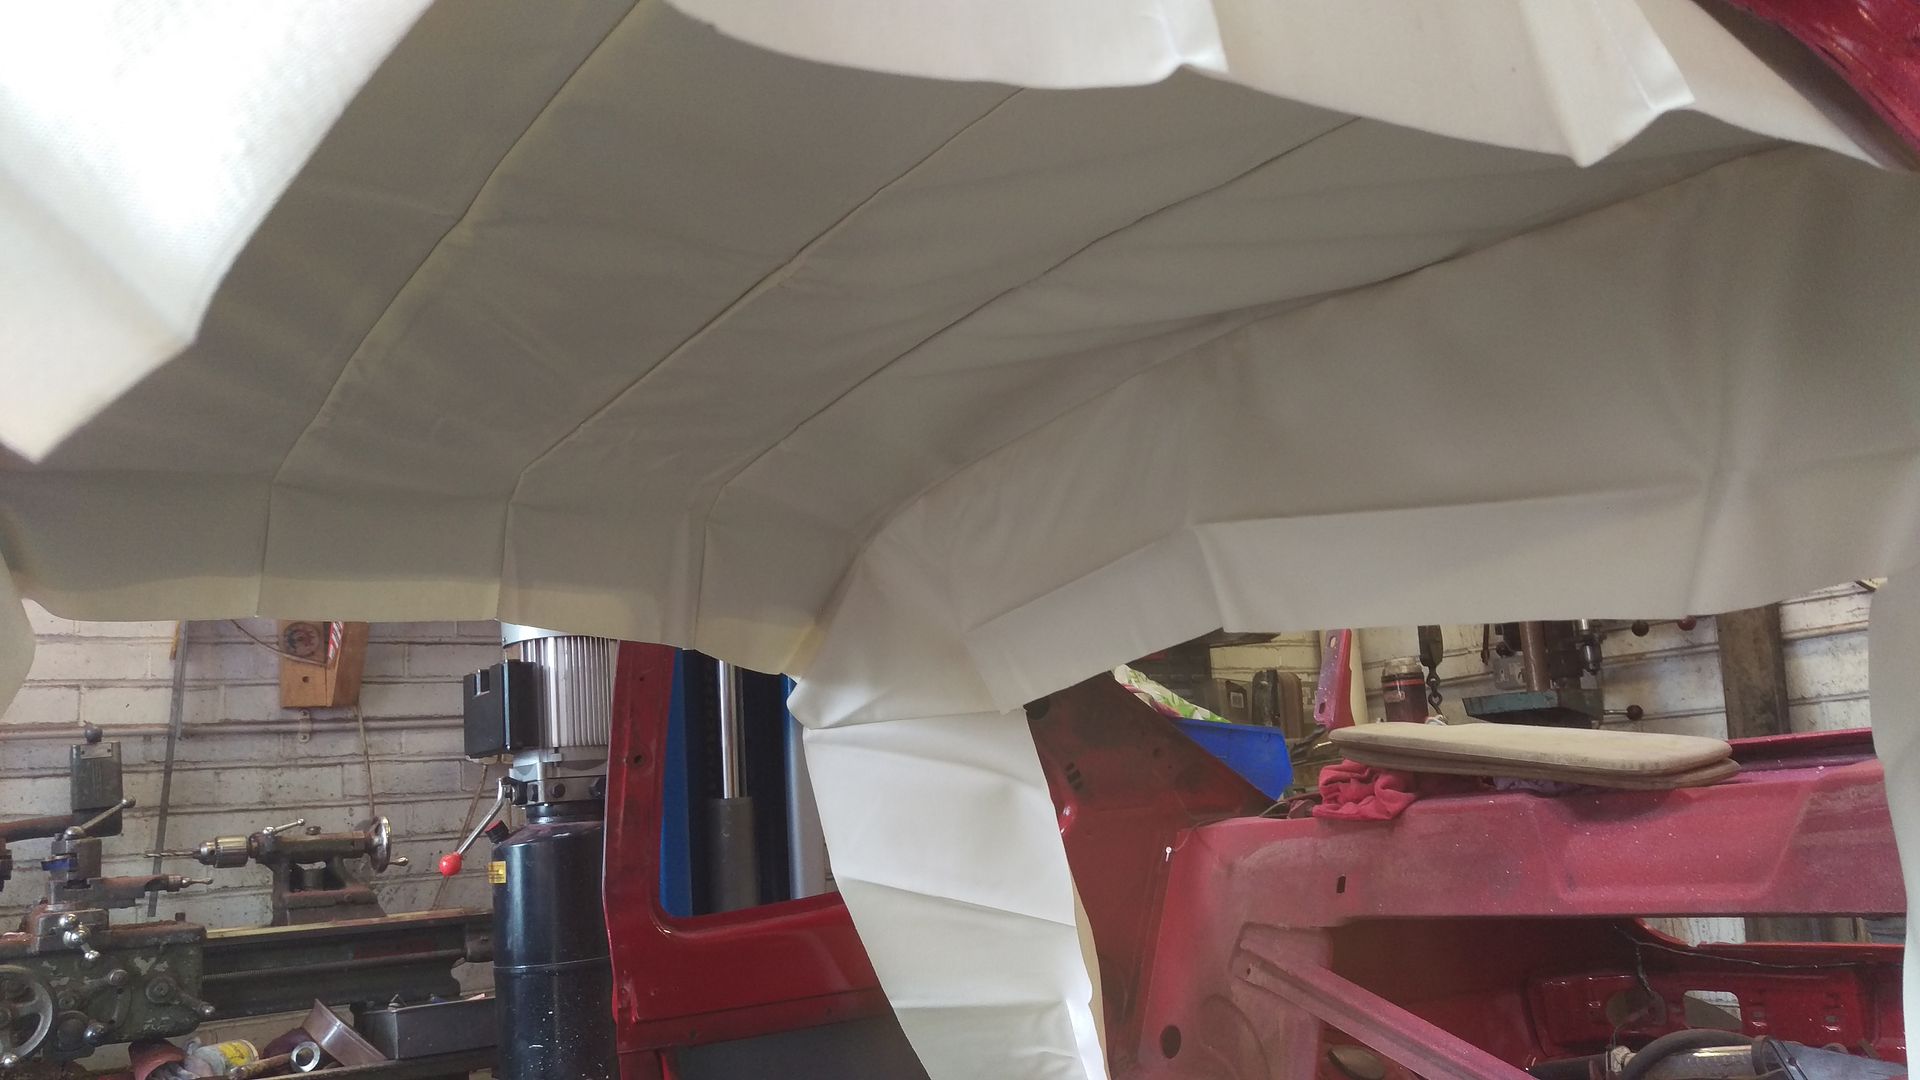
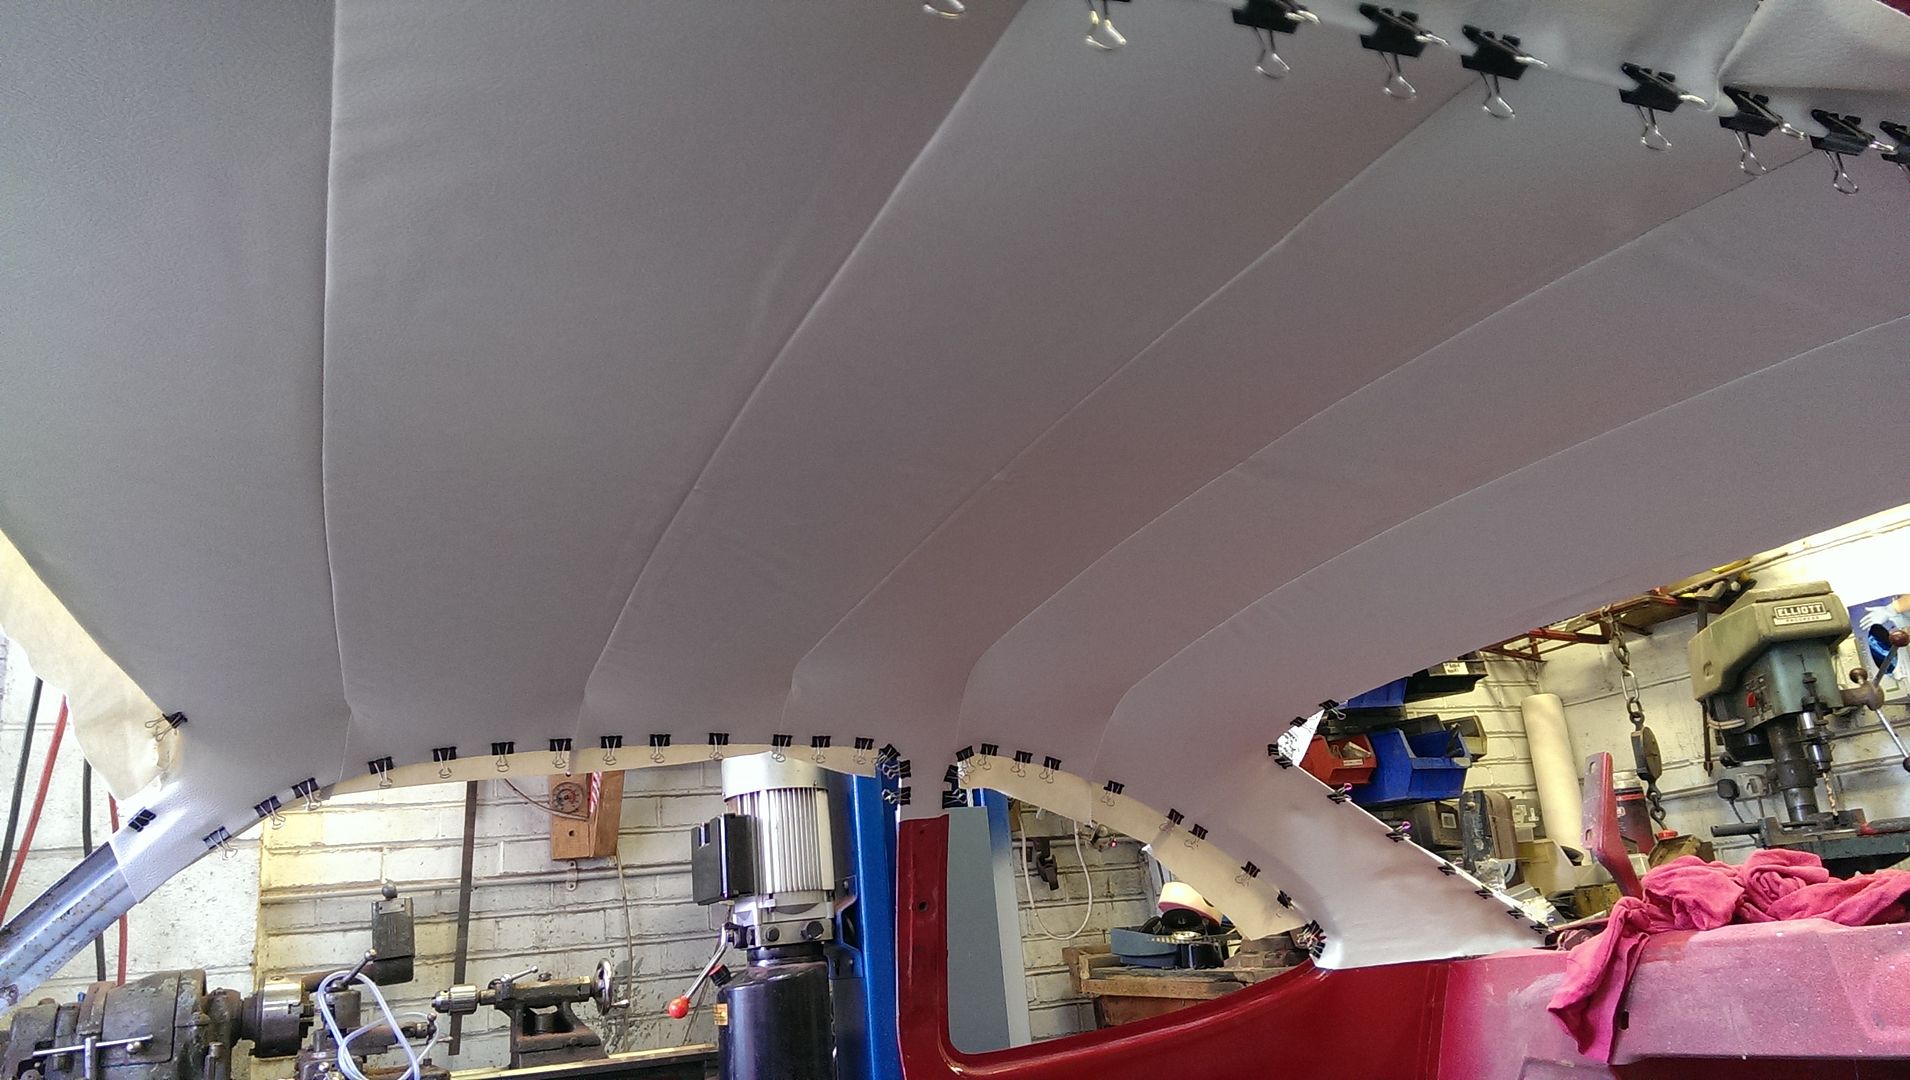
We then worked our way around the window/ door apertures. The secret to getting a wrinkle(ish) free finish is to carefully warm the vinyl with a heat gun. Once it is warm it stretches making it much more pliable and easy to work with. As it cools it shrinks and tightens.

Image

We are happy with the finish.

Image

Last weekend we dropped off the seats and door cards at the upholsterers. We had to make the cards as the front ones were warped and the back ones non existent :roll:

Image

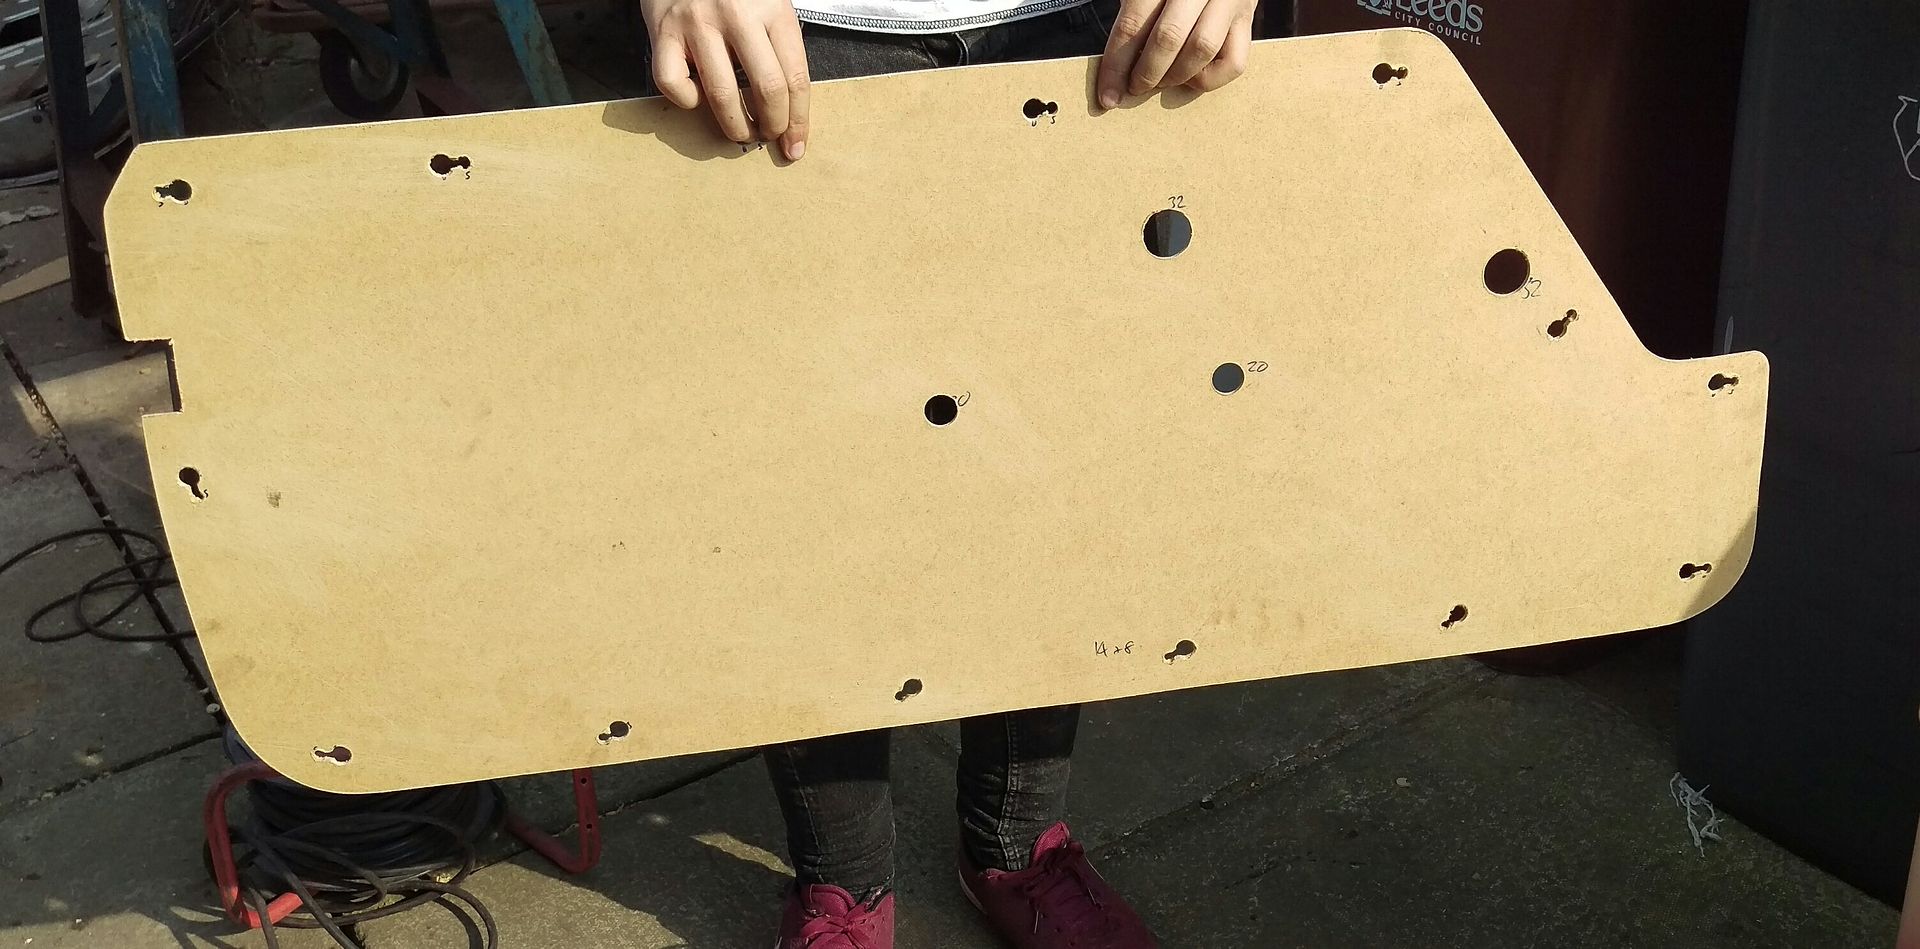
We will be picking them up next weekend....
.
User avatar
chrismc
GT Viva
GT Viva
 
Posts: 305
Joined: Sat Dec 08, 2007 2:01 pm
Location: Leeds

Re: Joe's 1972 Firenza Project

Postby Fred Dukes » Sun May 22, 2016 9:01 pm

Well done Chris and Joe its a job I have to do on flow when we have stopped finding holes after the blasting and can get some paint on :roll: - do you do contract fitting :wink:
CHAIRMAN, and general dogs body
User avatar
Fred Dukes
Club Chairman
 
Posts: 5476
Joined: Sun Oct 30, 2005 10:13 am
Location: Newport, Shropshire

Re: Joe's 1972 Firenza Project

Postby hbpeter » Sun May 22, 2016 9:24 pm

Very well done, impressed.

Peter
Reading between the lines, dangerous if your waiting for a train.
User avatar
hbpeter
Register Rep
 
Posts: 10918
Joined: Sat Oct 29, 2005 12:11 pm
Location: Thornaby, Cleveland

Re: Joe's 1972 Firenza Project

Postby droopsnoot » Mon May 23, 2016 10:28 am

Yes, interesting to see how the headlining fits, that's a job I need to do on the Sportshatch reasonably soon.
droopsnoot
Old Nail
Old Nail
 
Posts: 2124
Joined: Mon Oct 31, 2005 2:08 pm
Location: Cheshire

Re: Joe's 1972 Firenza Project

Postby chrismc » Sat May 28, 2016 8:49 pm

Thanks. :D

On Thursday I resprayed the boot and bonnet as the finish wasn't too good. I am much happier with them this time but of course I have left my trade mark drips on a small part of the bonnet :lol:

I was going to plumb in the brakes yesterday but my local car place has stopped selling imperial fittings so I went back home and ordered some off, yes you guessed it, eBay.

I had a couple of machining jobs for friends at work so once these were done I decided to sort out the steering wheel. Joe wanted a period dished steering wheel like I have on my Magnum. After a bit of eBay searching I found an old leather Formula wheel (similar to the one I have on my Magnum). These wheels usually are relatively cheap as you cant get the bosses for them anymore...

Image

I turned down a Motalita steering boss I had,

Image

Image

and got the local motorbike repair shop to weld on a cap I had turned to fit.
This was then drilled and tapped.

Image

For the steering wheel centre I used a one of these. I think it came from a Cavalier or something?

Image

Fitted it inside an aluminium ring

ImageImageImage

Today we fitted the dash. Before this happened I had to make sure all the dash lights worked. The reason some were dim was they were rated at 24 volts! Not very bright but I suppose they would last forever. I decided to get a full set of bulbs for the car including the halogen headlights. Its the small things that cost a lot when restoring a car. The whole car set of bulbs came to over £30 :shock:

The dash went in well after a bit of repair work. Also the 2 dial pod needed a bracket making to fit the old square vent dash. Little things like this are so time consuming...

Image

Image

Tomorrow the plan is to continue with the interior and fit the glass.
:?
User avatar
chrismc
GT Viva
GT Viva
 
Posts: 305
Joined: Sat Dec 08, 2007 2:01 pm
Location: Leeds

Re: Joe's 1972 Firenza Project

Postby 1972nail » Sat May 28, 2016 9:05 pm

I like the Formula wheel mod. The wheels on HPF's and HS Chevettes are made by Formula and the ones offered by DTV as Sportparts were Formula wheels too. That wheel is the same style as the 1973 DTV Sportpart wheel except it is polished instead of black. Nice...... :D
Editor of the VVOC Magazine ReVival

"When you have a Firenza like mine, who needs any Minis?" copyright David Maxwell 1979.
User avatar
1972nail
Old Nail
Old Nail
 
Posts: 3185
Joined: Sun Aug 07, 2011 4:16 pm
Location: Ballymoney Co Antrim - some say....the World's best place to live!

Re: Joe's 1972 Firenza Project

Postby chrismc » Sun May 29, 2016 9:32 pm

:thanx:

Today we planned to install the glass. We obtained the front and rear screen rubbers from East Kent Trim. The front screen rubber is fully formed and joined in the factory whilst the rear comes off the roll and needs mitering at the lower corners.

I was worried about how well the front screen would fit (if at all) as I had to replace sections of A pillar during the restoration. I have already put a couple of screens in in the past and it went in surprisingly easily. :D :D

Image

Image

Full of confidence we decided to go to KFC for a spot of lunch :goodideasign:

When we got back we reckoned we may be able to get all the glass done today. :roll:

The rear seal proved much more troublesome. mitering the corners was no problem and they were glued with good quality super glue. The problem seemed to be that the rubber profile seemed a bit too big. It took loads of force to get it to fit and whilst it looks great from the outside....

Image

Image

...it doesn't sit too well on the inside :?

Image

I'm going to try a bit of rubber edging strip to tidy it up. If not we will have to live with it :)

The :) B posts were trimmed with black vinyl and the seatbelt bolt fitted.

Image

Tomorrow we will fit the side glass and maybe the doors?
Last edited by chrismc on Sun May 29, 2016 11:35 pm, edited 1 time in total.
User avatar
chrismc
GT Viva
GT Viva
 
Posts: 305
Joined: Sat Dec 08, 2007 2:01 pm
Location: Leeds

Re: Joe's 1972 Firenza Project

Postby 1972nail » Sun May 29, 2016 10:35 pm

The mitreing job looks great. Did you put 4mm foam under the headlining around the rear screen?
Editor of the VVOC Magazine ReVival

"When you have a Firenza like mine, who needs any Minis?" copyright David Maxwell 1979.
User avatar
1972nail
Old Nail
Old Nail
 
Posts: 3185
Joined: Sun Aug 07, 2011 4:16 pm
Location: Ballymoney Co Antrim - some say....the World's best place to live!

Re: Joe's 1972 Firenza Project

Postby chrismc » Sun May 29, 2016 10:59 pm

No. I wondered after if something should be there :roll: :lol:
User avatar
chrismc
GT Viva
GT Viva
 
Posts: 305
Joined: Sat Dec 08, 2007 2:01 pm
Location: Leeds

Re: Joe's 1972 Firenza Project

Postby 1972nail » Mon May 30, 2016 9:35 am

There was foam under the headlining along all the double skinned bits around the whole roof. I doubled it up around the rear screen as I remember getting a bump on my head while being a rear seat passenger following the Circuit of Ireland Rally in 1978!
Editor of the VVOC Magazine ReVival

"When you have a Firenza like mine, who needs any Minis?" copyright David Maxwell 1979.
User avatar
1972nail
Old Nail
Old Nail
 
Posts: 3185
Joined: Sun Aug 07, 2011 4:16 pm
Location: Ballymoney Co Antrim - some say....the World's best place to live!

PreviousNext

Return to Restoration

Who is online

Users browsing this forum: No registered users and 144 guests