Joe's 1972 Firenza Project

This is an area for discussion about Restoration issues.

Re: Joe's 1972 Firenza Project

Postby 1972nail » Sun Mar 06, 2016 6:41 pm

Looking gooooood.........

Surround the drip or run with a light skim of stopper, rub the whole lot back until the stopper just disappears....no more run :D and you have hardly touched the surrounding paint.

The first one or two you do may need a couple of applications of stopper and careful watching until you get the hang of the technique and just how much area to cover with the stopper.
Editor of the VVOC Magazine ReVival

"When you have a Firenza like mine, who needs any Minis?" copyright David Maxwell 1979.
User avatar
1972nail
Old Nail
Old Nail
 
Posts: 3185
Joined: Sun Aug 07, 2011 4:16 pm
Location: Ballymoney Co Antrim - some say....the World's best place to live!

Re: Joe's 1972 Firenza Project

Postby junkyarddog » Sun Mar 06, 2016 8:17 pm

Excellent work.

You look to have got a really good smooth shiny finish straight from the gun 8)

As for the runs/drips,most Vivas came with them as standard from the factory :lol:
Just one more turn should do it....
User avatar
junkyarddog
GT Viva
GT Viva
 
Posts: 195
Joined: Sat Dec 22, 2007 6:00 pm
Location: ireland

Re: Joe's 1972 Firenza Project

Postby chrismc » Sun Mar 06, 2016 8:34 pm

Surround the drip or run with a light skim of stopper, rub the whole lot back until the stopper just disappears....no more run :D and you have hardly touched the surrounding paint.


Brilliant advice David. I have just ordered some Stopper ready for the weekend.

You look to have got a really good smooth shiny finish straight from the gun


The photos are flattering. Few drips and some orange peel but overall I'm happy with the finish and it can be made better.

:thanx:
User avatar
chrismc
GT Viva
GT Viva
 
Posts: 305
Joined: Sat Dec 08, 2007 2:01 pm
Location: Leeds

Re: Joe's 1972 Firenza Project

Postby Johnboy HB » Sun Mar 06, 2016 10:26 pm

Looks great, nothing like seeing your project with new paint on, like David says flat out any flaws with 1500 & higher grade paper if possible, any less & you risk 'sand scratching' which needs a lot more flatting out, no real problem if you have many thick layers of paint, also remember, any swage lines, curves or panel edges will sand through to the primer real quick so go easy on these
User avatar
Johnboy HB
GT Viva
GT Viva
 
Posts: 399
Joined: Tue Feb 07, 2006 11:48 am
Location: Dudley, West Midlands

Re: Joe's 1972 Firenza Project

Postby chrismc » Sun Mar 27, 2016 9:27 pm

Thanks Guys, I am going to leave the paint for about a month before I do a final polish.

Whilst I was doing other jobs Joe cleaned up the fuel tank. These seem to be galvanised so no rust but plenty of underseal

Image

A couple of coats of silver Hammerite Smooth makes all the difference.

Image

I spent a few weeks scouring eBay for a fuel filler neck/ boot floor seal. I managed to locate one eventually for £12 but it really wasn't that good. I searched the net and found that a Morrris Minor Traveller had a seal which maybe I could adapt.

Image

The seal has the correct angle for the pipe but does not have the double lipped seal around the edge.

Image

Image

Image

After cutting to shape the seal was glued in place using PU adhesive. The sealant was used on both sides of the seal to stop water ingress.

Image

Image

Although it is not original it does the job. I'm not a stickler for originality. :lol:

Image
User avatar
chrismc
GT Viva
GT Viva
 
Posts: 305
Joined: Sat Dec 08, 2007 2:01 pm
Location: Leeds

Re: Joe's 1972 Firenza Project

Postby 1972nail » Sun Mar 27, 2016 10:25 pm

There's going tho be a run on Morris Minor Traveller fuel filler grommets now. Looks like a good fix, where did you get the blue connector hose I wonder?..... :lol:
Editor of the VVOC Magazine ReVival

"When you have a Firenza like mine, who needs any Minis?" copyright David Maxwell 1979.
User avatar
1972nail
Old Nail
Old Nail
 
Posts: 3185
Joined: Sun Aug 07, 2011 4:16 pm
Location: Ballymoney Co Antrim - some say....the World's best place to live!

Re: Joe's 1972 Firenza Project

Postby Fred Dukes » Mon Mar 28, 2016 10:50 am

A very pragmatic solution Chris - I will have to see what to do with mine when I get round to putting Flo back together :roll: - although it is 2300 it will have the same filler neck interface :|
CHAIRMAN, and general dogs body
User avatar
Fred Dukes
Club Chairman
 
Posts: 5476
Joined: Sun Oct 30, 2005 10:13 am
Location: Newport, Shropshire

Re: Joe's 1972 Firenza Project

Postby chrismc » Mon Mar 28, 2016 11:49 am

I would rather have a new modified part that works then an original part that is falling to bits or is super expensive. I got my seal from here but I have seen them for sale for over £20 :shock:

www.dsnclassics.co.uk

£4:20 +p+p
User avatar
chrismc
GT Viva
GT Viva
 
Posts: 305
Joined: Sat Dec 08, 2007 2:01 pm
Location: Leeds

Re: Joe's 1972 Firenza Project

Postby chrismc » Tue Apr 12, 2016 7:41 pm

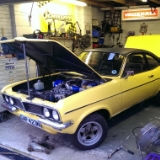
We have been doing loads of small jobs on the Firenza. A lot of these have to be done in a certain order to facilitate the next.

I really want the spraying out of the way but everytime we need to put a bit back on the car it needs to be cleaned, derusted primed and painted. This takes a lot of time and some jobs are being done whilst others are drying.

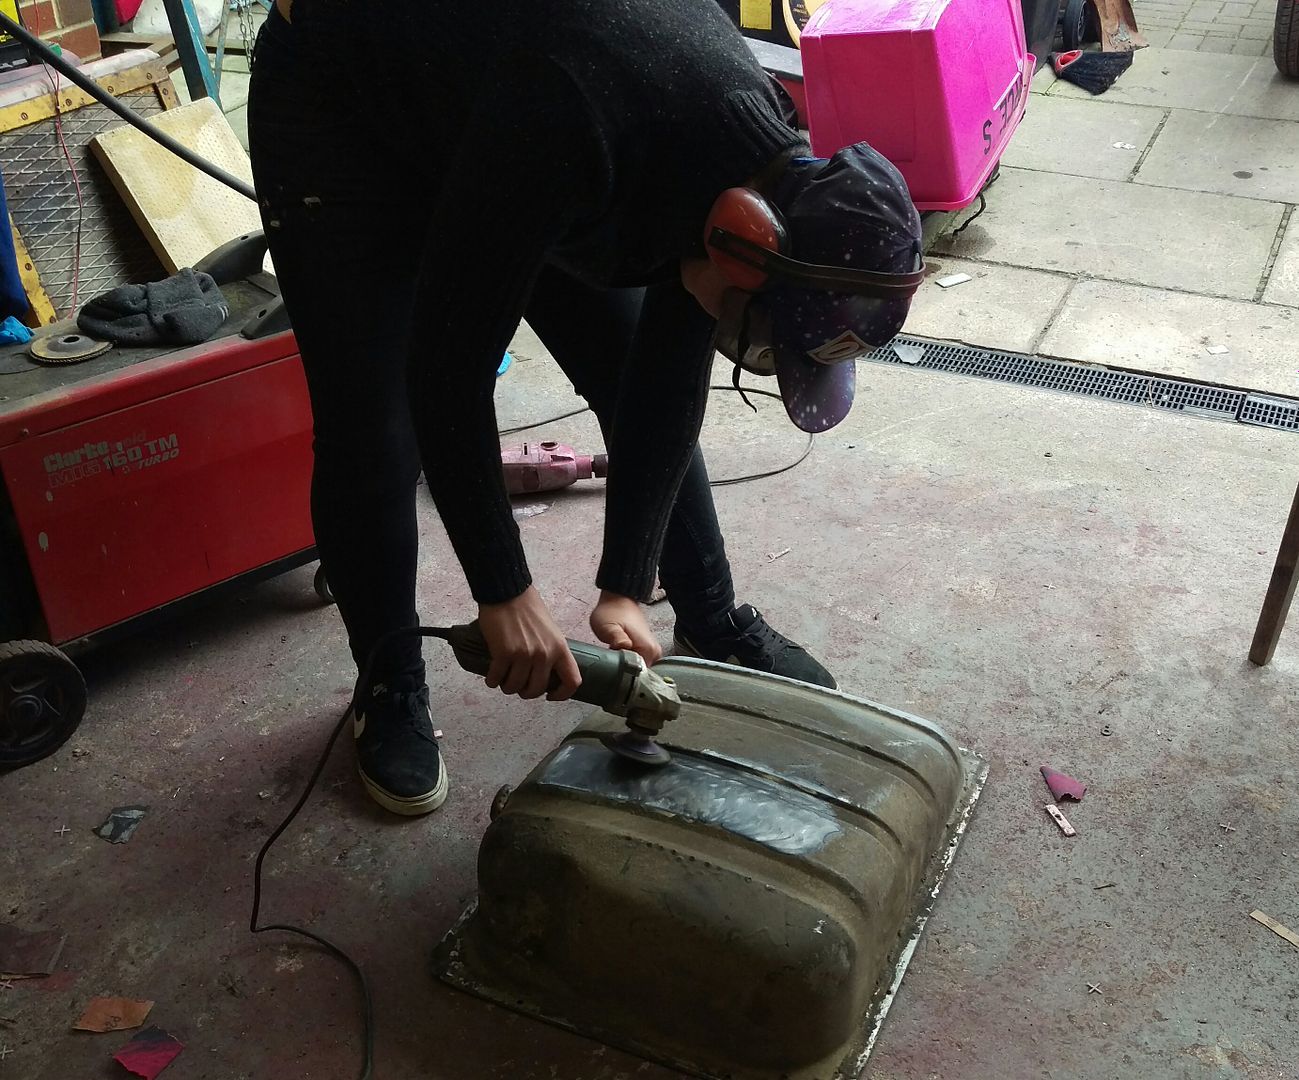
I seem to be the cleaner, deruster whilst Joe enjoys the spraying. :D

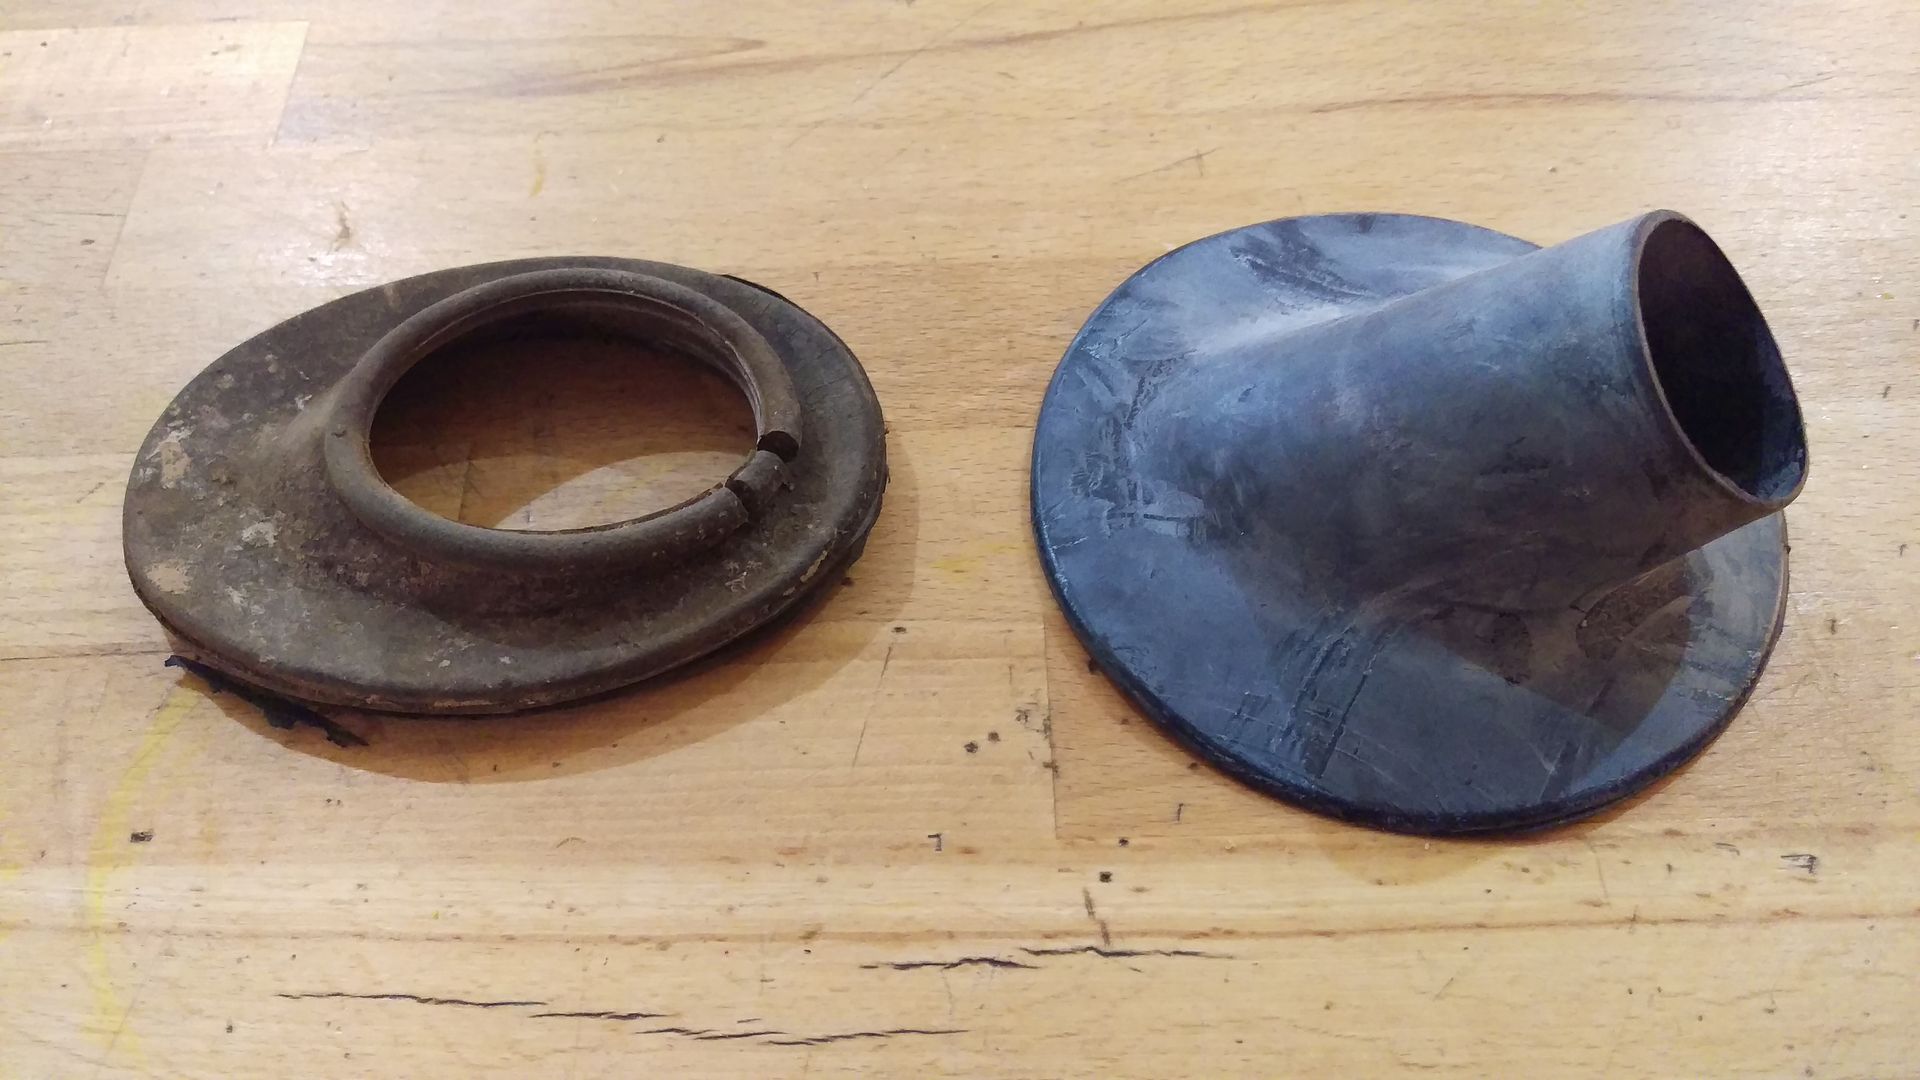
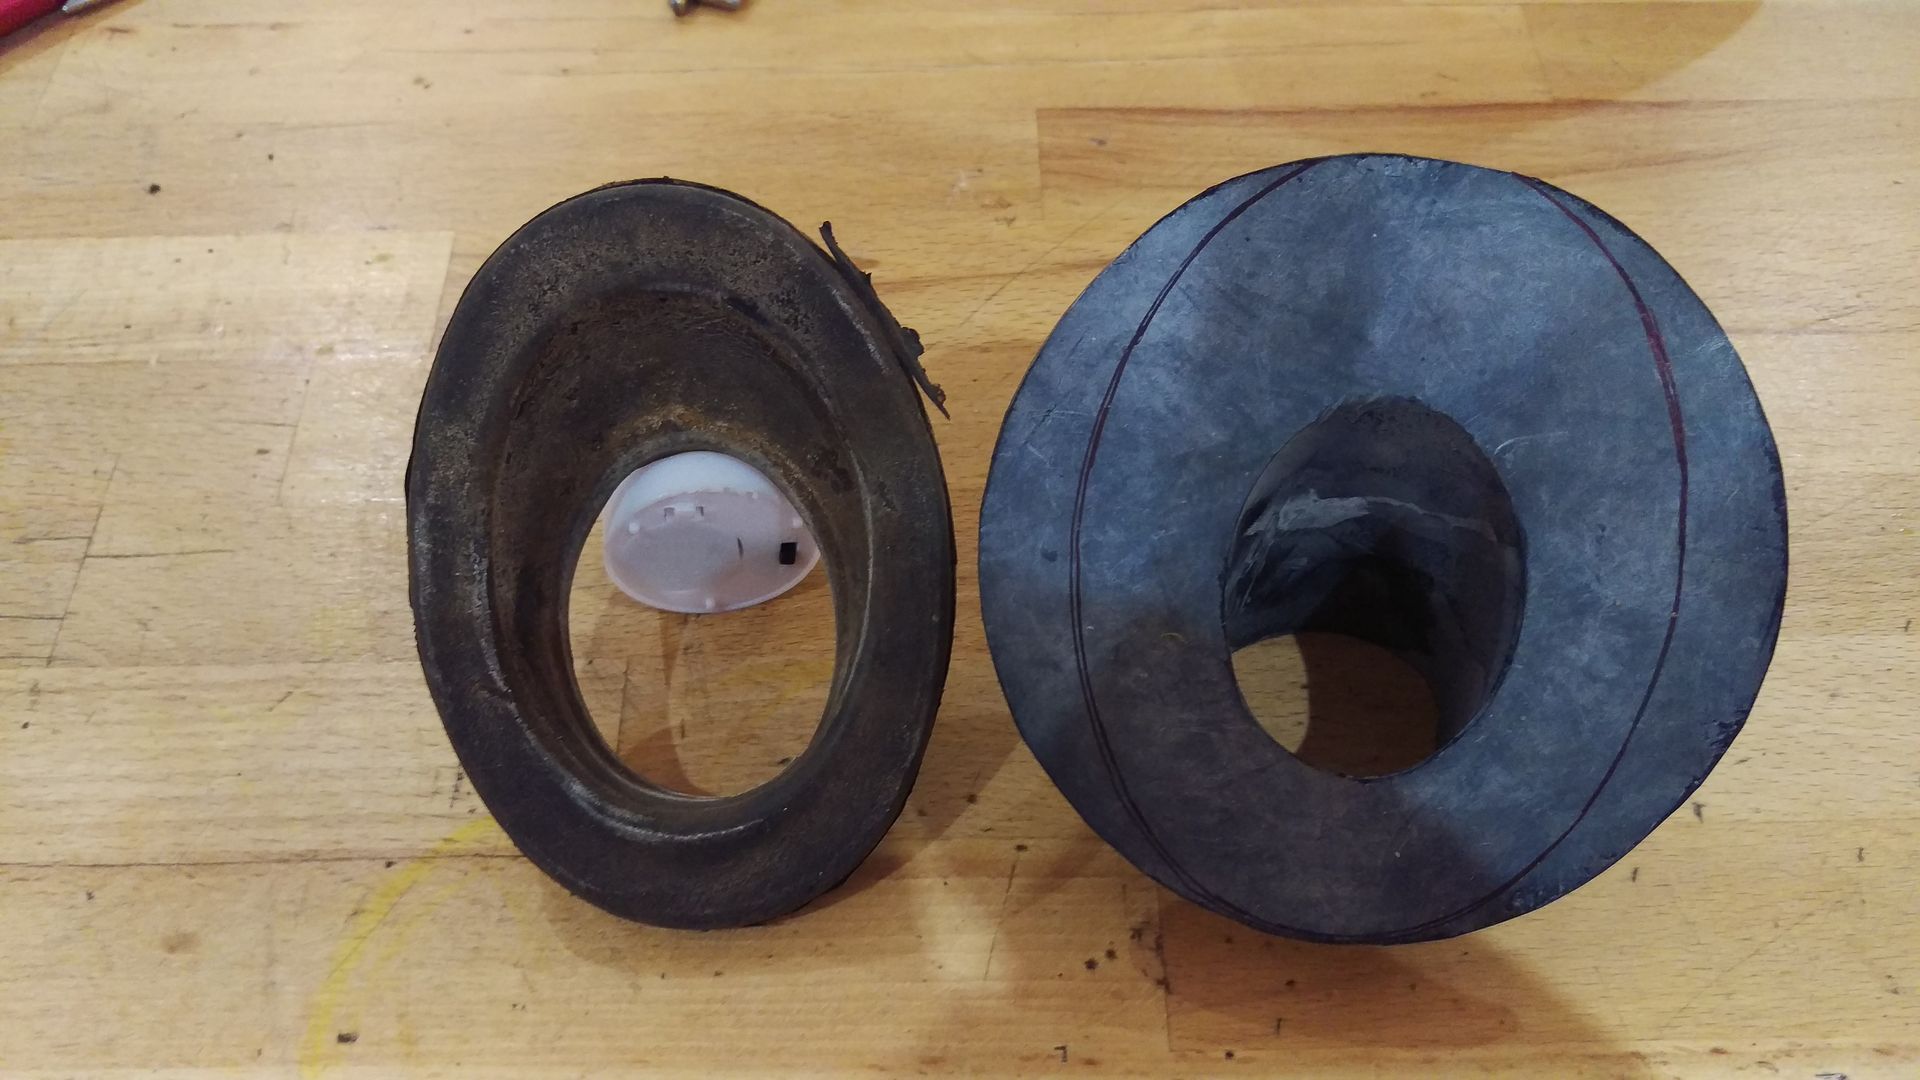
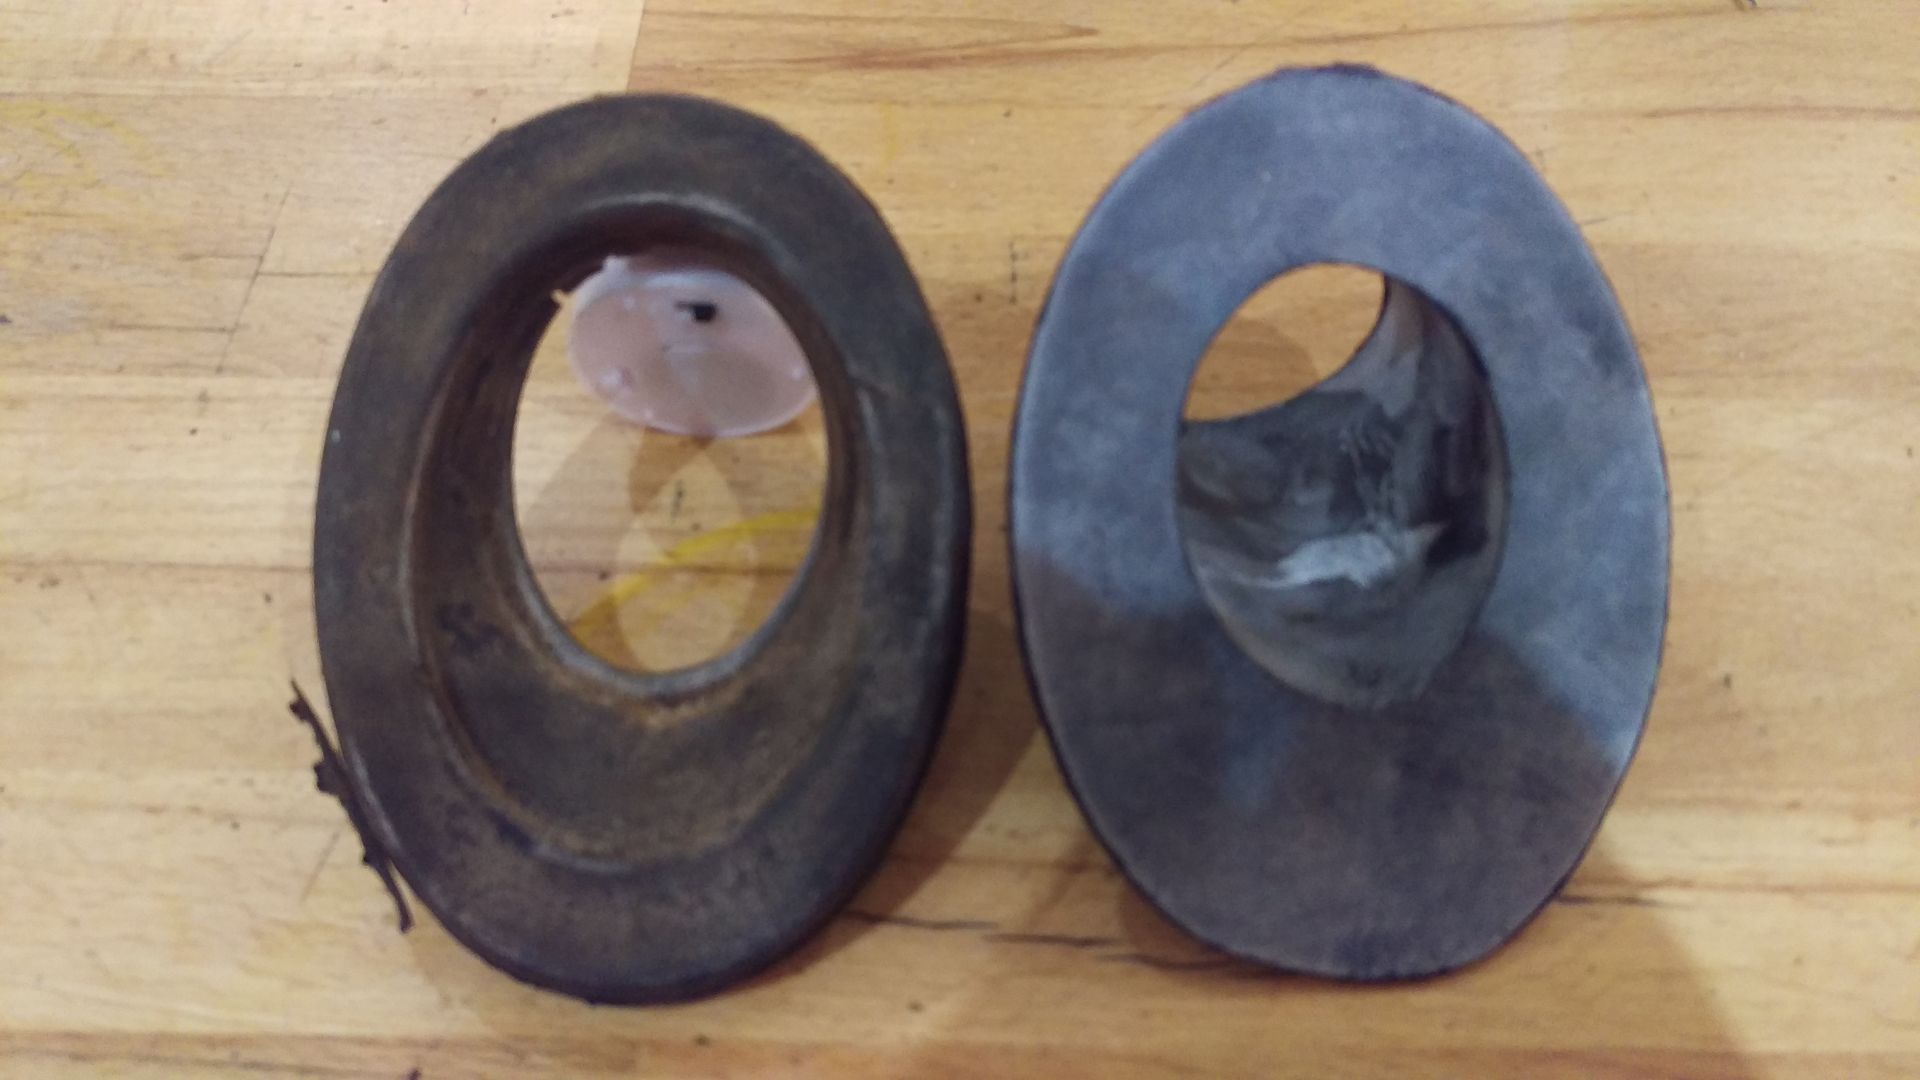
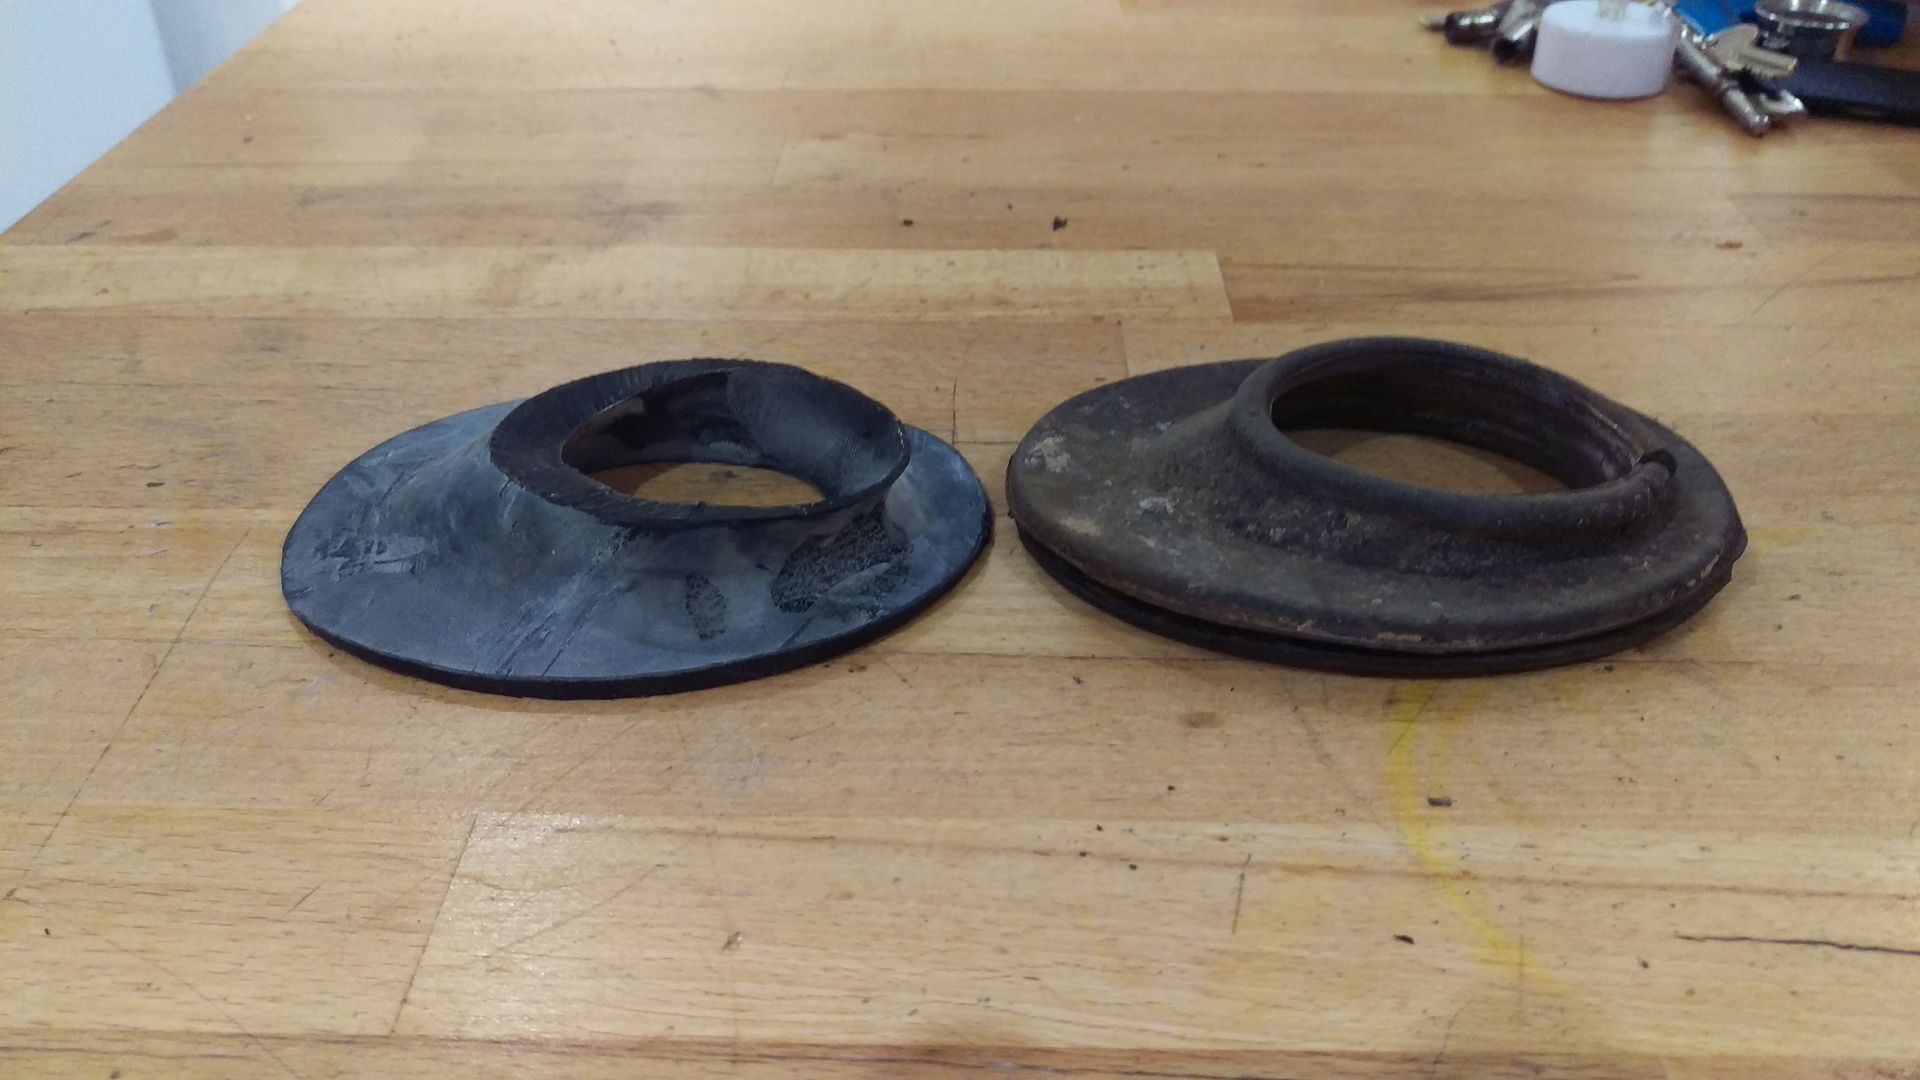
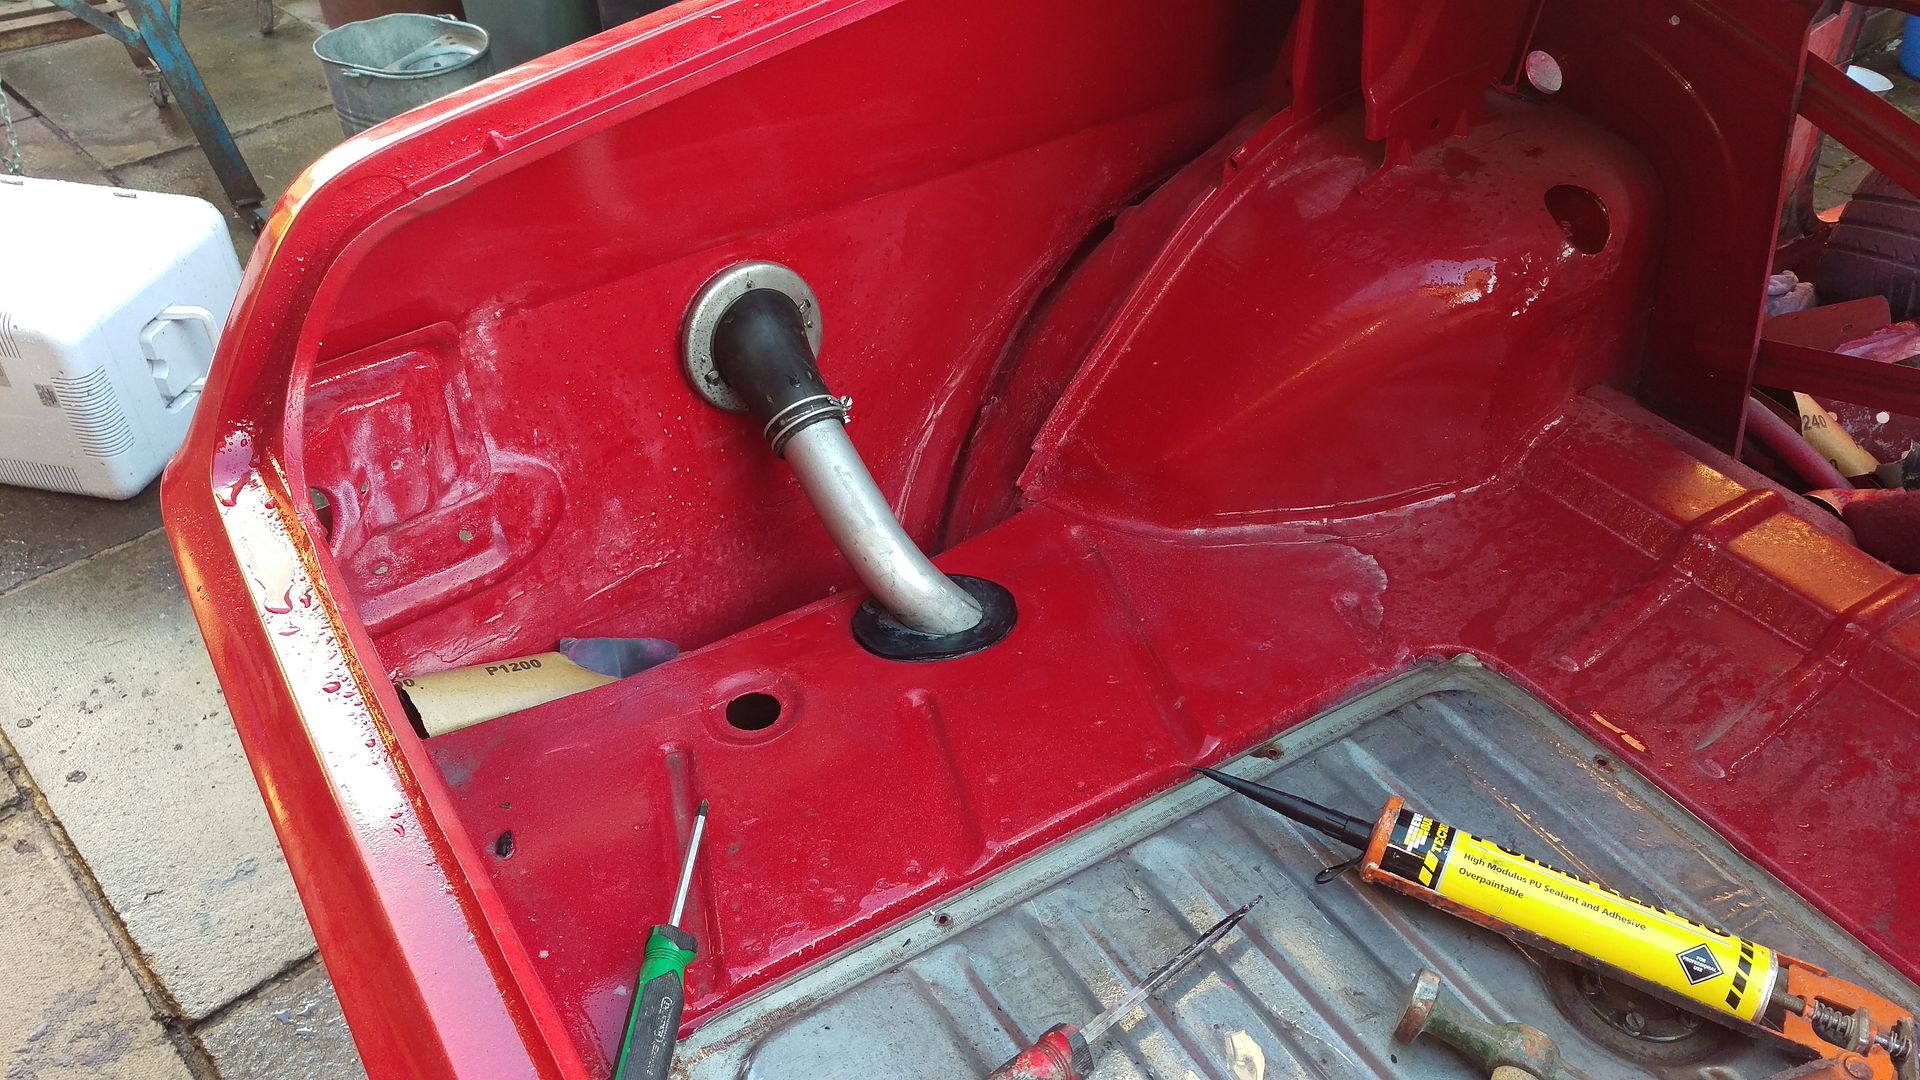
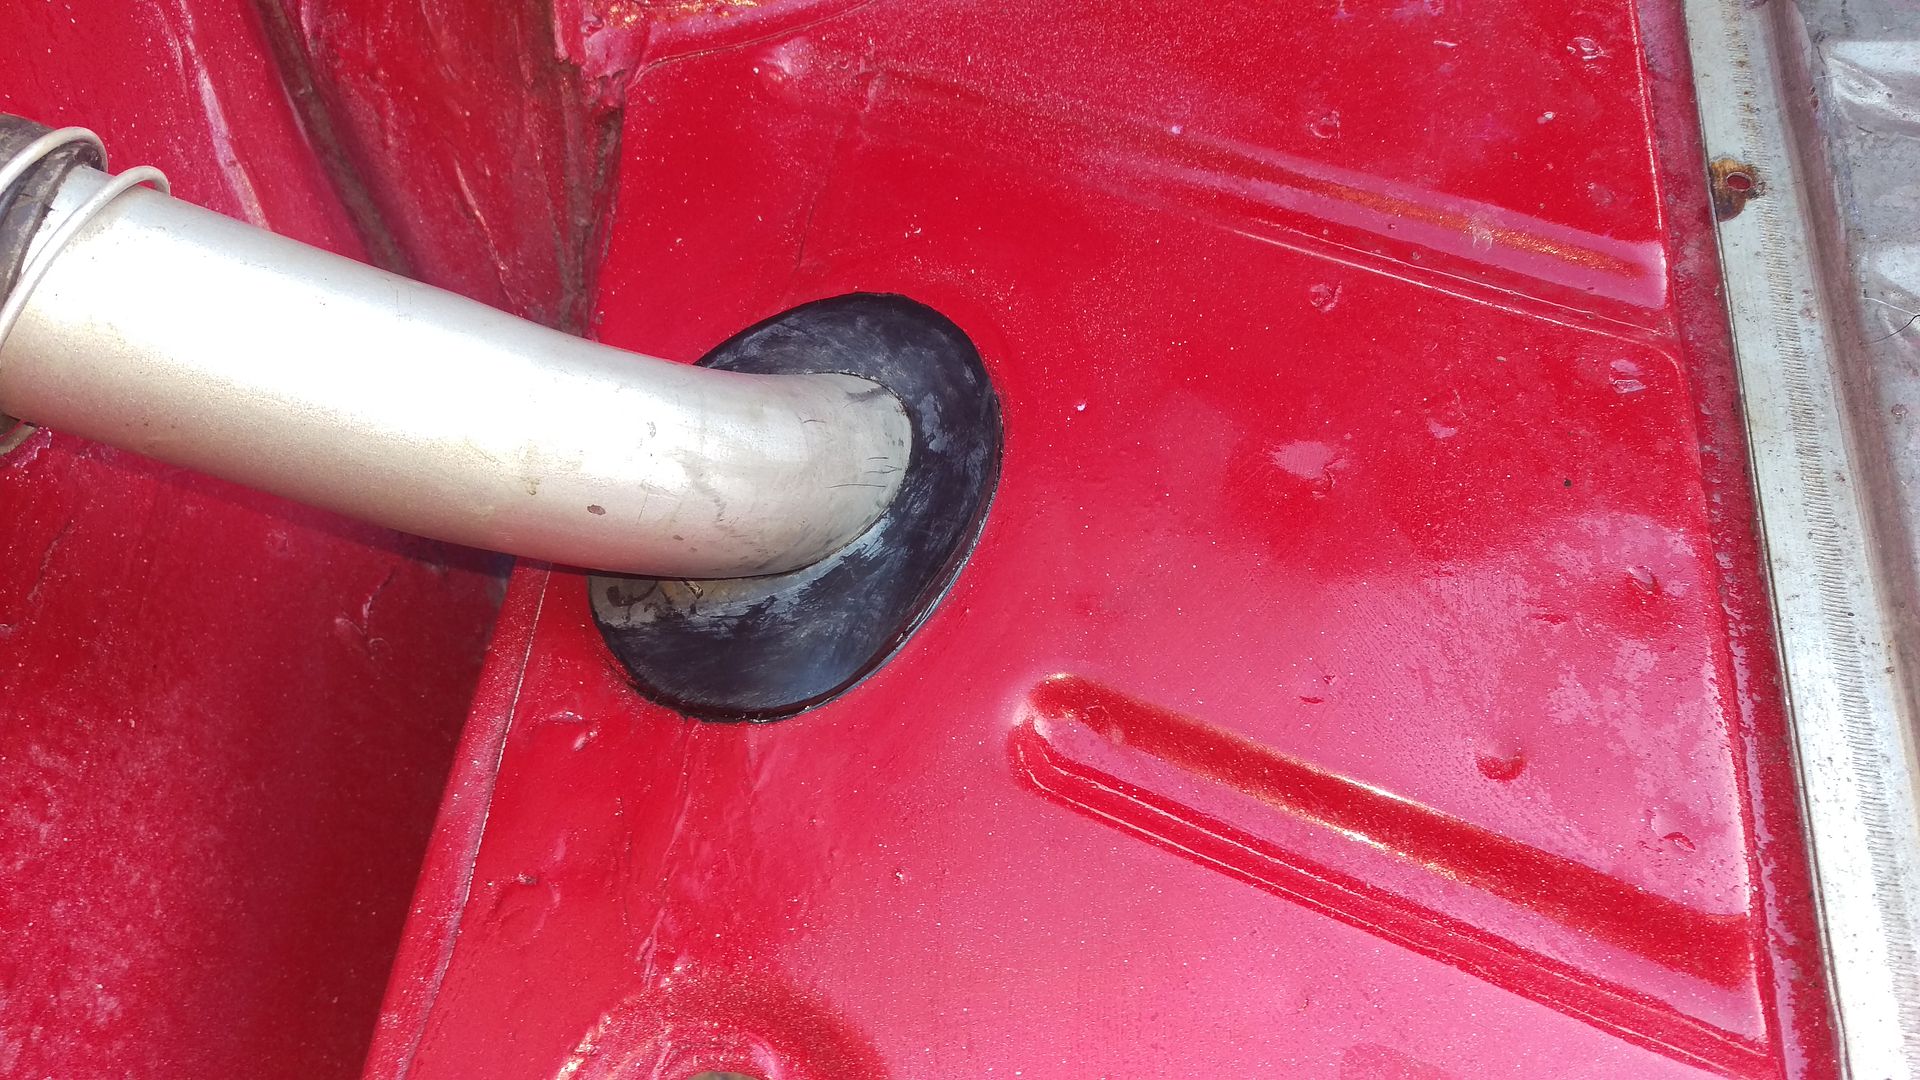
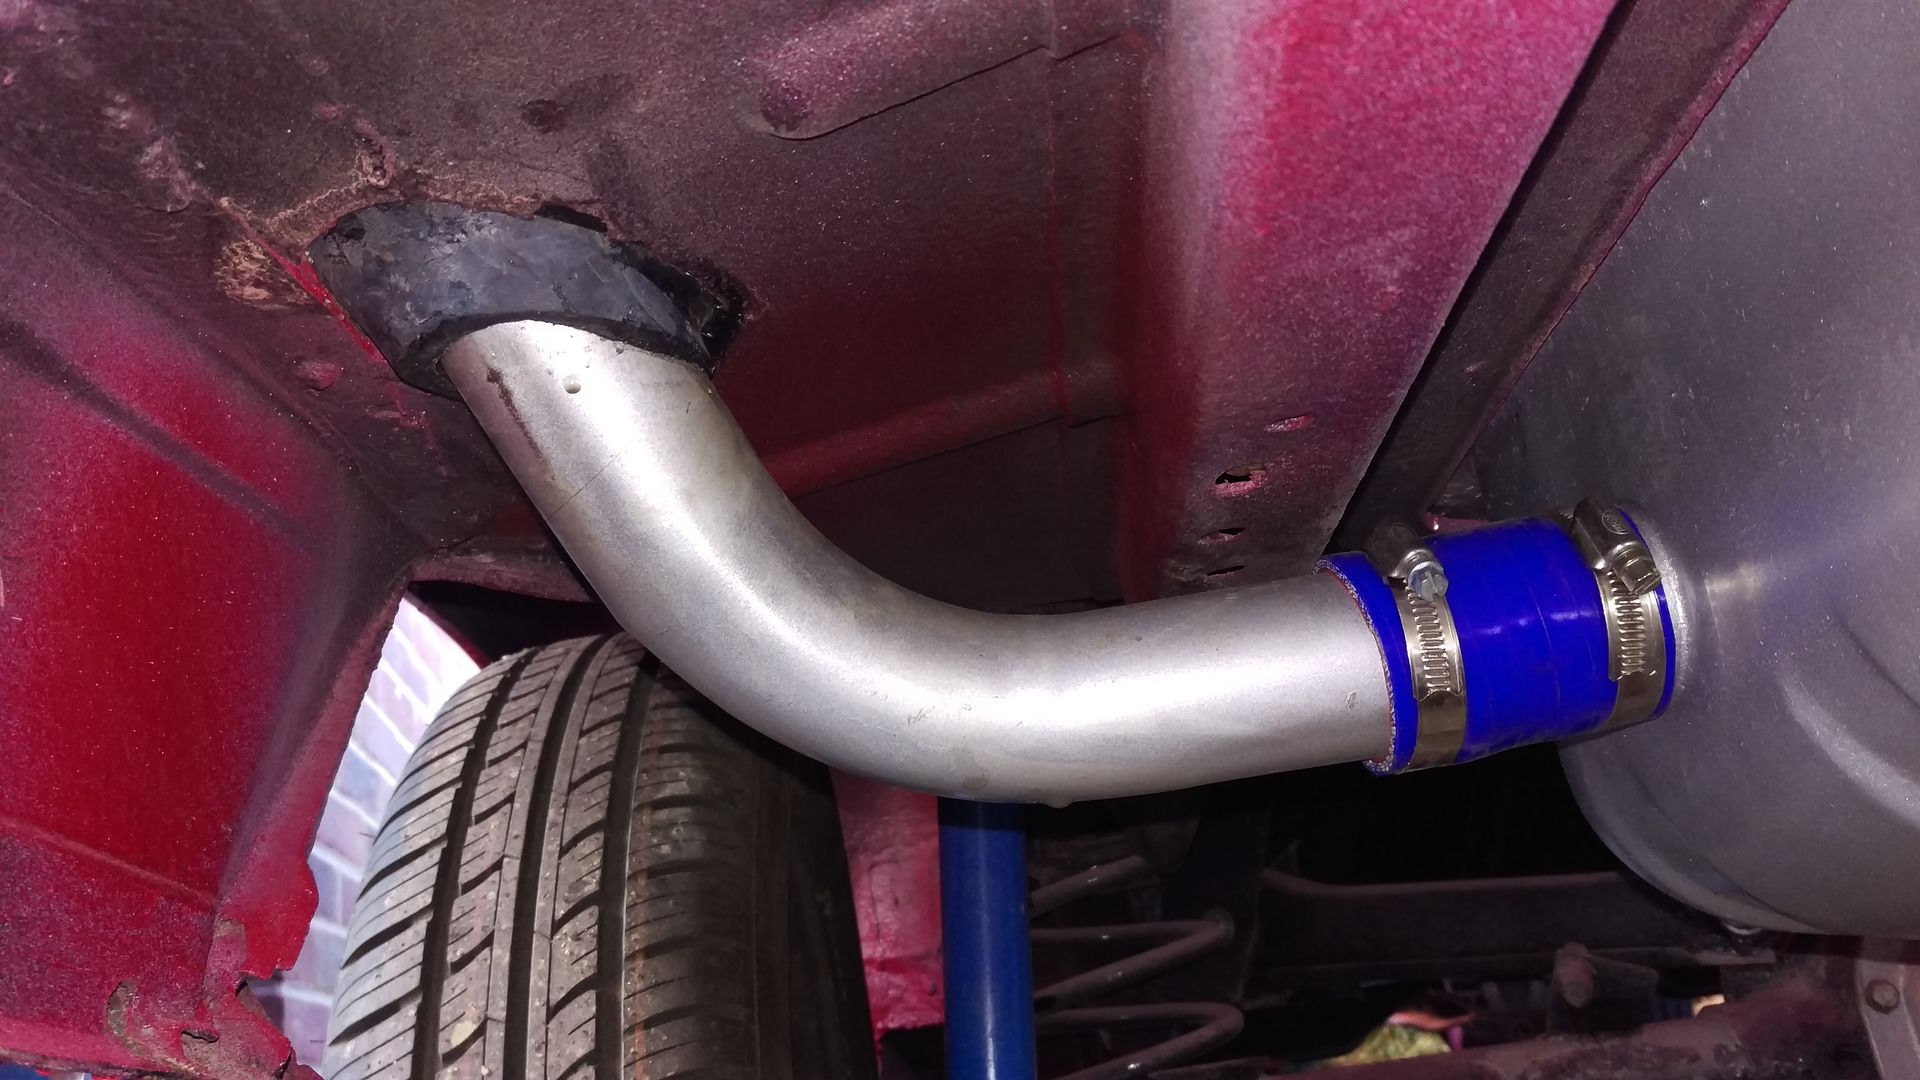
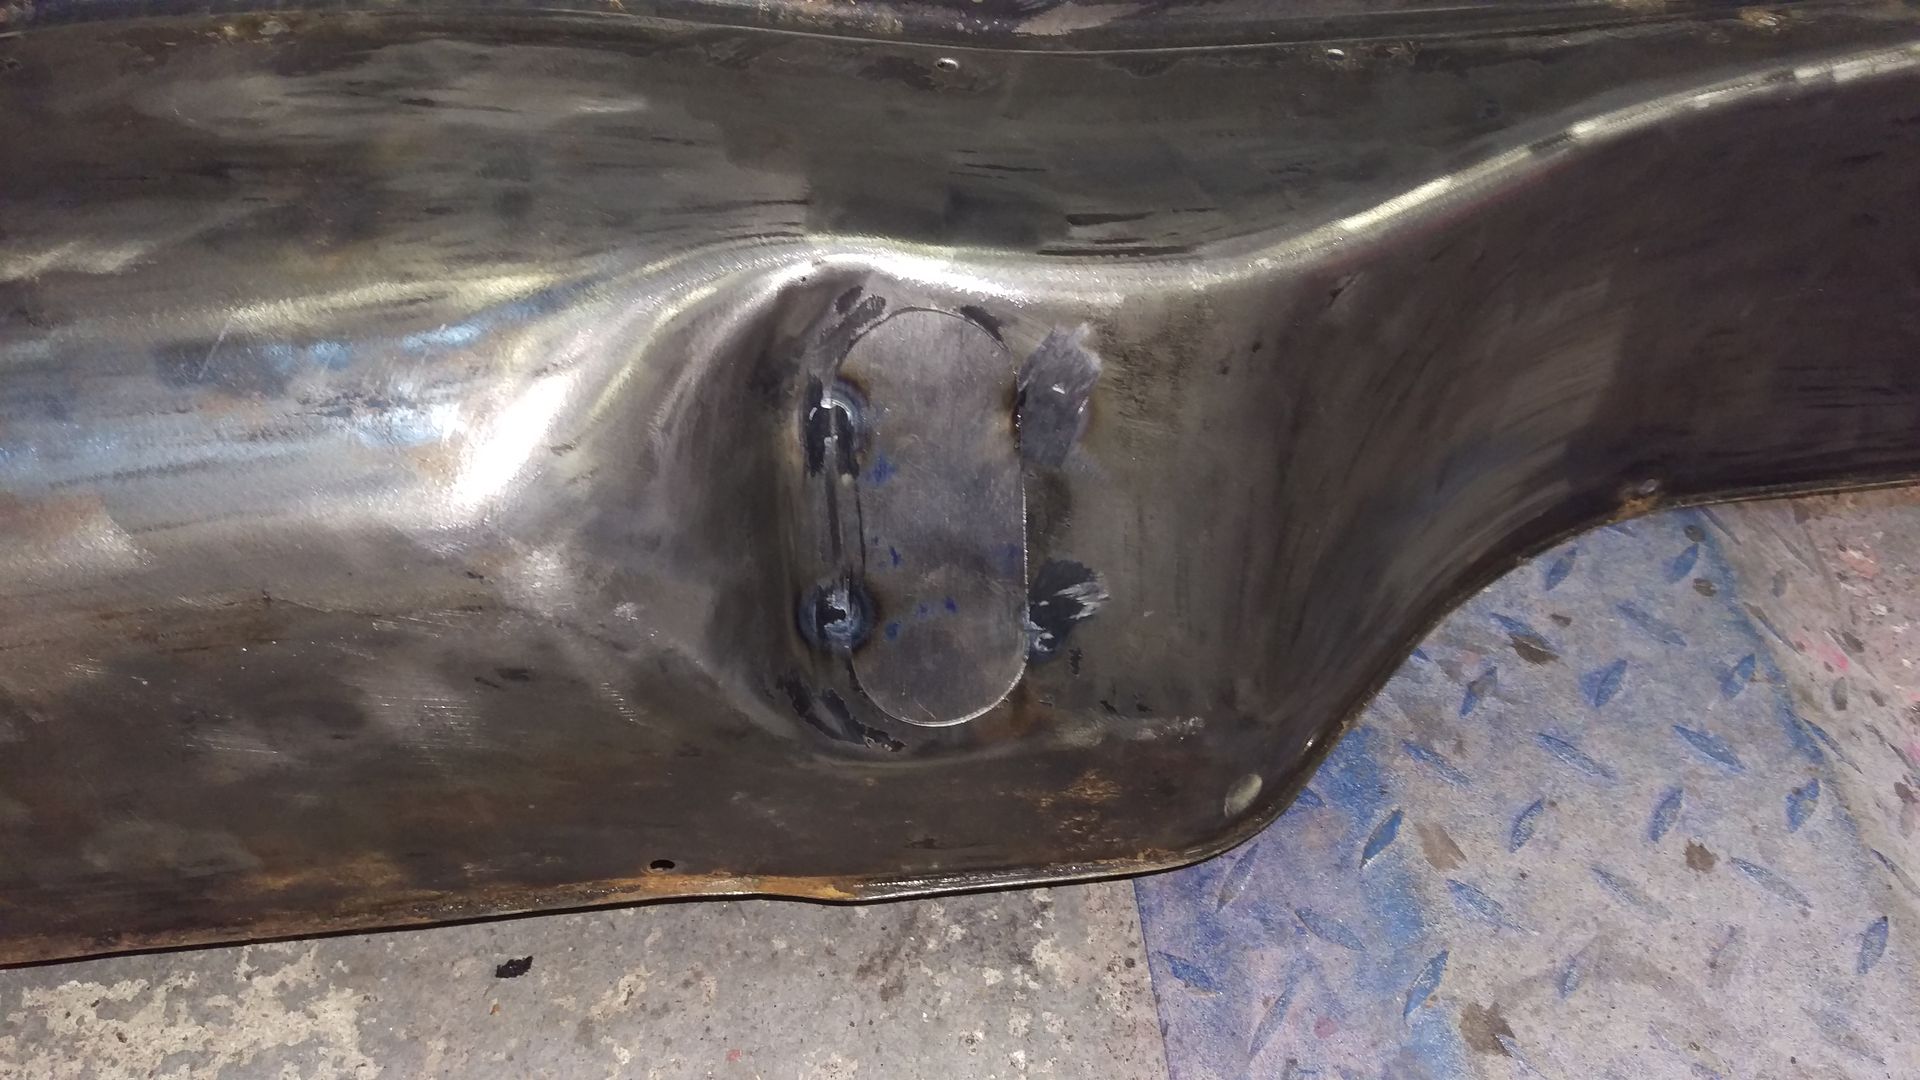
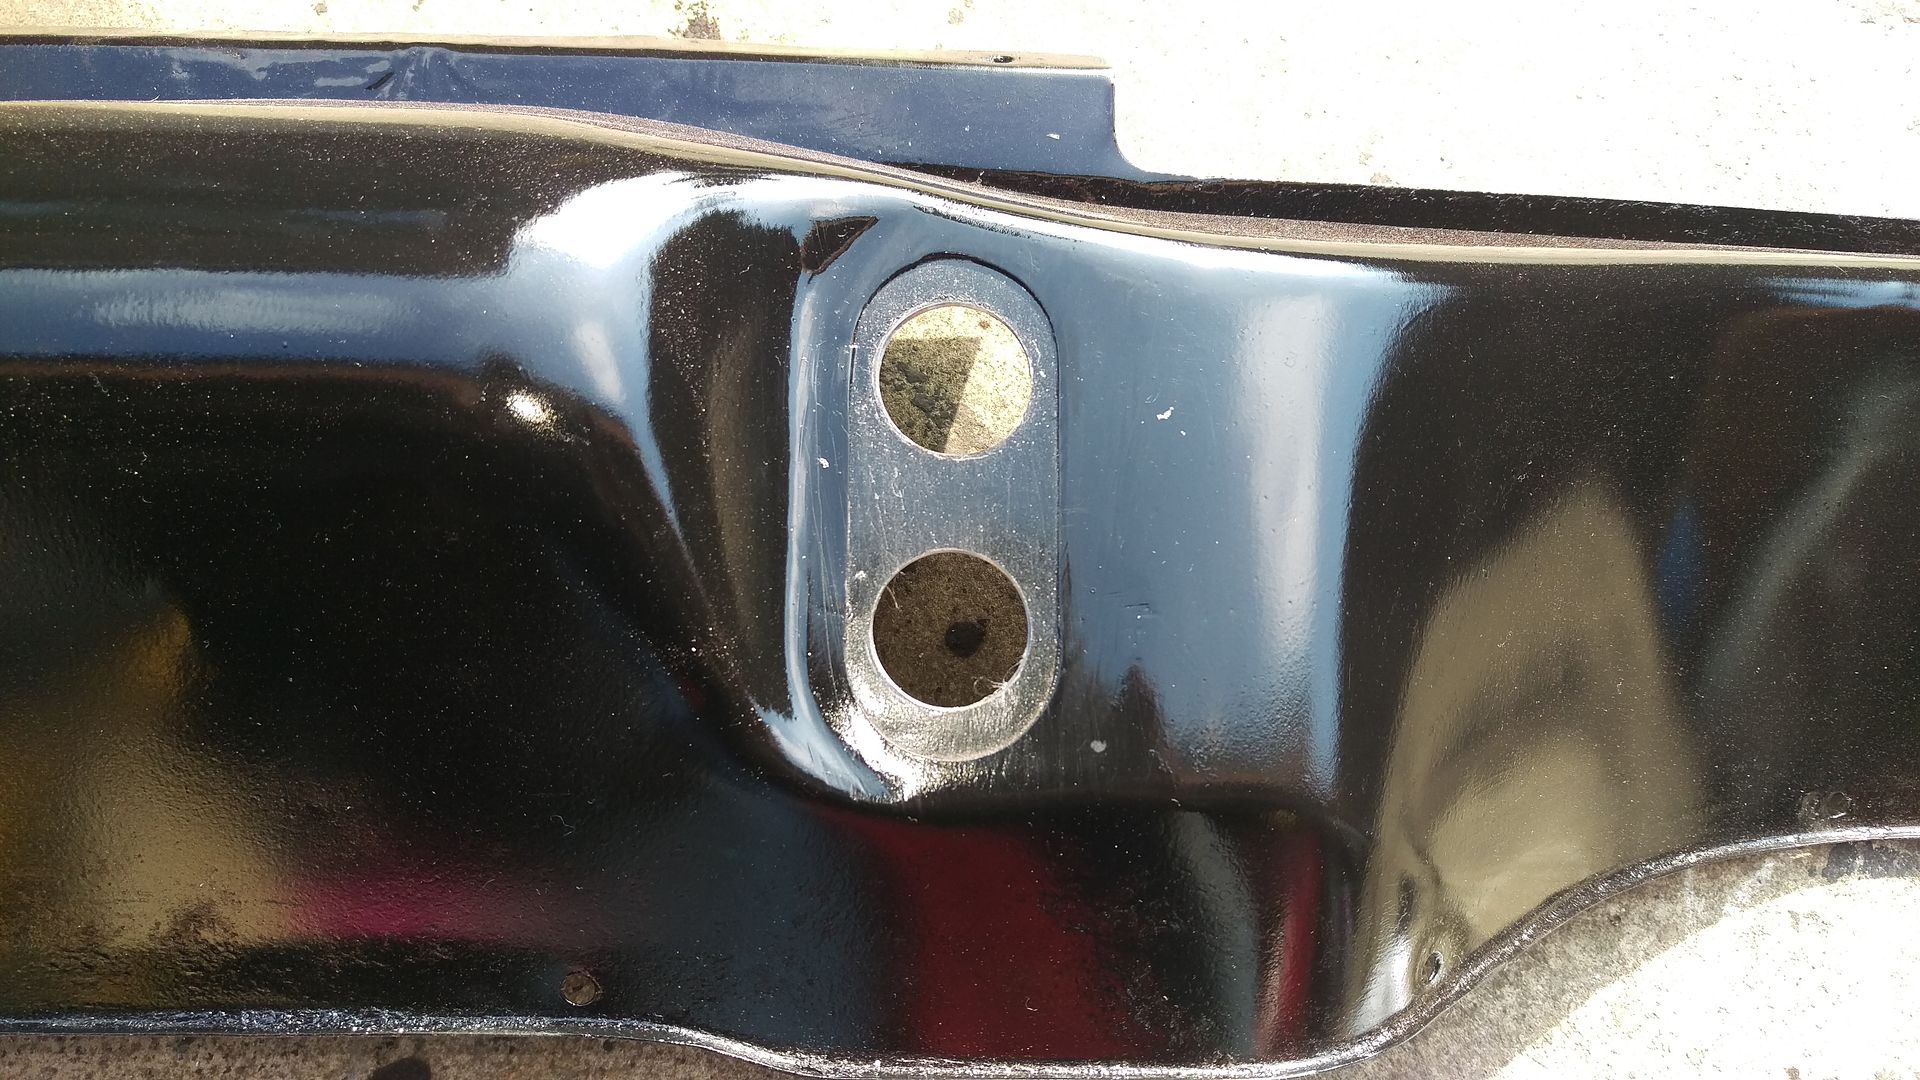
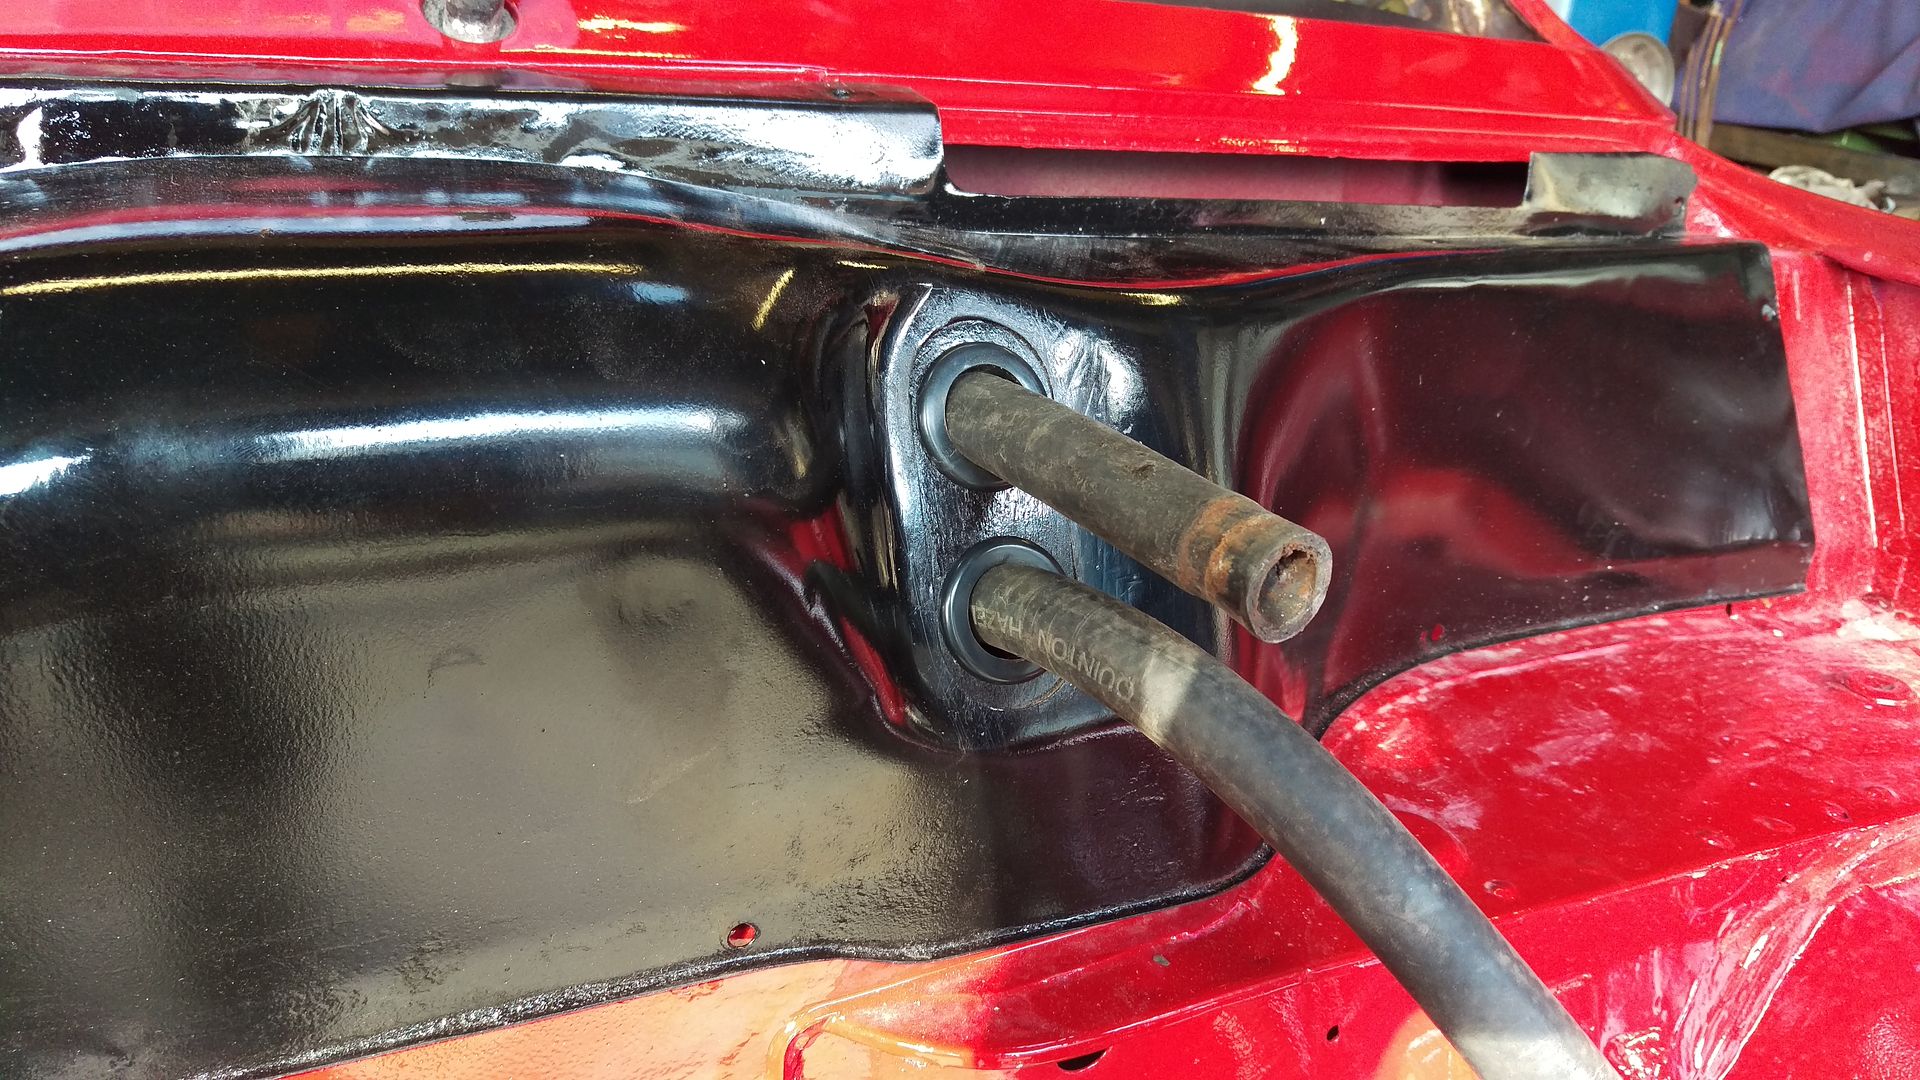
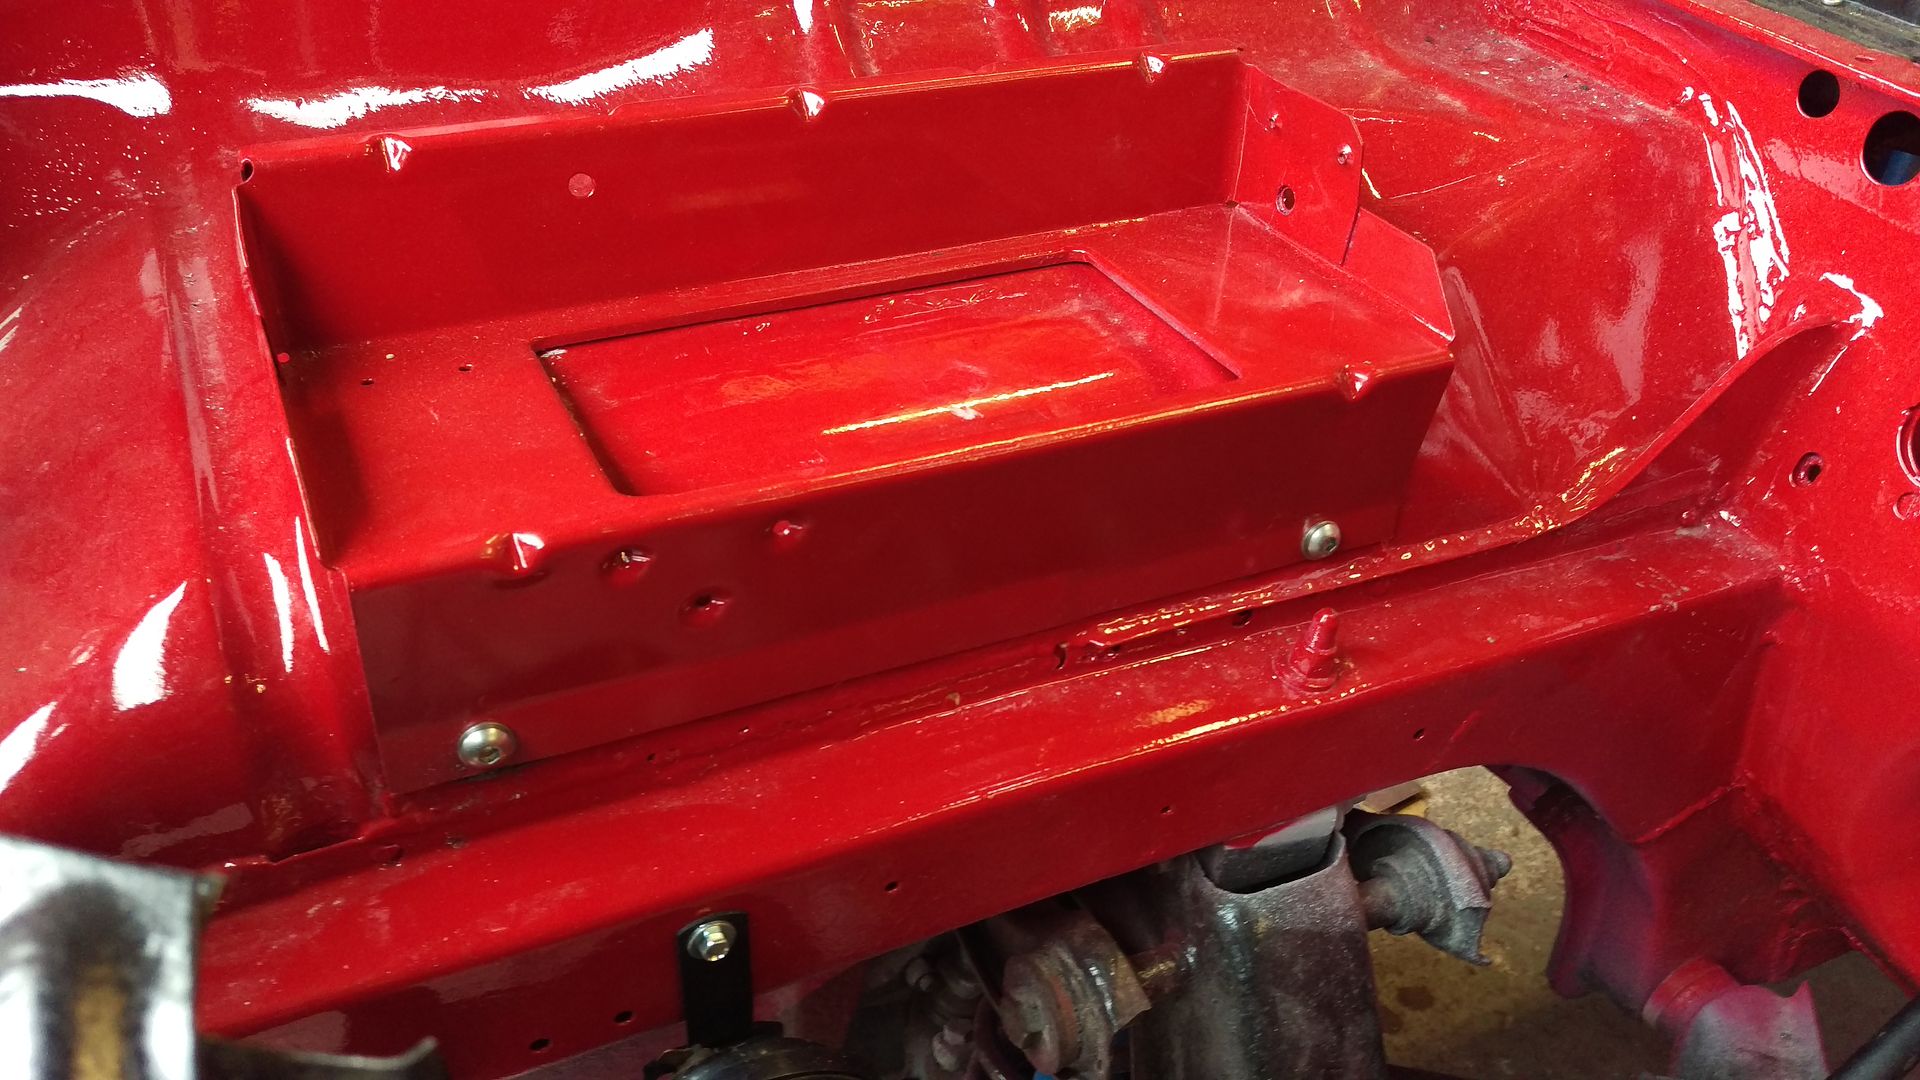
I cleaned up the bulkhead/ heater cover and made a modification (another :twisted: )to the area were the pipes come out so we dont have to spend £21 on a grommet every few years...

Image

Image

Image

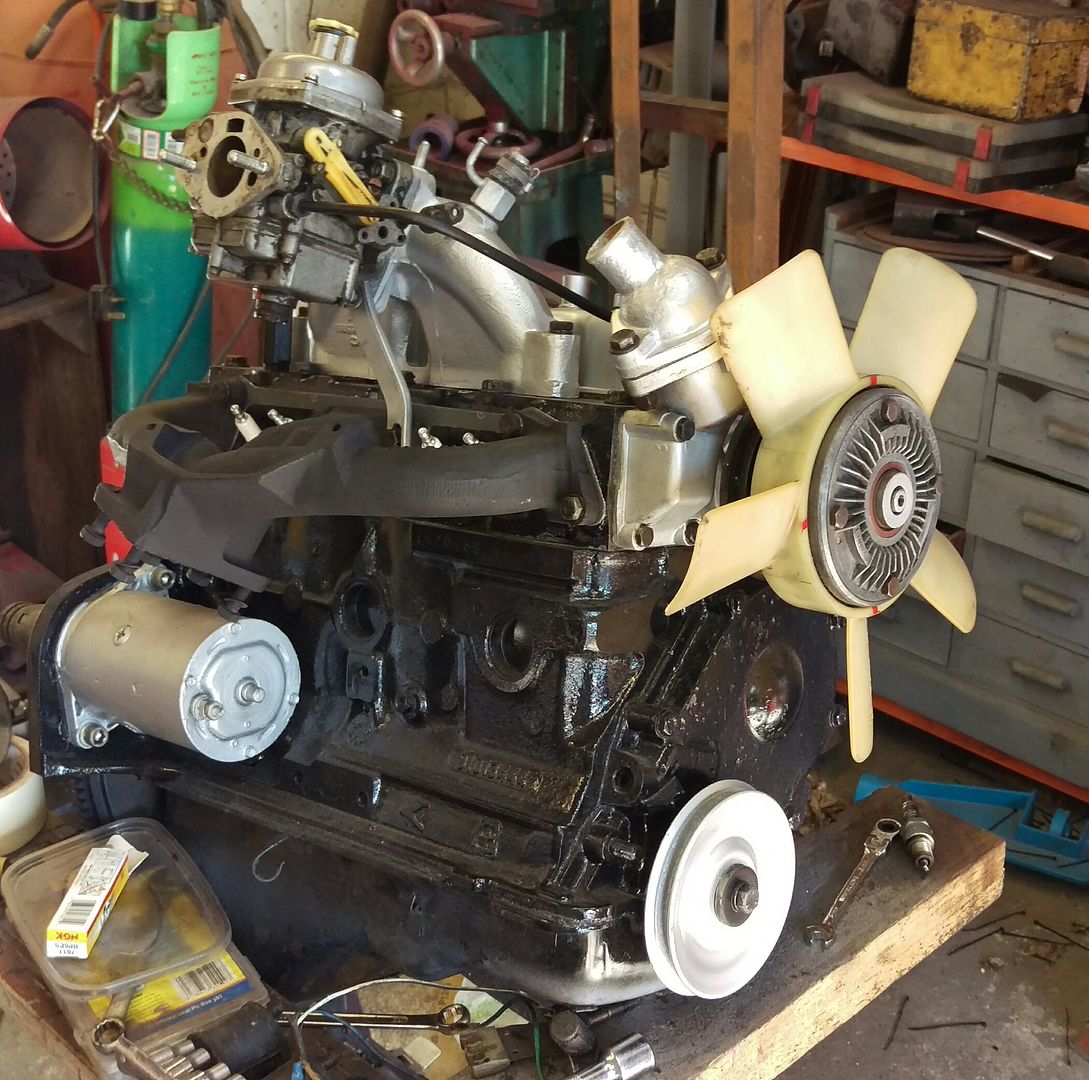
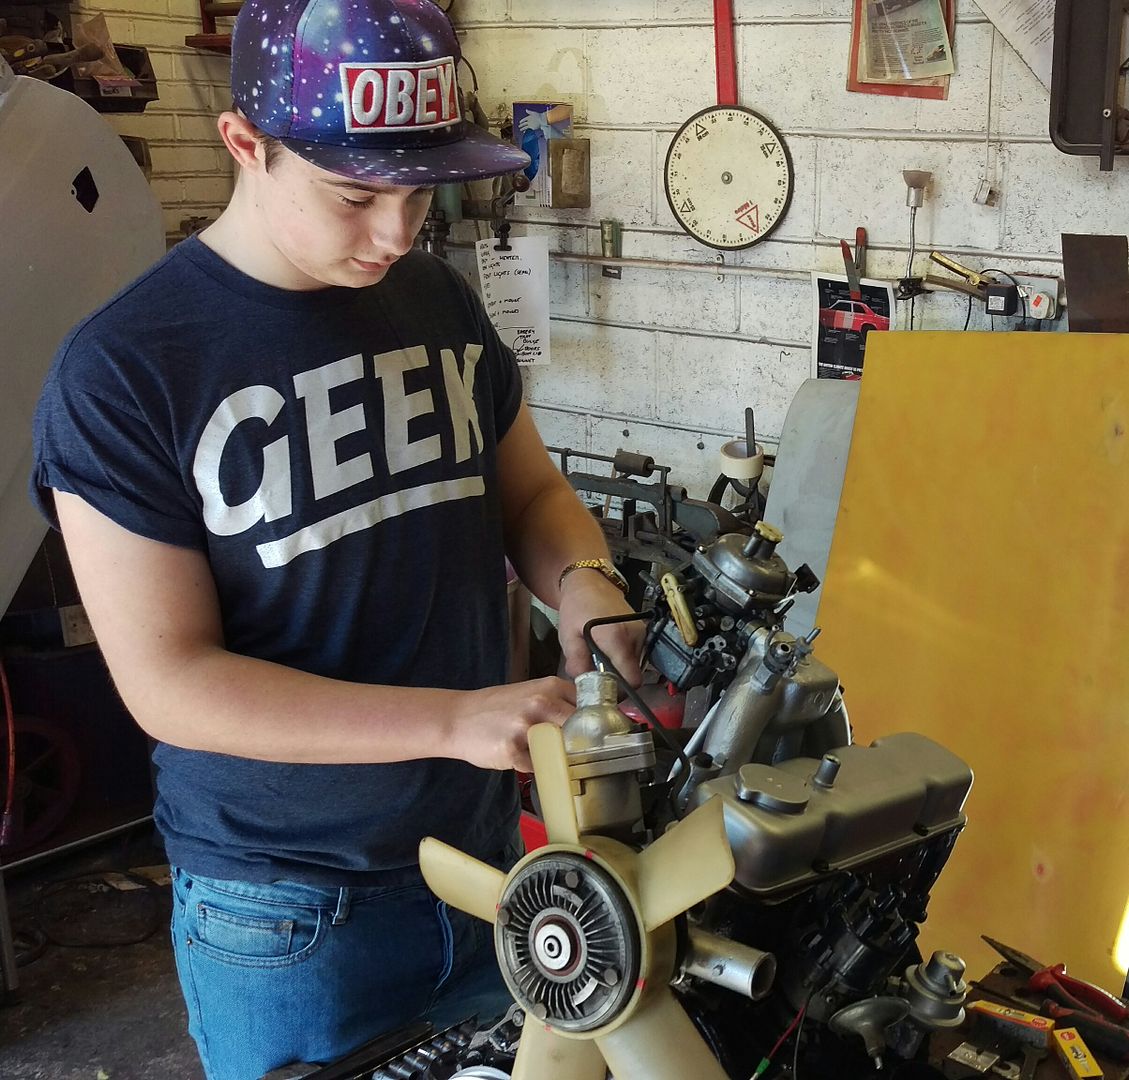
The engine was then checked over, gaskets changed and painted.

Image

Image

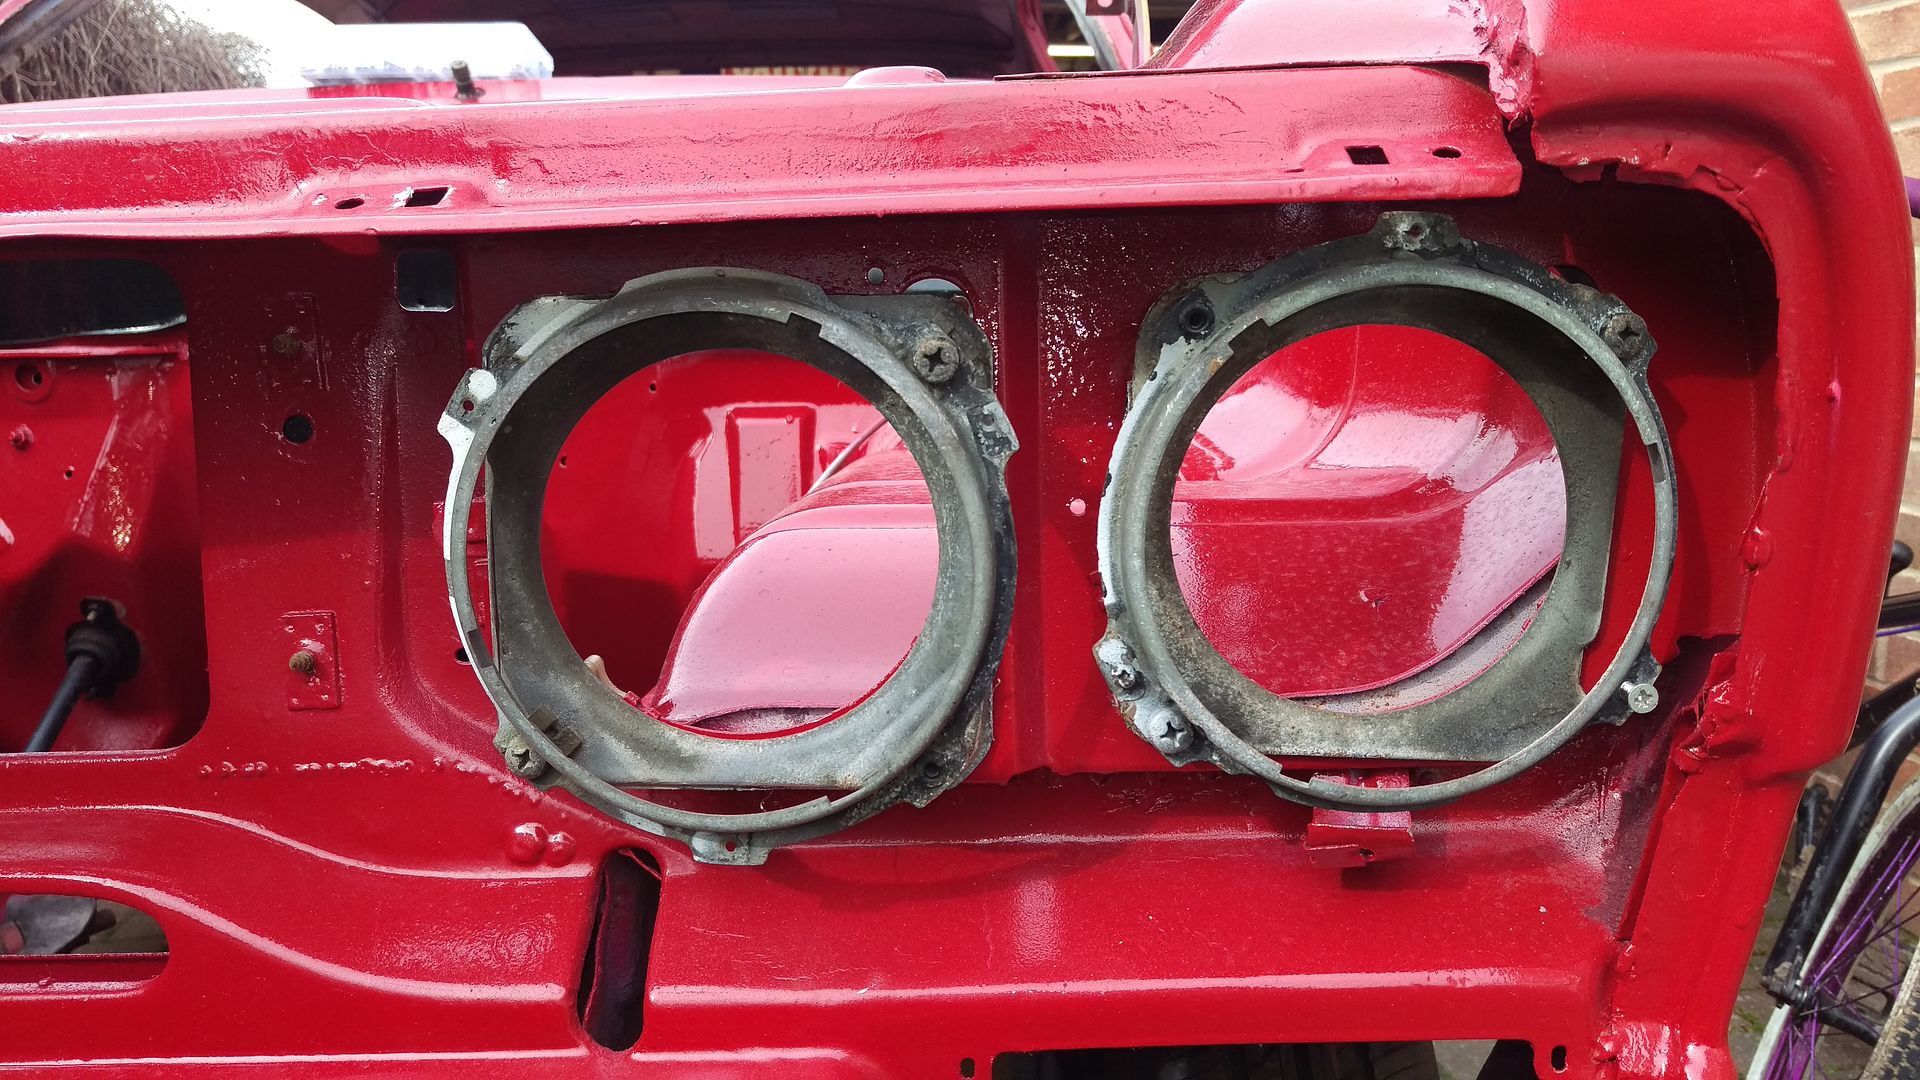
The car came without headlight fittings and I'm not sure if this was even a twin headlight car originally. A friend of mine restores Capris and he donated a Hella twin headlight set up to the cause. Halogen bulbs too 8)

Image

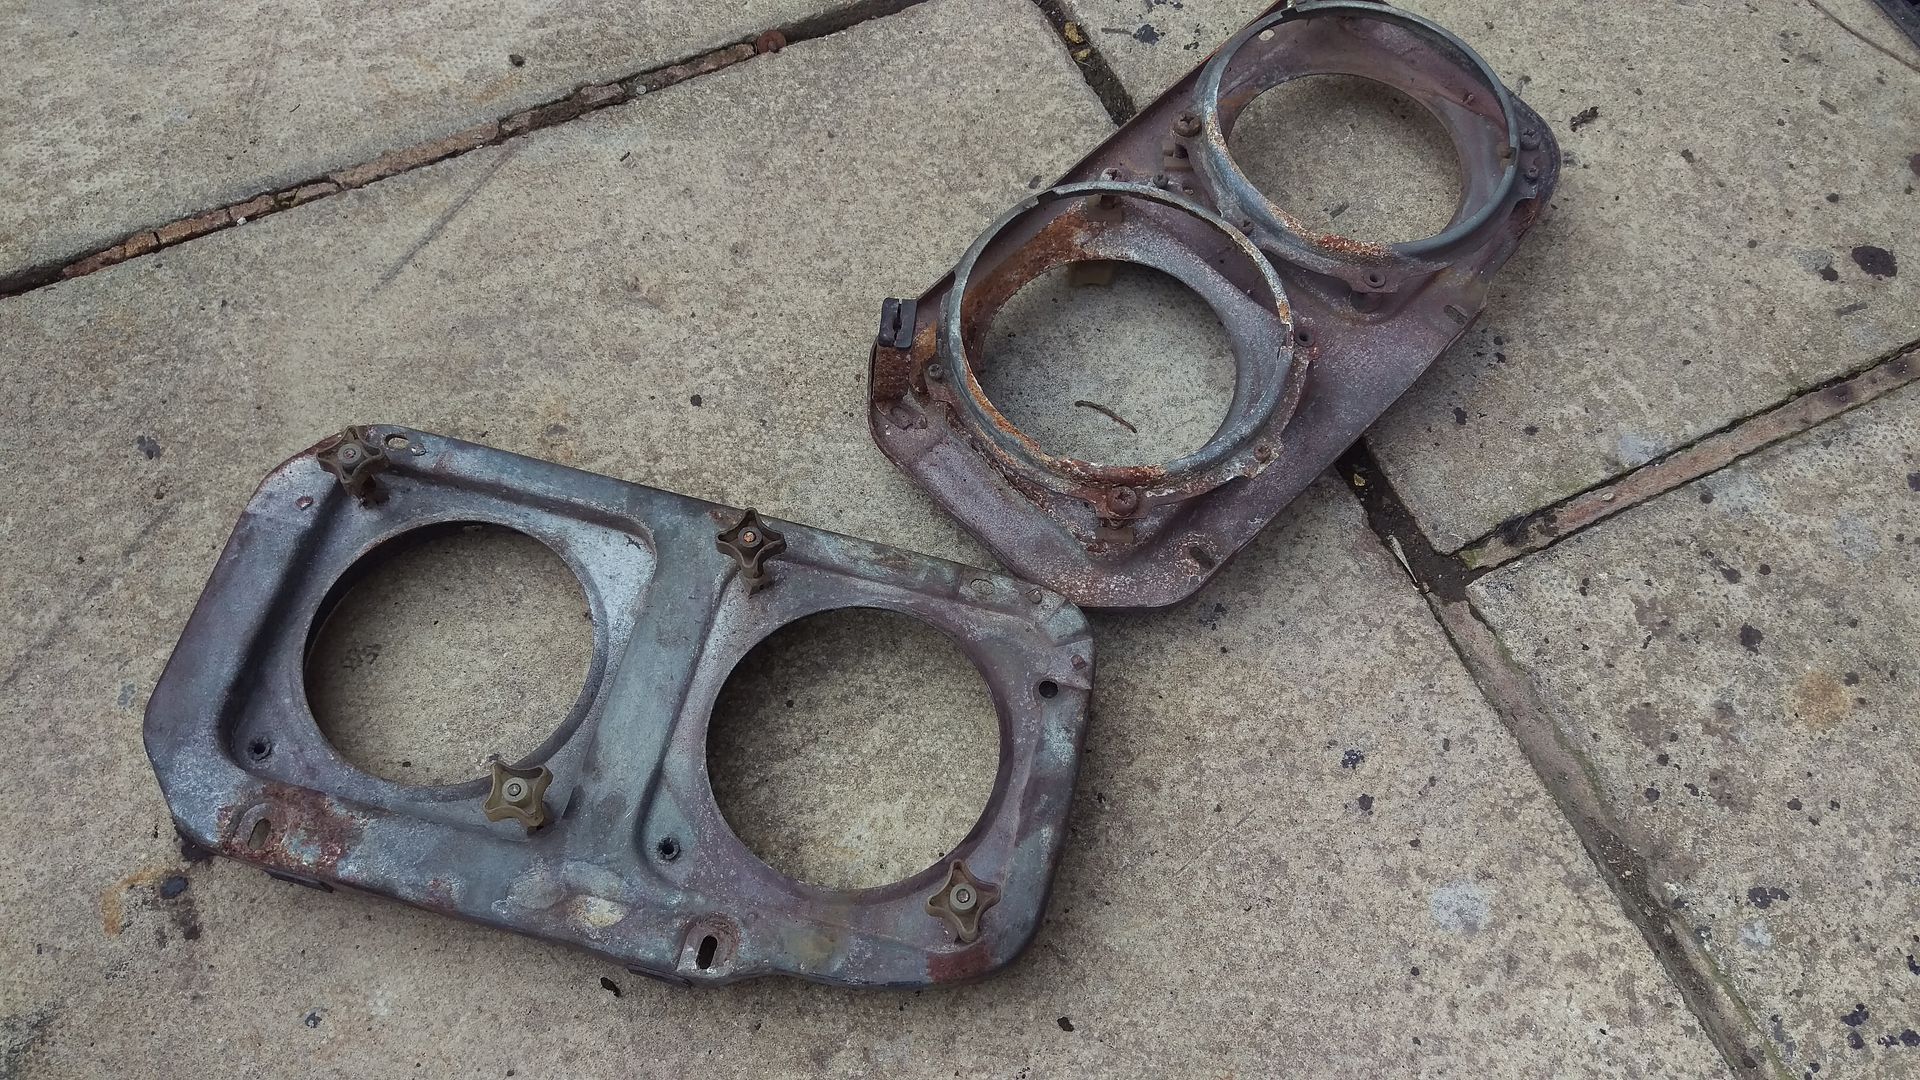
Obviously these didn't fit so I had to make them fit. :lol:

After a trim with the grinder they looked like this ready for Joe to spray black.

Image

Next was the Battery tray that I bought last year from Fred. It was in fantastic condition and looked like it had never been on a car. The battery tray on the Viva is a horrible rust trap so I wanted to bolt it on and space it out slightly so any water that gets behind can drain out. I attached it with stainless bolts and spaced it out with 3mm rubber. I will have to make sure the tray is properly earthed as the battery grounds to it. :roll:

Image

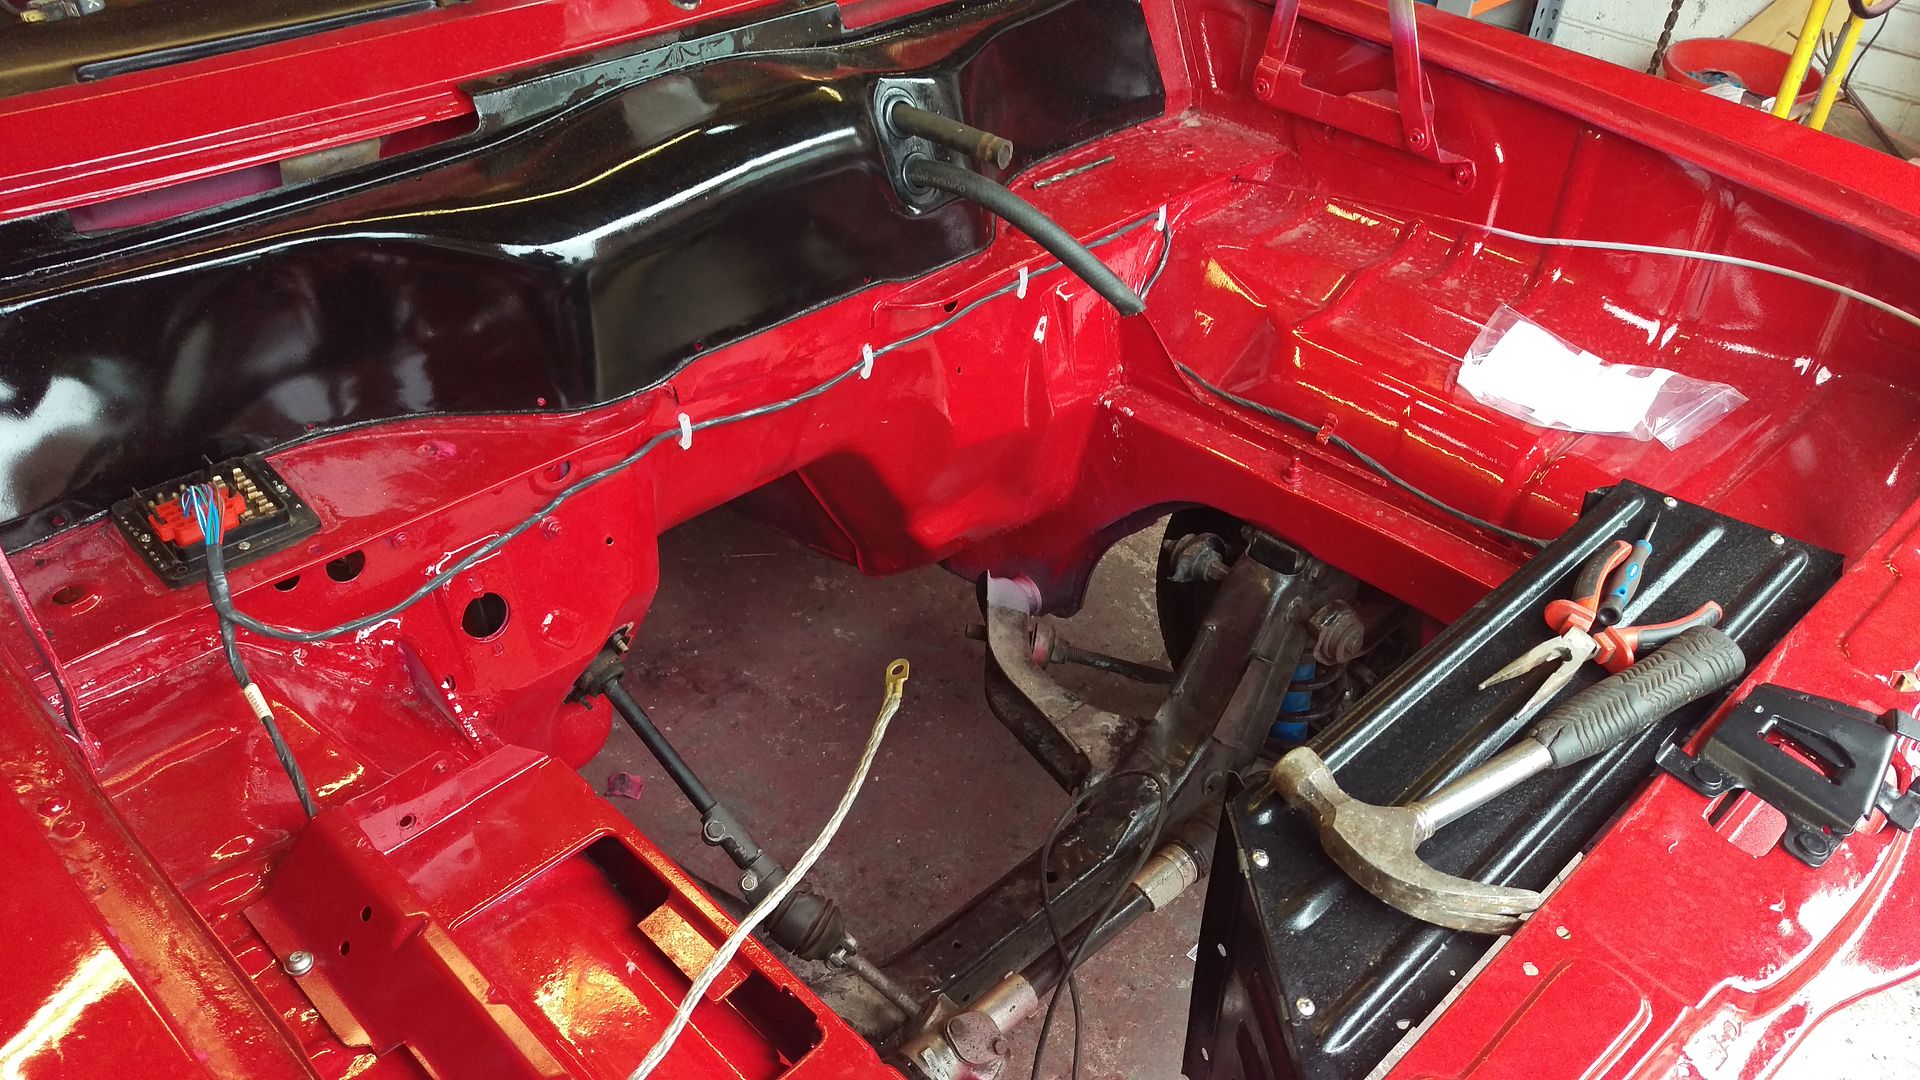
I managed to get a NOS engine bay lighting loom on eBay last year for peanuts so that was fitted today and secured with the correct style clips. These are available, again on eBay, and are listed for a Triumph Dolomite.

Image

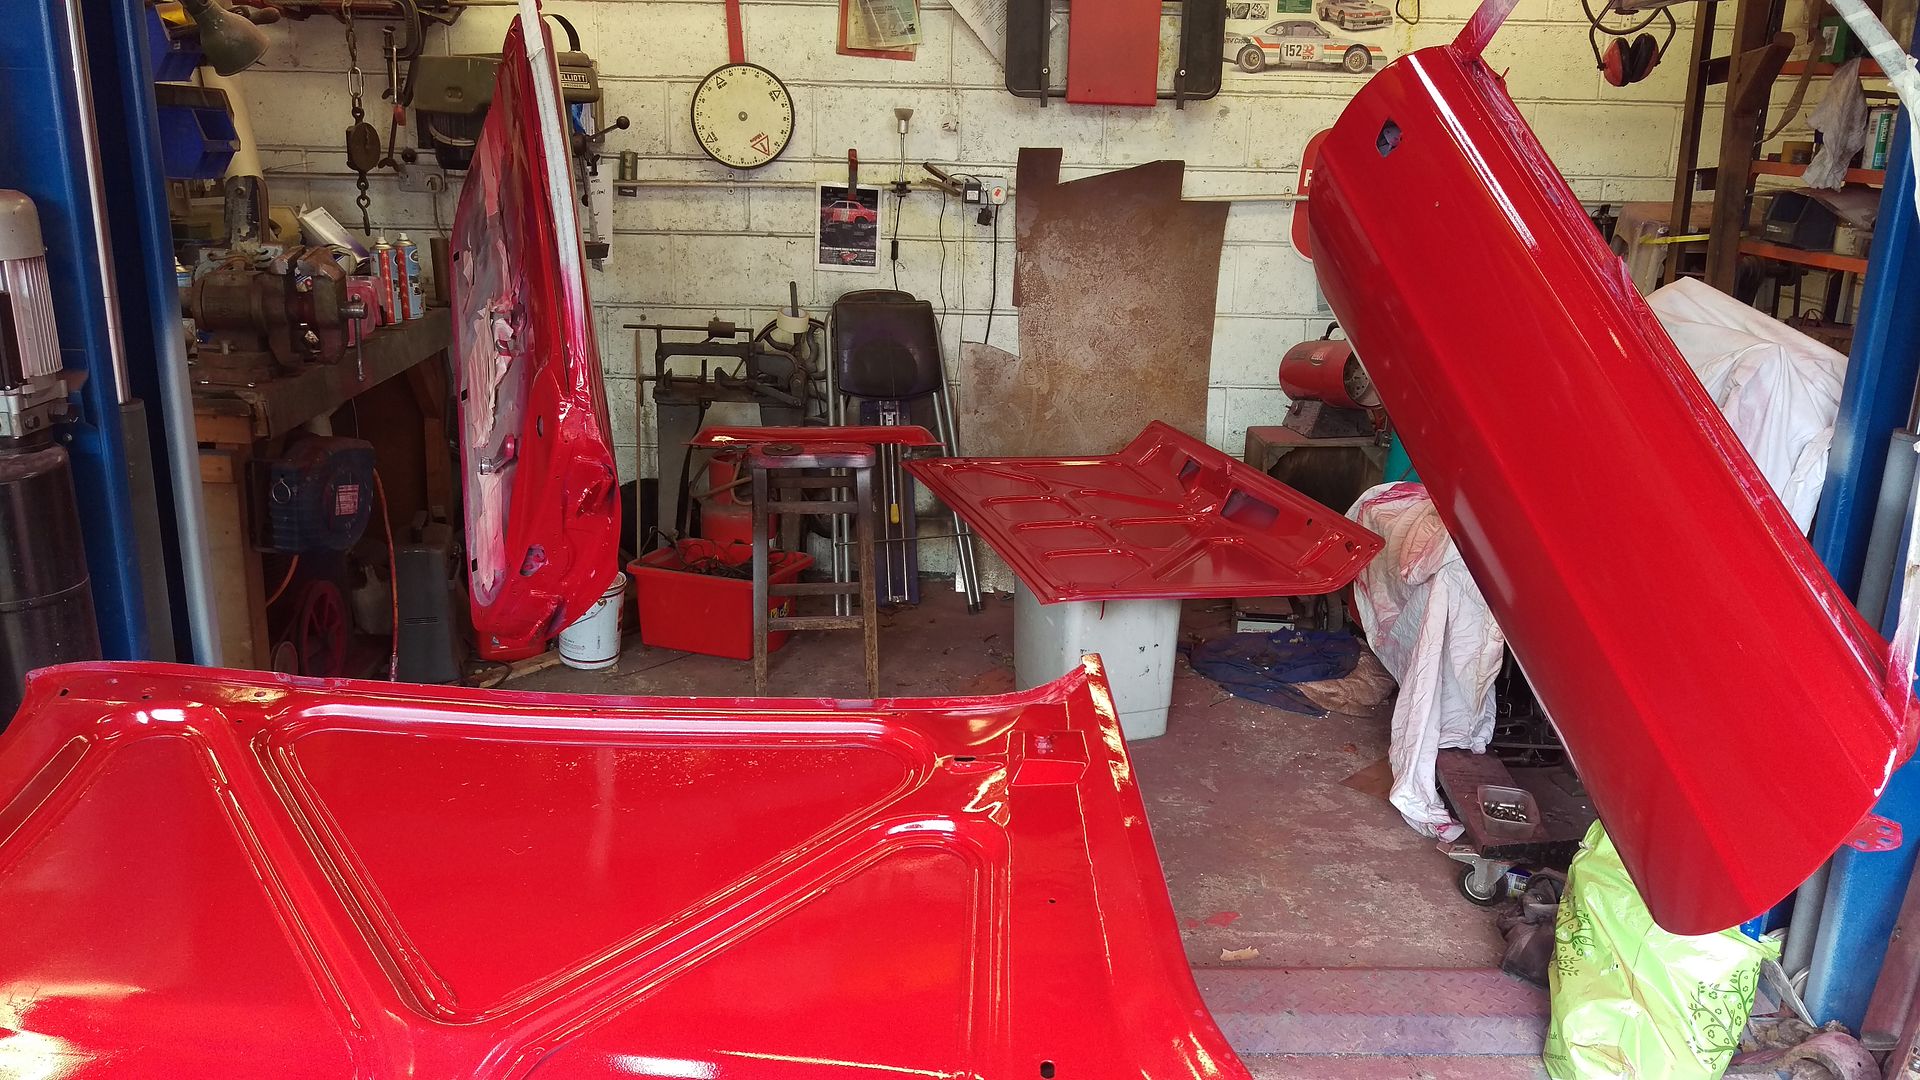
Whilst all this was going on I sprayed the doors which went well :D and the bonnet and boot which didn't. :cry:

Image
User avatar
chrismc
GT Viva
GT Viva
 
Posts: 305
Joined: Sat Dec 08, 2007 2:01 pm
Location: Leeds

Re: Joe's 1972 Firenza Project

Postby 1972nail » Tue Apr 12, 2016 8:31 pm

I love seeing the progress on this Chris. I've always wondered if the Crapee twin headlights were the same spacing as the Firenza, but you've cut yours up before I was able to ask! :( If they were it would be an easy way to start a twin headlight conversion. Joe's car seems to have been a twin headlight car originally or at least it has the correct front panel fitted.

The heater grommet mod is another good one along with the battery tray. I'm sure you know as it looks to be only set on, but the heater plenum panel, to give that black cover thingy it's correct name, fits under the windscreen surround with a foam gasket between the two.
Editor of the VVOC Magazine ReVival

"When you have a Firenza like mine, who needs any Minis?" copyright David Maxwell 1979.
User avatar
1972nail
Old Nail
Old Nail
 
Posts: 3185
Joined: Sun Aug 07, 2011 4:16 pm
Location: Ballymoney Co Antrim - some say....the World's best place to live!

PreviousNext

Return to Restoration

Who is online

Users browsing this forum: No registered users and 128 guests